


Ace 1/72 10.5cm German Howitzer leFH 16 Build Review
By John Kelley
| Date of Review | May 2011 | Manufacturer | Ace |
|---|---|---|---|
| Subject | 10.5cm German Howitzer leFH 16 | Scale | 1/72 |
| Kit Number | 72290 | Primary Media | Styrene |
| Pros | Well detailed; interesting subject | Cons | Vague instructions, fit of some parts |
| Skill Level | Experienced | MSRP (USD) | $9.00 |
Background
The German 10.5 cm leFH-16 howitzer was first issued in 1917. This gun replaced the older IFH 98/09. It had a longer gun tube and a simpler breech. It could fire a 38lb high explosive shell or a 28lb shrapnel shell. It served until the end of the war when it was then given to the Belgium's as war reparations. In 1940 when Germany invaded Belgium, the howitzers were put back into German service. My research source was www.landships.info
and it has several good photos and information on this weapon in the Artillery Articles section.
The Kit
The Ace kit consists of 53 finely molded pieces in white. I was really happy to see this kit released as there are few WWI artillery pieces in plastic. The kit comes with the gun, limber, and 28 and 38lb shells as well as empty casings. A complete review can be found here.
Assembly
Starting with the gun itself, I began assembly, but needed to drill out the hole for Part 33, the gun elevation pin, because of flash in the hole. I also needed to drill the holes for the ground spade, Part18, in the carriage due to flash over as well.
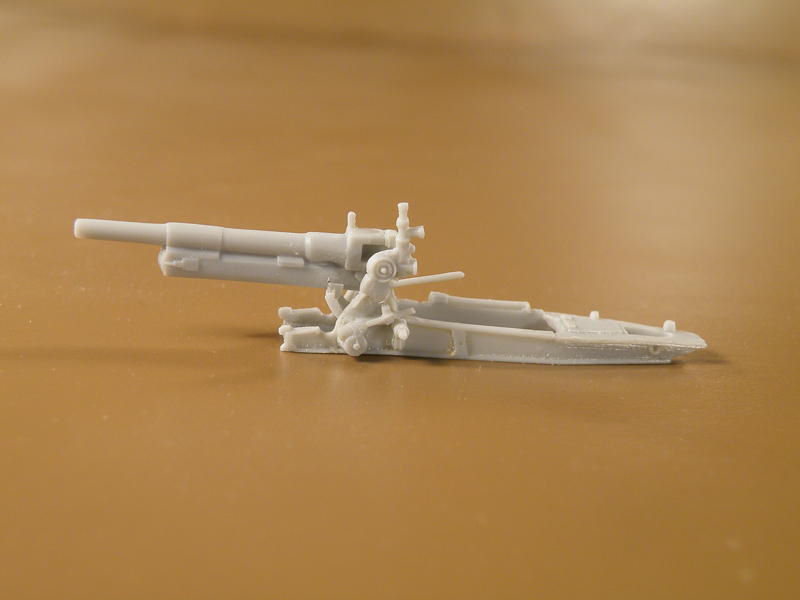
From here, I attached the gun carriage to the barrel assembly and this is the first problem I encountered with the kit. The elevation gears, Parts 29 and 26, were too thick so that the gun pivot pin would not fit into the holes of the carriage trunnion Parts 25 and 20. I sanded down the sides of the gears as well as the inside of the trunnion below the holes. I removed enough plastic so that the pin would fit, but there was still a large gap in the bottom of the carriage frame. To remedy this problem, I added .040 x .040 strip styrene and sanded this area flush. I then began adding the sighting and elevation parts.
While building this kit, I found errors in the instructions in regard to attaching the sight to the trunnion. The instructions have you attach Part 30 to the trunnion too low when you should use a peg that is at the bottom of Part 30 and attach this to the hole in the trunnion. If you attach the part as per the instructions, it will interfere with the rest of the assembly and the sight will not line up with the cover on the shield. Next, place the shield on the frame and add Parts 11 and 8, the shield supports, to the sides of the frame and glue it as this point. I didn't and had a difficult time in attaching the support rod after I had already assembled the elevation and sighting parts.
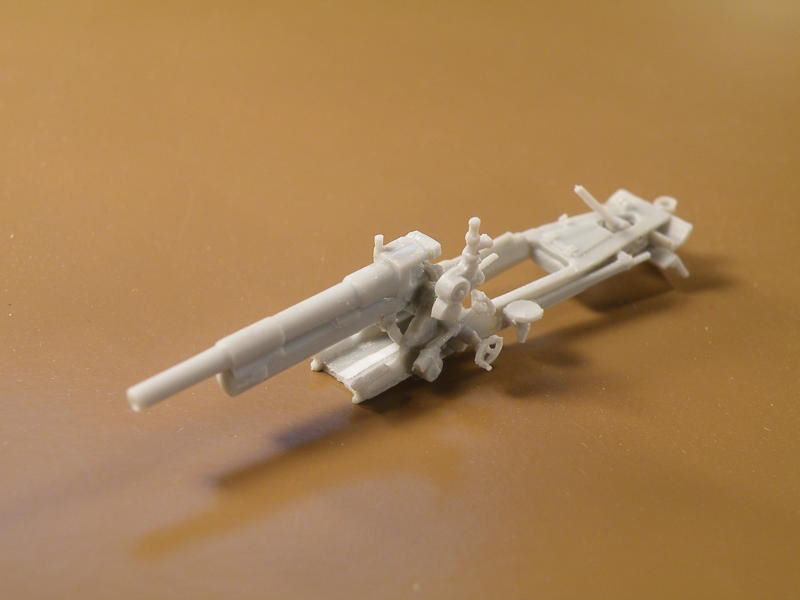
Parts 8 and 12 broke while trimming them so I replaced them with plastic rod. I then added the remainder of the sighting and elevation parts to the kit without any problems. Part 35, which glues on to the trail, has a tab on the side of it and I believe this should be attached to the frame. While I could not find any photos that showed this part on the gun, if I had attached it according to the instructions, the rods would have no support except on one end. I simply turned it upside down so the tab was in contact with the trails.
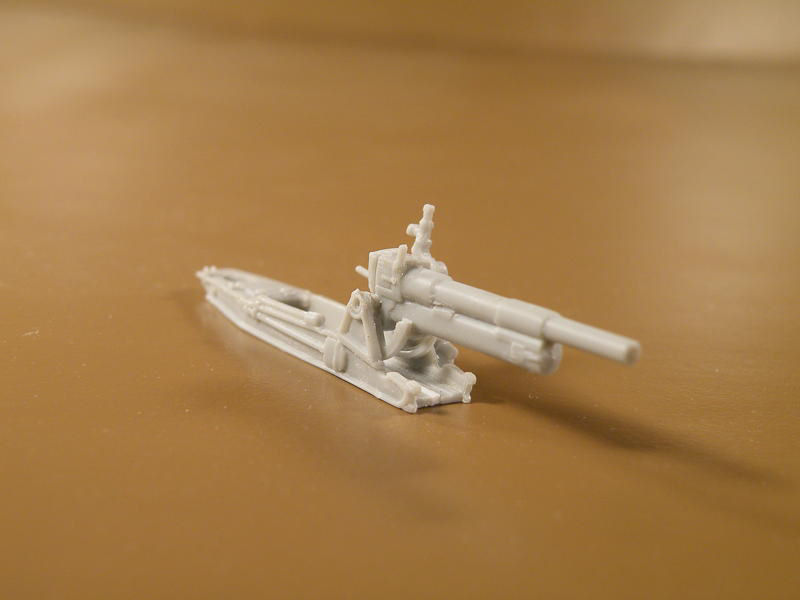
The second biggest issue I had with this kit was attaching the shield. I wanted to show the gun elevated and when I attached the shield, the elevation gears contacted the shield so when I elevated the gun, it pushed the shield forward. I believe the gears may be too long. One solution I have for this is if you want the gun at a higher angle, you may want to remove the gear teeth on Parts 26 and 29 or bend the gears at a steeper angle to clear the shield. You could also move the pivot pin forward .020 and this will move the gun back and should clear the shield. I used the diagram on the instructions to make sure the shield was at the correct angle. I drilled a hole in the carriage for the gunners seat, Part 32, to add more strength to the part.

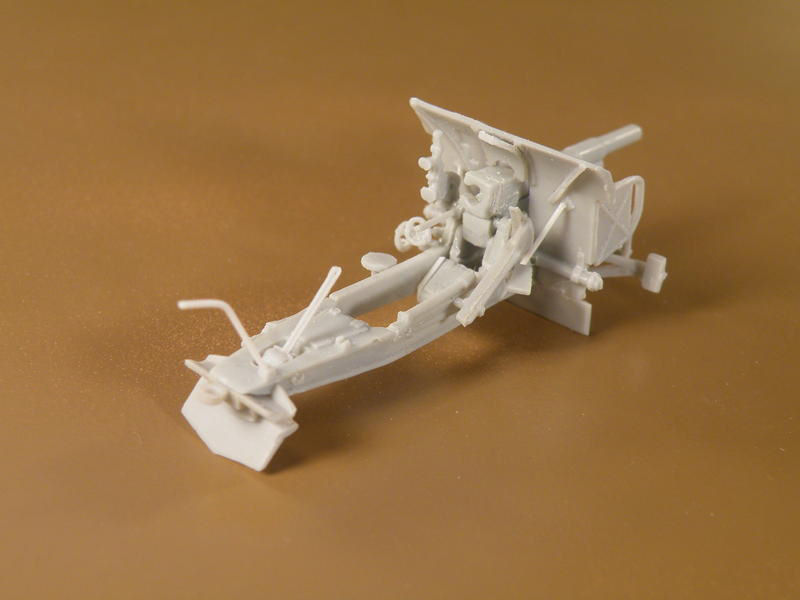
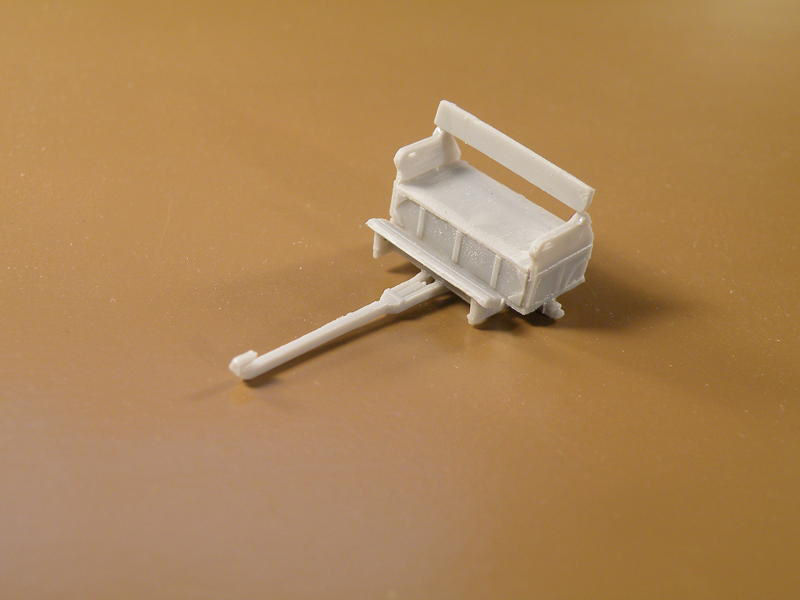
I attached the rest of the parts to the cannon without any other problems. I would recommend replacing the handles of the tools, Part 19, with plastic rod as the kit handles are too thick. I then began assembly of the limber. This went together with no real issues other than the grooves in Parts 45 and 47, to attach Part 46, are too narrow and need to be widened. This is so that Part 46 does not splay out the side pieces, but ensures they are vertical.
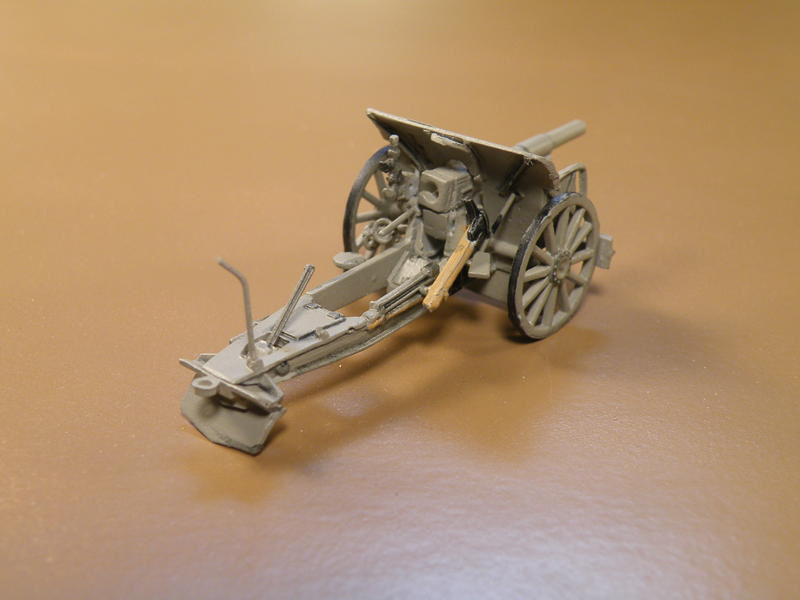
At this point, I began the finish. In my research of this gun I found that the weapons of the Imperial German Army of WWI were painted Feldgrau. Unfortunately, there are no accurate records for that period of time and various hues are possible from Medium Grey to a Dark Green. The Ace instructions recommend Medium Gray and from the research that I have made on this color, they're as close as anyone else has been able to interpret. If you are doing the WWII version, then Panzer Grey is correct but not for WWI. The Landships web site has a good article on Feldgrau and I recommend you read this.
Painting and Finishing
I painted everything Tamiya XF-20 Medium Gray. For the steel bands on the wheels and the tools I used Model Master Gun Metal. I applied a coat of Pledge with Future Floor Wax and washed the details with Tamiya XF-69 NATO Black. The model was then dry brushed with Medium Gray. The wooden handles were painted with Model Master Wood. A flat coat was then sprayed over the model using Tamiya Flat in the spray can. The shell casings were painted Tamiya X-12 Gold Leaf and the caps were painted Flat Black. The empty casings were drilled out and painted black inside.
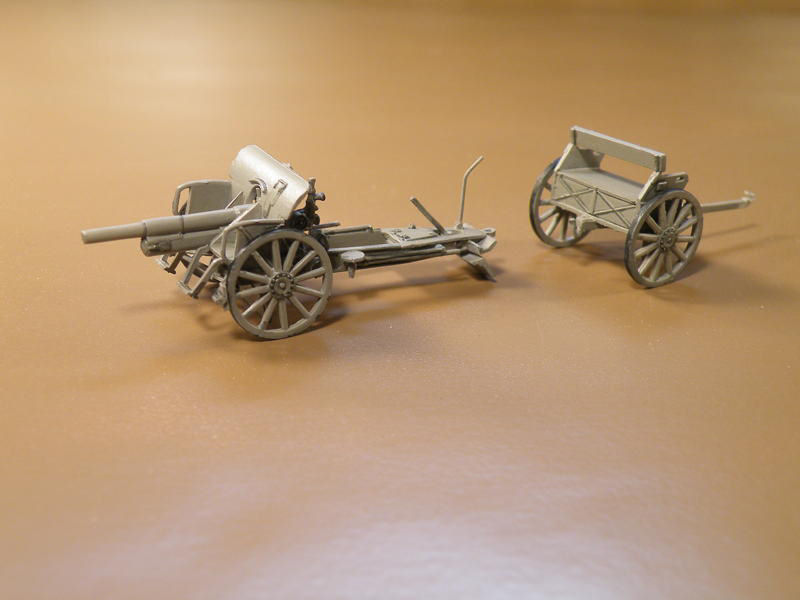
With Ace supplying the shells and casings in the kit, I knew I wanted to put this model in a small vignette. With the help of fellow Indy-AMPS club member Rick Wilkes, I was able to put a base together. It had been a long time since I had done a vignette so I needed some help. I took a wooden plaque and sprayed it gloss black. Afterwards, I painted on Creamcoat Tan and added Woodland Scenics Fine Turf Yellow Grass.
A mixture of 1/3 Matt Medium and 2/3 water was sprayed on, and then Fine Turf Green Grass was sprinkled in various spots. More Medium was sprayed on and Course Turf Burnt Grass and Green Grass were added in random spots as well. This was sprayed with the media again and then dirt from my backyard was added where the gun would be placed.


The gun, shells and limber were added to the base using white glue. The same was done to the empty casings and these were put in random spots.
Conclusions
I was very happy to do this review as I had become more interested in weapons of the Great War and Ace has done a job in the details of this kit. This is a very good kit and an important one too. It will lend itself to different color schemes and is very well detailed. I found that at a price of $9.00 it is a very good buy. In spite of some of the issues, I would build this kit again. I'm thinking about getting one and applying a dapple finish of sand, brown and Feldgrau, which was a late war color scheme.
I was very impressed with how well this was molded, even the molded on detail was well done. I especially liked the elevation handles. No photo etch was used on this kit and in my opinion was not needed. Now if Ace would only make a British 18 pounder. I highly recommend this to all those interested in WWI weapons.


My thanks to HobbyTerra for this review sample.