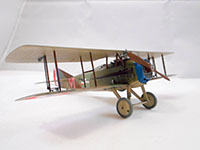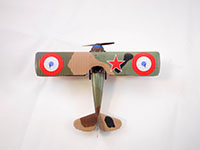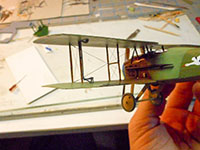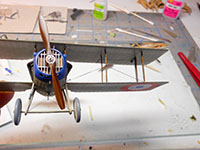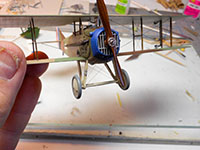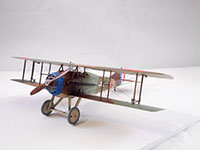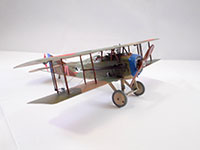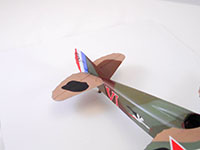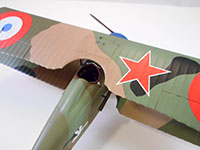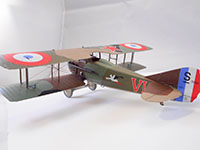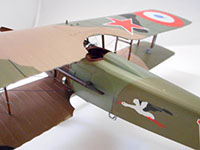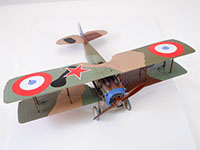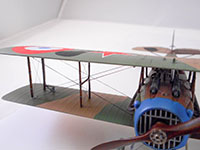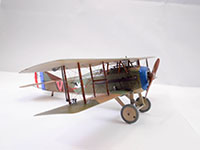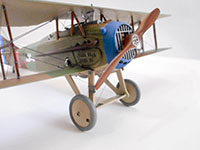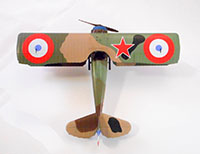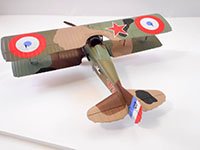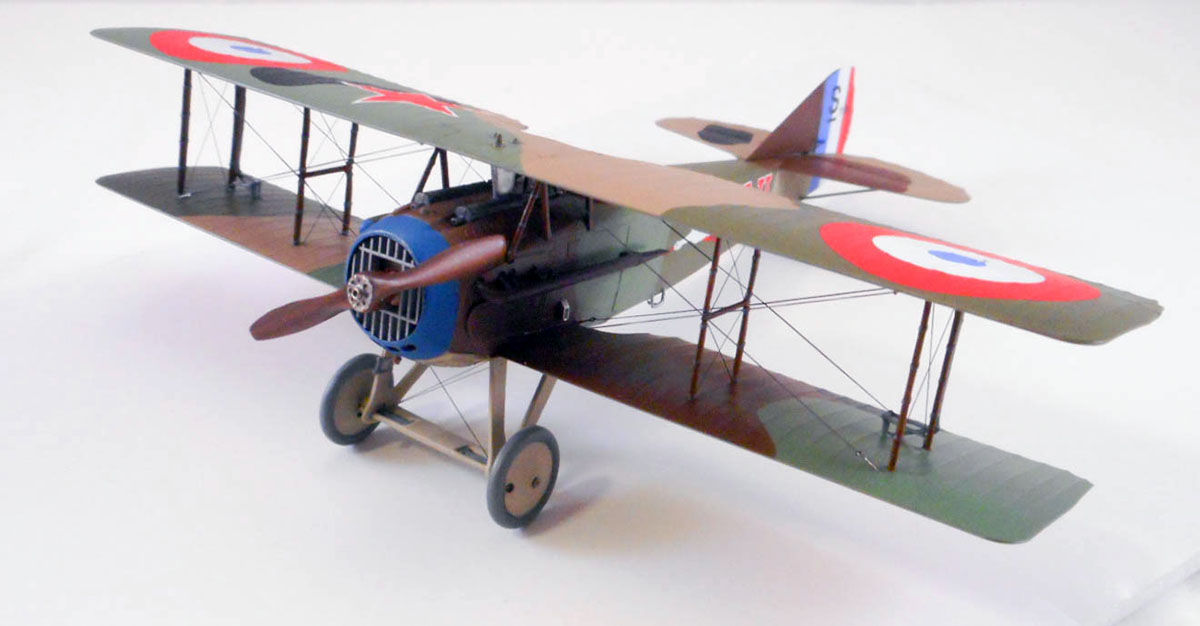
Eduard 1/48 SPAD XIII Build Review
By Larry Horyna
| Date of Review | April 2017 | Manufacturer | Eduard |
|---|---|---|---|
| Subject | SPAD XIII | Scale | 1/48 |
| Kit Number | 8425 | Primary Media | Styrene |
| Pros | Lots of detail for a weekend kit | Cons | See text |
| Skill Level | Experienced | MSRP (USD) | $49.95 |
Build Review
The venerable SPAD XIII was a larger, more heavily armed and more powerful version of the earlier SPAD VII. Eduard's Weekend Edition of this famous WWI French fighter offers a fairly straight forward, simple kit of this significant fighter.
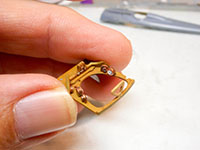
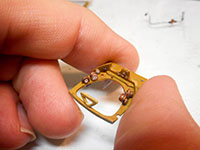
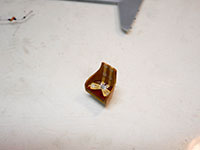
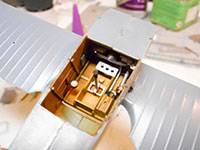
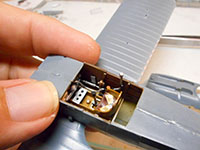
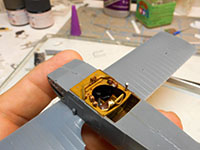
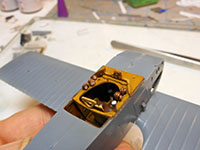
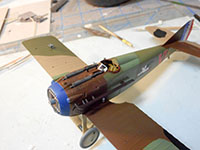
The kit is molded in gray plastic and as a "Weekend Edition" employs no photo-etched parts. Seatbelts are supplied as a decal as well as the instrument dials. Even without PE, the interior is fairly complicated with lots of parts. Overall, the fit of all of these little parts was good. The only tricky part was the fuel filler line which runs along the right side of the cockpit and threads between a few other parts. The seat belt decals, while very flat, still give a pretty decent look. I would probably not normally use them but they were acceptable.
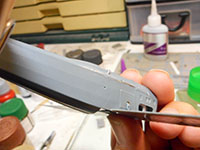
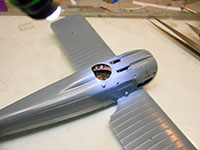
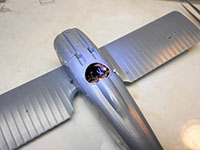
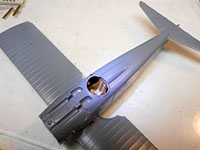
The fuselage construction is unique in being three sections comprising a left and right half and an upper section. This follows natural seam lines on the real aircraft and avoids a spine seam. This is fine, except the fit was not perfect for the top piece and I ended up with a little gap and "overhang" on one side to sand down. The tail and lower wing fit very well requiring no filling at all.
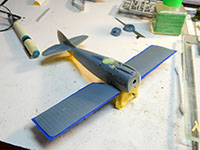
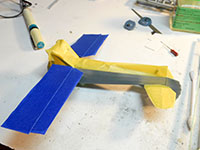
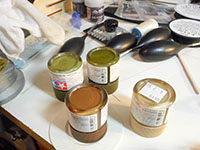
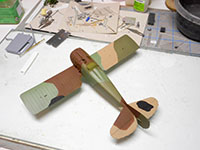
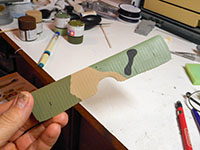
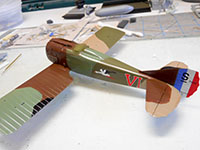
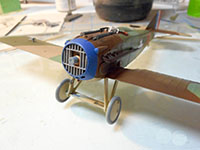
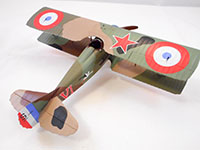
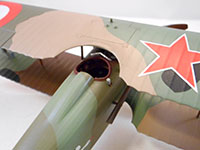
The landing gear assembly is straightforward with no fit problems. Once the gear were one it was time to paint. The model was painted with Tamiya acrylics. For this scale I elected to hard mask the demarcation lines between colors using Tamiya tape. The masking shapes were cut with a Gyro-Cut tool. If you do not have one of these handy cutting tools I would highly recommend you get one. The tool has a pivoting blade which makes it very easy to cut complex curves in masking tape.
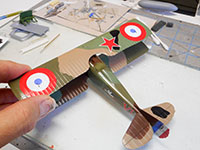
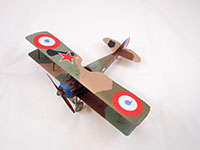
Once painted, the model was clear coated with Future Floor polish. The kit decals went on without any problems using Micro-Sol. I used Tamiya dark brown panel line wash to accent some of the detail around the landing gear and engine vents. The struts were painted with Tamiya XF-59 Desert Yellow followed by dark brown artist oils streaked on. When the oil dried, I airbrushed a thin coat of Tamiya X-26 Clear Orange to give them a varnished wood look. I painted the propeller in much the same manner. The final clear coat was Tamiya XF-86 Flat Clear, which I actually find to not be a "dead" flat but a fairly nice satin sheen. It was perfect for doped linen.
Next was the only real fidget I had with this kit, the machine guns. For some reason, they just didn't fit well into the grooves on the forward fuselage decking. I had to trim and sand and test fit several times before they would sit straight and level. The guns were painted with Tamiya XF-56 Metallic Gray. The telescopic sight and windshield fit with no problems. The cowling fit perfectly. In fact, I painted it separately and attached it after it was painted. There are two small vented bulges that attach to the front cowl and fuselage. I attached and painted these parts free-hand.
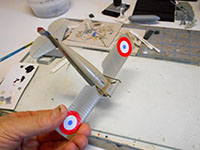
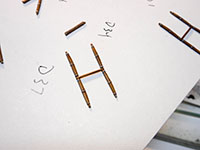
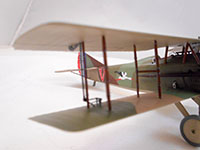
The holes for the struts were a little too small for the strut pins so I drilled all of them out just a little. I think this really helped with the fitting of the upper wing, which was pretty trouble free. I didn't even need my biplane jig. I fit all of the struts in the lower wing and the cabin struts on the fuselage. The tricky part was the aileron actuator rods. I attached them to the upper wing and the corresponding hinge parts in the lower wing. I fit the upper wing on free-hand and was able to attach the aileron control rods after the wing was secured. It ended up being a very stout and sturdy connection. The alignment was spot on. I would definitely say that this was one of the best fitting biplanes wings I have done in 1/48.
Rigging was done using standard size rigging line from Uschi van der Rosten for the landing gear and strut bracing. For the inter-plane rigging I used fine EZ-line (which is actually larger than the standard Uschi line). I also used some I/48 turnbuckles from Gas Patch Models on the inter-plane rigging. The end result is a nice scale appearance rigging, not too heavy yet not invisible. The rigging would have been pretty easy except that my CA did not perform well. It was probably a little "out of date" for the job. Even with accelerator it did not want to grab very quickly, making the rigging a bit more adventuresome than usual!
Overall, this is an excellent kit which builds up into a nice model even without the use of PE. I would highly recommend this kit even for a novice WWI aircraft builder. Just make sure your CA is fresh for the rigging!
My sincere thanks to Eduard for this review sample!


