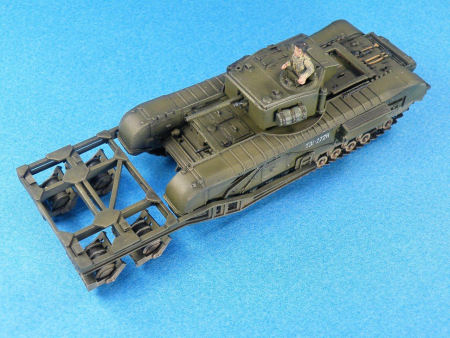
ESCI 1/72 Churchill Mk.IV AMRCR Kit Build Review
By John Kelley
| Date of Review | January 2011 | Manufacturer | ESCI |
|---|---|---|---|
| Subject | Churchill Mk.IV AMRCR | Scale | 1/72 |
| Kit Number | 8049 | Primary Media | Styrene |
| Pros | Accurate kit of Churchill tank; good detail | Cons | Vinyl tracks; ejector pin marks |
| Skill Level | Basic | MSRP (USD) | Out of Production |
Background
ESCI released a model of the British MK.IV Churchill with AMRCR in 1/72nd scale in the 1980's. While the kit is labeled a MK.IV, in reality it is a MK.III. The difference is the MK.III had a welded turret, and the MK.IV was a cast turret. I found very little information on this combination. The only book I had which talked about it was British and American Tanks of WWII by Peter Chamberlain and Chris Ellis.
According to their book, the anti-mine reconnaissance castor roller, or AMRCR, was a further development of the AMRA or anti-mine roller attachment. The difference being the AMRCR had four large rollers instead of six smaller rollers. From what I have read, the AMRCR was produced in very small quantities and there is no mention of it being used operationally. The only photos that I have found of it are in the above mentioned book. As for the Churchill tank, it was developed to MK.III standards in 1942. The main armament was a 6 pounder gun and two 7.92 Besa machine guns. It's most famous use was at Dieppe and in North Africa. It was also used in Italy.
The Kit
The kit is molded in a very dark green, almost black, plastic and contains 86 flash free pieces, including two vinyl tracks molded in silver. The kit was reissued by Italeri and contained hard plastic tracks. Either kit is an excellent rendition of the Churchill MK.III and since it is an earlier version, it lends itself to converting to different engineering and recovery vehicles which were based on this early chassis. It is probably one of the best 1/72nd scale Churchill tanks on the market. While this kit has been long out of production, if you get the chance, pick one up.
Construction
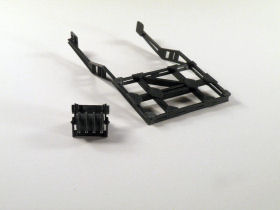
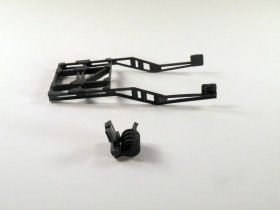
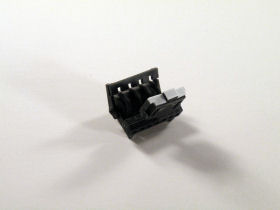
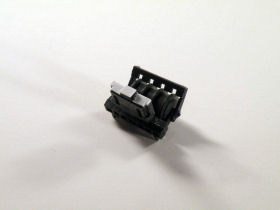
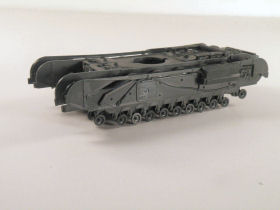
Starting with Step 1, I began assembling the rollers. While assembling them, I found I needed to remove the location pins because, if they are not, there is a step in at least two of the rollers due to misalignment of the pins. Removing the pins eliminates this problem. There were a number of ejector pin marks on the frame that holds the rollers. These were removed by scraping carefully with an X-Acto knife and following up with sandpaper.
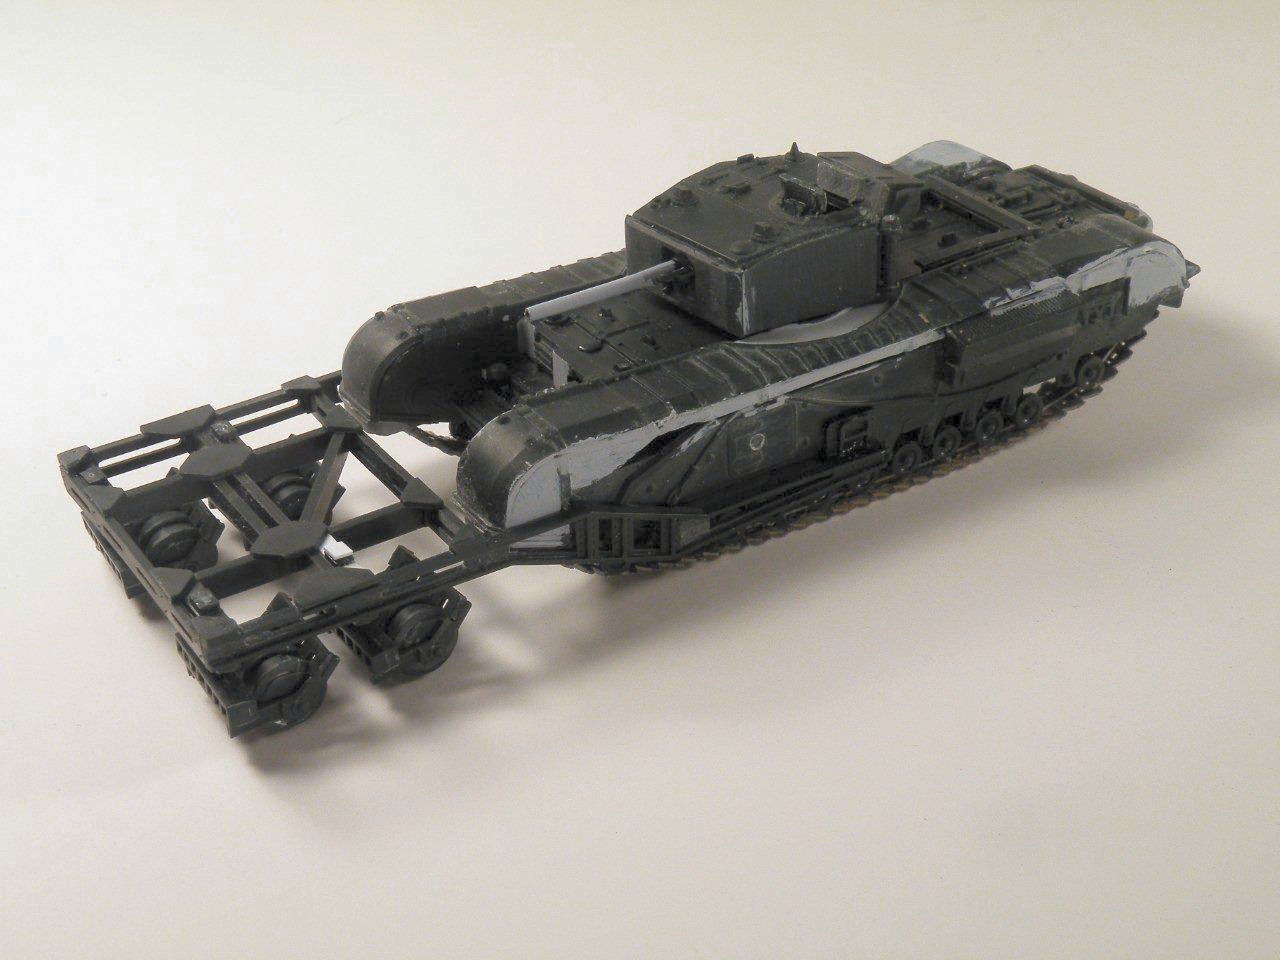
When I assembled the rollers to the frame, two of the rollers did not touch the surface causing the frame to tilt down. I added .015 x.080 strip styrene to the top of the two short rollers and this allowed all four rollers and frame to sit level. I also added the strip styrene to the top post so they would all have the same height when looking at them from the top. It sounds complicated, but if you look at the pictures you'll see what I mean.
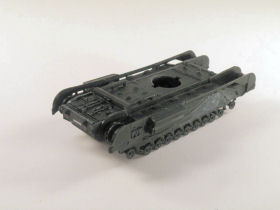
I then began assembling the upper and lower hull. Make sure Parts 6A and 5A, the inside track covers and sprocket mounting plates, are parallel to the hull sides. This is to make sure the drive sprockets line up with the sponsons. This assembly went together without any problem until I got to the suspension. The lower hull has three components; the hull itself, and the right and left suspension assemblies or sponsons.
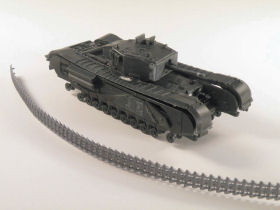
The Churchill suspension is rather challenging for the modeler as the track is between the hull and the outside sponsons . These sponsons contain the road wheels, drive sprocket and idler. When I built this, I did the more traditional method of assembling the right and left sponson running gear and gluing them to the hull. This meant I had to pull the track over the entire length of the sponsons. If I were to build this kit again using the vinyl tracks, I would assemble each sponson, add the drive sprockets and the track, and then glue them to the hull side. I think this might be the easier approach.
While my first method worked, it did stretch the tracks considerably and one broke in half, however I was able to hide it under the track guard along with the staples I used to hold the track together. By putting them on the sponsons before attaching to the lower hull, this might avoid this problem. Test fitting will be essential to make sure everything lines up. I would also recommend that you paint everything first; tracks and running gear. This was probably the biggest problem I encountered.
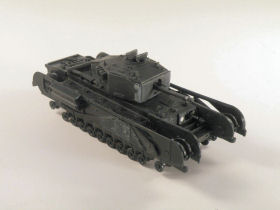
Another issue was the number of ejector pin marks in the kit. As you can see by the photos, there were several that required filling as well as seams. The most difficult was on Part 35, the drivers front plate. As there is detail in this area, care must be taken when filling the pin marks not to erase it. After adding the track assemblies, everything went together quite easily for the hull construction.
Next came turret assembly. This build had no problems, but I chose to remove the location tabs for the bed rolls as these are not needed since they were glued directly to the turret sides. I slightly filed down the sides of the Part 46, the gun mantlet to reduce the overhang on the sides a little. Part 36 and 38 are for the main gun. This is probably the only part of the kit that I found a little disappointing. Part 38, which is the tip of the gun barrel, is flared when it should be straight. This area required a great deal of putty and sanding. To be honest, I think a better barrel could be made simply by using plastic rod. I am unaware if there are any after-market barrels, but if there are, it would be nice to replace it. However, if you take your time, as you can see, it comes out very well.
I do have one small confession. I forgot to apply Part 44 to the turret. That is the antennae. At this point, I began final assembly. I attached the rear plate, Part 10, and filled the location hole with strip styrene and removed the location tab from the fuel tank for a better look. The fuel tank was assembled and the seams filled. Next came the attachment of the track guards. The fit of these was not too bad, but there were gaps between the cover and the sponsons that needed to be filled. The track guard covers on the front and rear are one piece and these needed to be filled with putty due to gaps between the sides and the guard cover. There was also a gap between the top track guard and the sponson and for this I filled it with Mr. Surfacer 500.
After making sure everything was puttied and sanded well, I coated all of the puttied surfaces with the Mr. Surfacer. Once I was satisfied with the finish, I sprayed the model with Tamiya Primer. Again I checked the finish and I sprayed the model with flat black to serve as a base for the finish coat and to cover up all of the light gray. After this, I began painting.
Painting
I base coated the model the same way I did my build review on the Tamiya Crusader AA Tank, using Mike Starmer's Tamiya mix for SCC 15. His formula was posted on the Missing Lynx Discussion Forum. This is a very easy formula and produces an excellent rendition of SCC 15. The formula is five parts XF-61 Dark Green plus two parts XF-62 Olive Drab and two parts XF-3 Flat Yellow. I added a couple of extra drops of XF-3 to lighten it as per Mr. Starmer's recommendation.
On the roads wheels and track, I sprayed a thinned mix of XF-72 Brown JGSDF and built up the color to the desired depth. I then sprayed a coat of Model Master Semi-Gloss for protection from the washes and after drying, I applied Windsor Newton Oils #41 Van Dyke Brown to the road wheels and track. On the upper hull, I used #25 Lamp Black.
After waiting twenty-four hours to dry, I began dry brushing the upper hull and turret using the base color mixed with XF-55 Deck Tan. I added more and more Deck Tan until I was using the Deck Tan straight out of the bottle for dry brushing. After this was dried, I applied the decals. This is where the instructions, I found, were extremely poor.
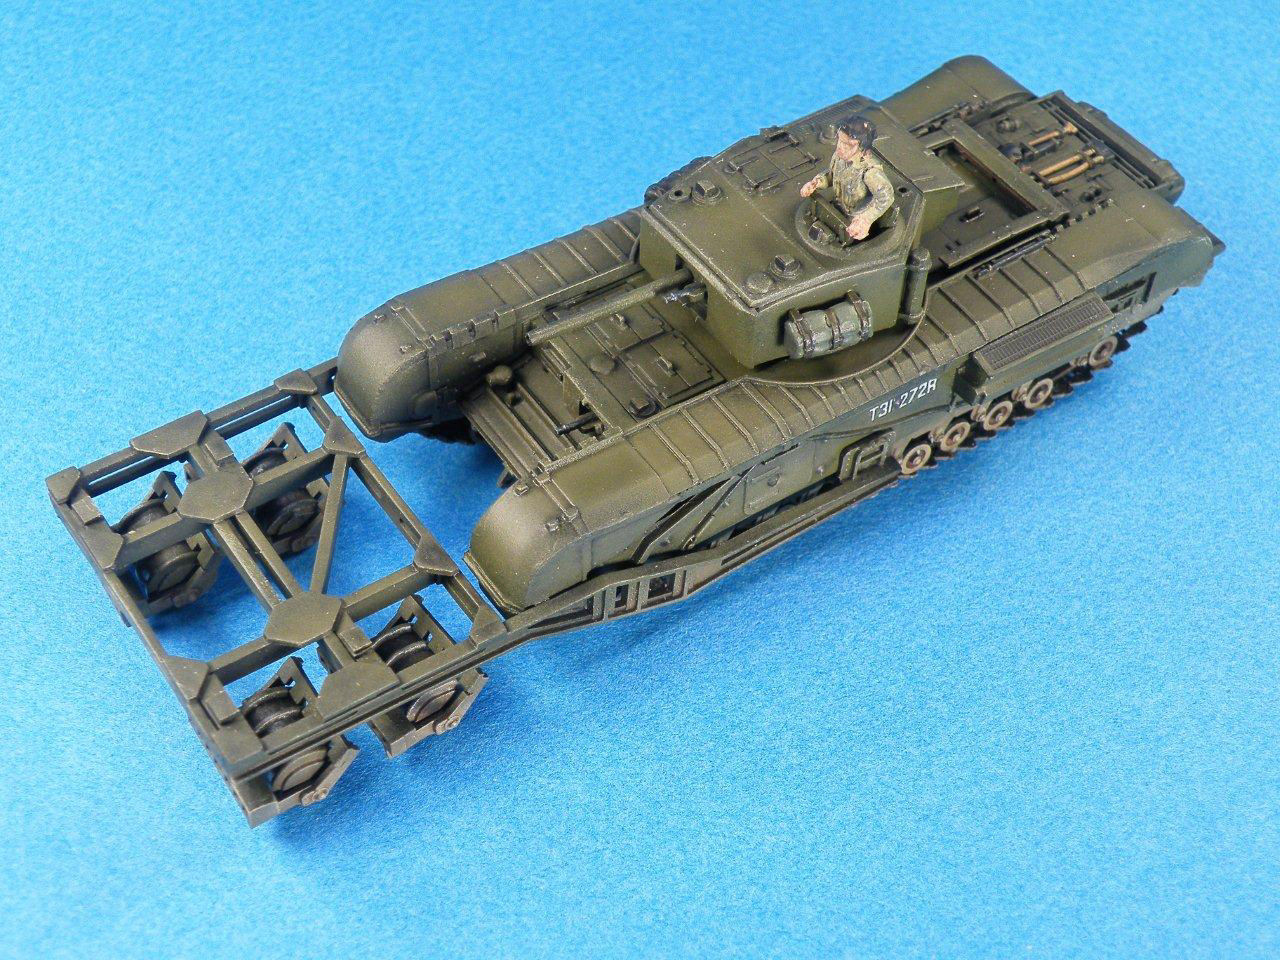
The instructions show a four view drawing of the tank and the kit decals laid out as on the sheet. There are letters on the sheet for the decals and on the tank drawing to show where each decal goes. However, there is no unit identification or any indication of where the vehicle served. In essence, you will need reference material to know what decal was used with what unit and where. I have been able to identify one; the tank name is Cyclops and it served in North Africa. I have not been able to identify where the other tanks served or their unit. I added all the decals except for the call numbers on the side of the turret which were covered by the tarps and only two, instead of three, of the red white red flashes as I could only find two being used and not three.
As I said earlier, this attachment was not used in combat but since this is a review, and the decals are included, I added them. Before placing them on the model, I cut them out very close, eliminating as much decal film as possible. I then placed drops of Pledge with Future Floor Wax wherever the decals were placed. To clear the bolts on the sponson side it was necessary to cut the "T" numbers in half. It isn't that accurate but it worked! I then coated over the decal with more Pledge.
After everything had dried, I used Tamiya Clear Flat, in the spray can, and flat coated the model. I then took the figure, cut the lower portion of the legs off so he would fit in the cupola, and painted him using Tamiya Buff XF-57 for the uniform and Polyscale Flesh for the face, and Model Master Flat Black for the beret and headphones. I then washed the figure with XF-10 Flat Brown. The figure was then dry brushed using Buff and Flesh. The left side tarp was painted XF-65 Field Gray and the right tarp was painted XF-62 Olive Drab and the straps were given a wash of Flat Black.
The machine guns were painted Model Master Gun Metal. The tools on the rear deck were first painted Model Master Wood and then washed with Tamiya Red Brown. The metal portions of the tools were painted Gun Metal along with those on the track guard. The final weathering was an application of MIG Productions Europe Dust P028 Pigment. I brushed it heavier on the running gear and rollers and lighter on the top portions of the vehicle. Even though it didn't photograph as well as I would like, it is there.
Conclusions
This is probably one of the best Churchill tanks available in 1/72. With the exception of the tracks and some ejector pin marks, the build was quite enjoyable. I already have two Italeri issued Churchill's downstairs, so I look forward to putting these together soon. This is a good kit and will lend itself to a lot of interesting conversions. From the water proofed tanks that came ashore at Dieppe to the "Funnies" in Normandy, the Churchill could be found in many interesting marks.
I highly recommend this kit to any fan of British armor.


