


Fisher Model and Pattern 1/32 F9F-8 Cougar Build Review
By Larry Horyna
| Date of Review | April 2019 | Manufacturer | Fisher Model and Pattern |
|---|---|---|---|
| Subject | F9F-8 Cougar | Scale | 1/32 |
| Kit Number | 3202 | Primary Media | Resin, Photo-Etch |
| Pros | Unique subject, accurate, parts highly detailed | Cons | See text |
| Skill Level | Intermediate | MSRP (USD) | OOP |
Build Review
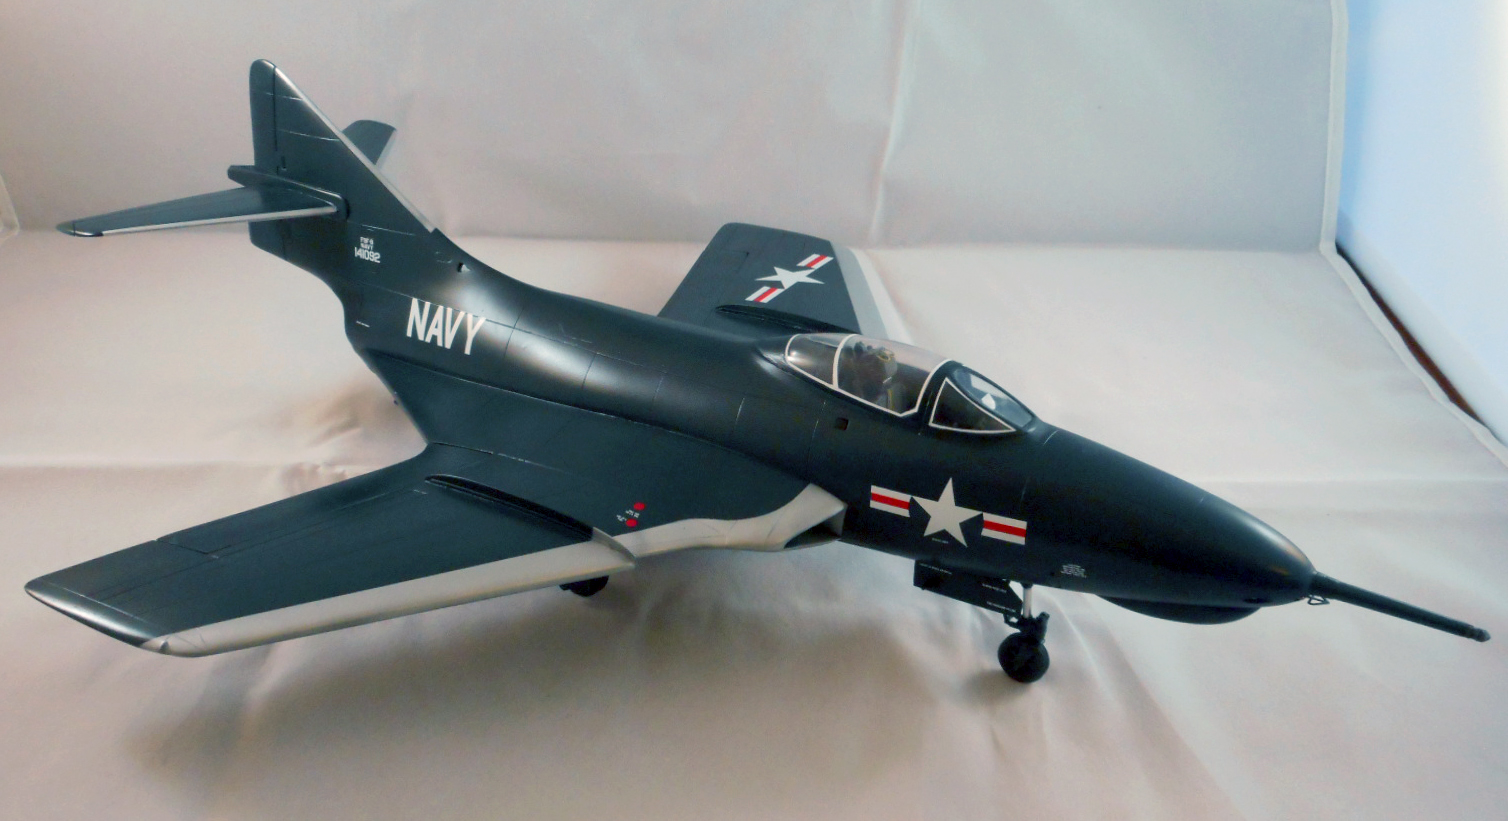
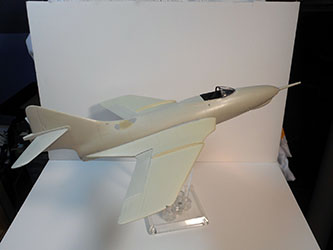
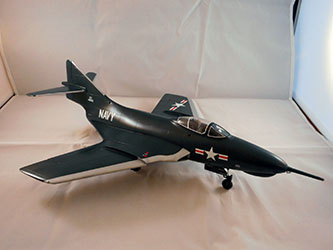
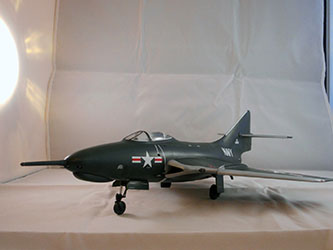
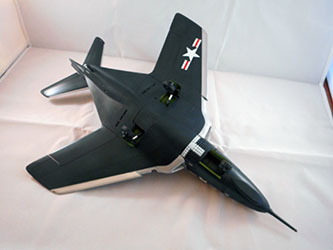
Essentially a swept wing version of the F9F Panther, Grumman's Cougar was the USN's first swept wing jet fighter. Since the Cougar was considered a modified Panther, the F9F designation was kept, with the Cougar starting as a dash 6 variant. The dash 8 (which is the basis of Fisher Pattern's kit) variant differed from previous variants by having the fuselage lengthened and the wing chord increased. Between April of 1954 and March of 1957, 601 dash 8s were delivered. Late production dash 8s were also the first US Navy aircraft capable of carrying AIM-9 Sidewinder air-to-air missiles.
The Cougar arrived too late to serve in the Korean war and the only Cougars to see combat with US military forces were a handful of TF-9J trainers serving with Marine Headquarters and Maintenance Squadrons 11 and 13 during the Vietnam War. Despite it's very limited combat use, the Grumman Cougar holds a special place in Naval aviation as the USN's first operational swept wing fighter. Fisher Pattern models has created an accurate resin kit in 1/32 of this iconic USN jet fighter.
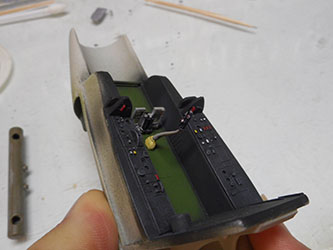
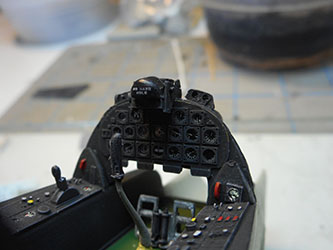
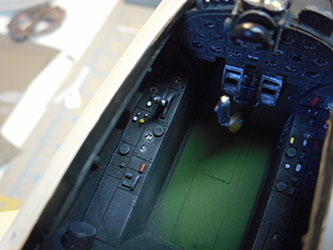
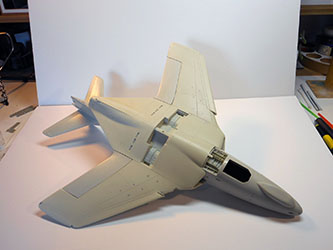
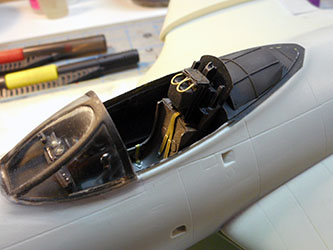
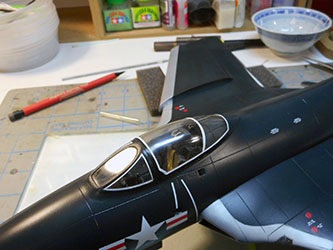
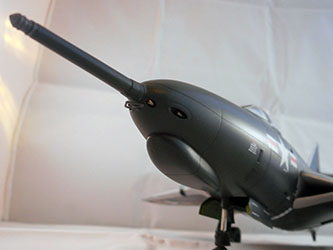
The first thing you will notice about this kit when examining the contents of the box is that this a one big "brick" of resin! The single piece wing is hefty but cast very straight with only a few minor casting bubbles on the trailing edges. The fuselage is also one piece, with only the cockpit section hollowed out to fit the separate cockpit tub. I had a few misgivings about this arrangement but found that the cockpit tub slid up into place with a minimal amount of fuss and adjustment. As far as the cockpit, good reference is definitely required as the instructions are quite vague and not well reproduced as far as photo clarity. Anyone building a resin kit like this should expect to need good reference anyway.
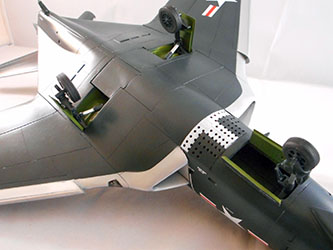
The brass photo-etched details are well made an quite sturdy. All of the cockpit components fit well and as previously mentioned, with good reference photos, you can figure out exactly where things go. The forward section of the cockpit tub is designed to hold 12 US pennies for nose weight (as if this model were not heavy enough already!). I built this model as a commission piece and the fortunately, the customer had purchased Fisher Pattern's replacement brass cast landing gear. I would consider these a necessity given the model's weight.

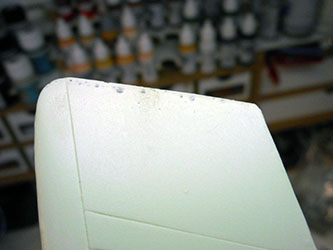
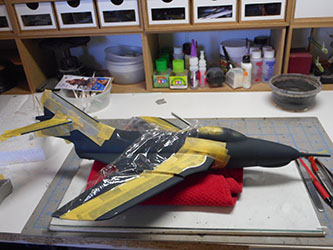
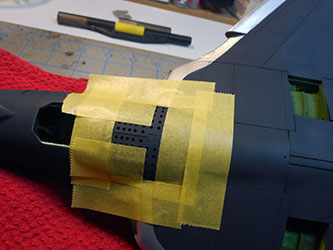
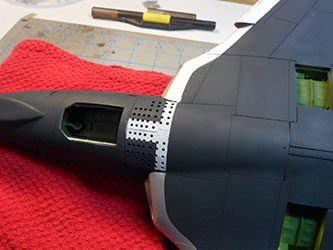
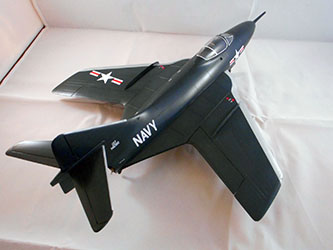
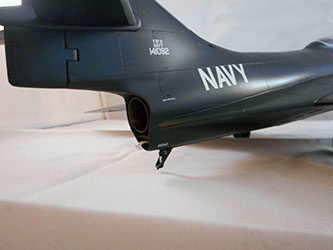
The fuselage casting on my kit had a flaw near the vertical fin. On the starboard side of the fuselage there was a indentation about the size of a nickel. on the port side was a corresponding bump. I sanded the bump down and filled in the indentation with epoxy filler. There were only a few other casting flaws. One was the previously mentioned casting bubbles in the trailing edges of the wings and the others were casting bubbles in the landing gear bay and cast in speed brake holes. The landing gear flaws were easy to grind out with a motor tool but the bubbles in the air brake holes were another matter. I decided to cut away the kit cast air brakes and replace them with the kit supplied photo etched ones. The PE brakes were designed to be used in the open position but my customer wanted them closed. In the end, I would recommend using the PE brakes even if you want the brakes closed. They simply look much better than the kit cast on brakes.
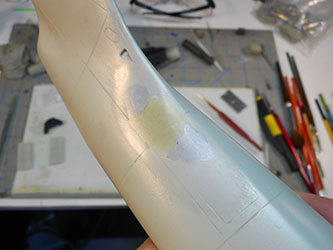
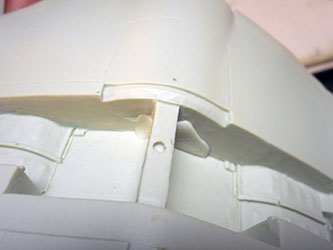
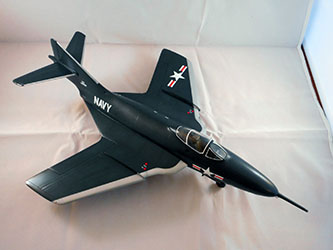
The fit of the wing to the fuselage was not bad but not ideal either. I had to use a bit of epoxy filler followed by some standard model filler (Tamiya basic type) to get the wing to fuselage join looking halfway decent. Also, the area around the exhaust nozzle needed some epoxy filler and re-shaping to get a smooth, seamless look. From this point assembly was both straight forward and simple.
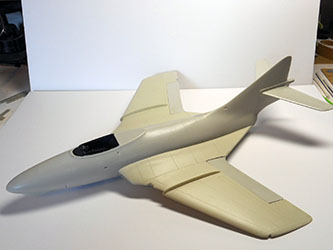
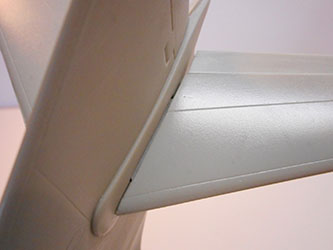
My customer wanted the airplane in a clean configuration (no external stores, canopy closed and control surfaces in neutral). I believe the kit was designed to show the flaps dropped as they fit much better down than up. Again, a little adjusting with shim stock and putty fixed the problem. Elevators and rudder fit in neutral with no issues. The horizontal stabilizers required a little filler where they joined to the tail.
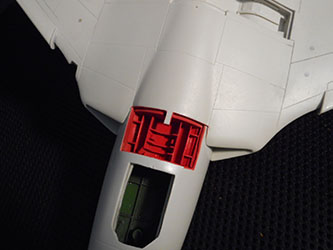
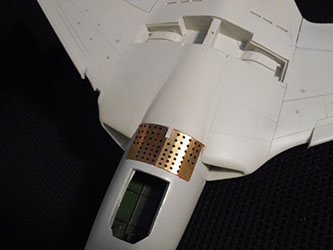
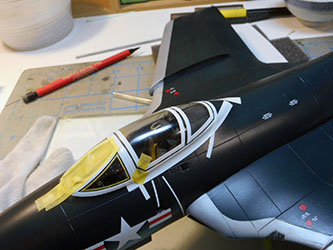
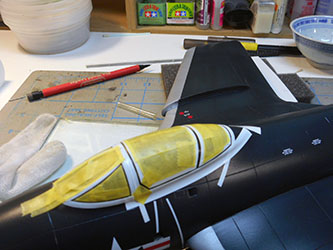
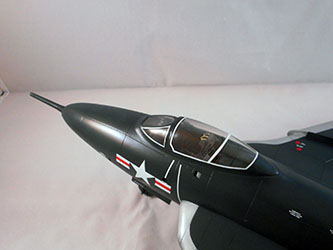
The windscreen required a little filler but nothing major. The main canopy did suffer a little from the same problem as the flaps. The fit was a little tricky to do closed as opposed to open. The clear parts are cast resin and are acceptable but not flawless. I dipped the canopy in future but it did not make it crystal clear.
Painting was done with Tamiya acrylics. I pre-shaded the model with flat black and built up successive layers of dark sea blue followed by a very slight highlight. Again, the customer wanted a nice clean look, so weathering was kept to a minimum and most the shading was for scale effect. The leading edges were masked and painted with Vallejo aluminum. The model was clear coated with Future floor polish in preparation for the decals.

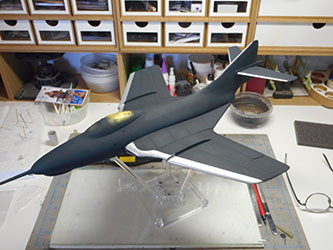

The kit decals performed very well. The stencil placement on the instruction sheet is quite vague so good references were invaluable. Most of the kit supplied stenciling was for Fisher Pattern's previously released F9F Panther so if you want a full complement of appropriate stencils you will have to scrounge them up from spare decals sheets if you have any.
The brass landing gear fit well, and I believe are a must for this particular kit. The weight is really something else! I wish I had taken the time to actually weigh the kit by itself before shipping it. I'm pretty sure it was over a pound. And in case you might wonder, it did arrive safe and sound in one piece at its destination.
Despite some fits and fidgets, many of which I would expect from any limited run resin kit, this model builds into a very nice replica of the Grumman Cougar in 1/32. Of course, it's easy to recommend the only game in town but if you really want a 1/32 Cougar, you won't be disappointed. As with any resin kit, just be prepared for a little more work than you might expect on an injection molded one.

On a sad note, as of this writing, Fisher Pattern Models was virtually destroyed in the big California wildfires a few months back. Paul Fisher has said that he will try and rebuild, but I would assume all of his molds were lost so this kit, along with all of the previous Fisher Pattern kits, may be very hard if not impossible to find, at least for the foreseeable future. At the moment, the website is still up but they are not taking orders. Unfortunately, I waited too long to get one of his F9F Panthers!