Fly 1/48 Jet Provost T.5/T-5A Kit Build Review
By Fotios Rouch
| Date of Review | August 2022 | Manufacturer | Fly Models |
|---|---|---|---|
| Subject | Jet Provost T.5/T-5A | Scale | 1/48 |
| Kit Number | 48013 | Primary Media | Styrene, Resin |
| Pros | See text | Cons | See text |
| Skill Level | Experiened | MSRP (USD) | OOP |
Build Review
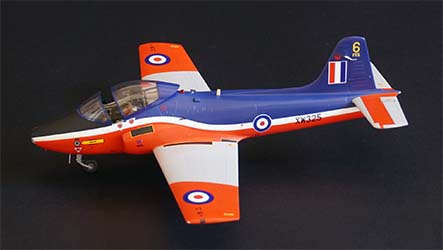
This is the Fly Models Jet Provost. It is a limited run kit, and it shows in many places. Parts need careful cleaning up from their injection sprue gates. The clear parts are not so clear but look good after repeated Future dipping.
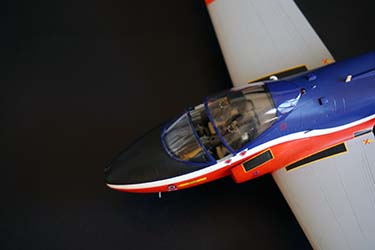
As usual the plastic was washed well and de-greased before assembly. Assembly was not straight forward, and many parts did not fit well. The provided resin interior needed adjustments too. I added details by using the Brengun photoetch set.
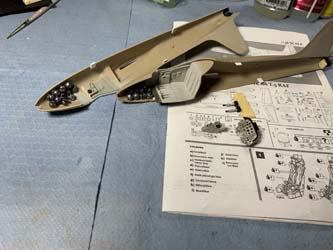
The instructions are so-so, and I had to look at many photos to make sense of some details. The instrument panel coaming for example is not representative of T.5 but I did not bother to make a new one. I added a lot of weight up front because this model has a center of gravity that is very much behind the main landing gear. The fuselage was glued in sections, starting from the front and moving to the tail. Sadly, few fuselage panel lines meet properly from left to right. It is not a matter of alignment because some do and some don't.
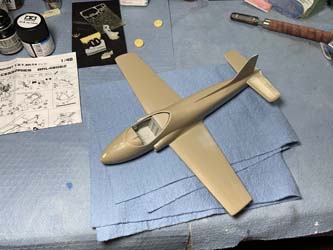
After basic assembly was completed, the model was washed and de-greased again before priming and then the Mr Surfacer 1000 primer started lifting off when I started masking. I had to sand the whole model down and wash it again. Similar issue. I then used diluted paint thinner to lightly mar the plastic. Primer stuck then but still had a few occasions where paint lifted later. This plastic just hates paint it seems.
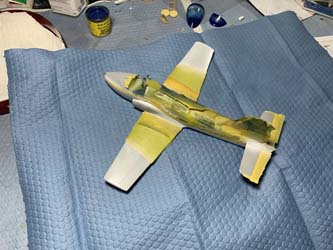
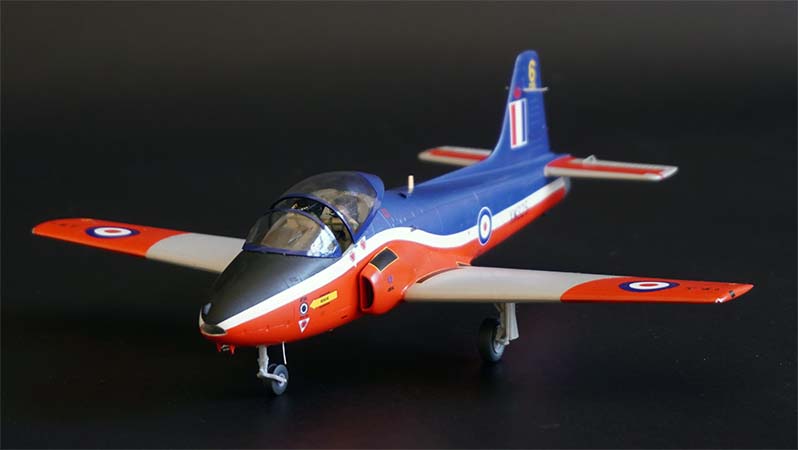
I chose a scheme out of an XtraDecals set because I found it visually appealing. There are a lot of photos of this aircraft on the web, but it looks like it is a flying restoration project, and I am sure there are deltas between it and the original era model.
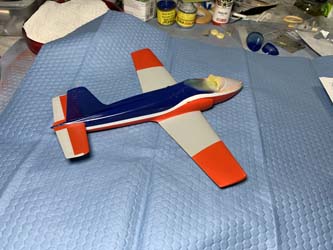
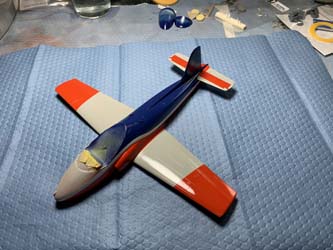
What is left now is to do the decals, spray semigloss varnish and then paint the anti-glare portions with mat black.
After basic assembly was completed, the model was washed and de-greased again before priming and then the Mr Surfacer 1000 primer started lifting off when I started masking. I had to sand the whole model down and wash it again. Similar issue. I then used diluted paint thinner to lightly mar the plastic. Primer stuck then but still had a few occasions where paint lifted later. This plastic just hates paint it seems.
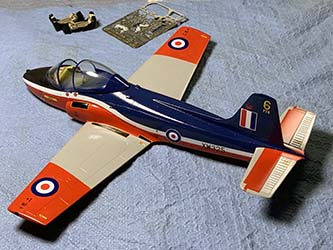
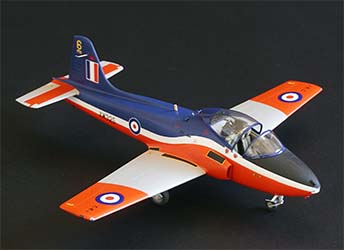
The build continued with using Future on the model and then using kit and Hannants decals. The kit decals provide all the stencils and the Hannants decals do not. The Hannants decals are more accurate, especial in the firebird tail area and the font for the numbers. The kit roundel decals provide a separate white background circle which helps a lot when the decal is over a tri-color scheme. Next things to do are paint the interior framing of the clear parts, add the landing gear and add the photoetch antennas.
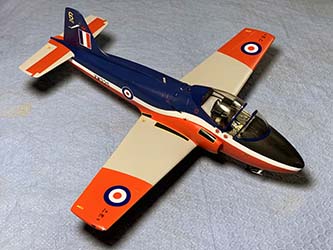
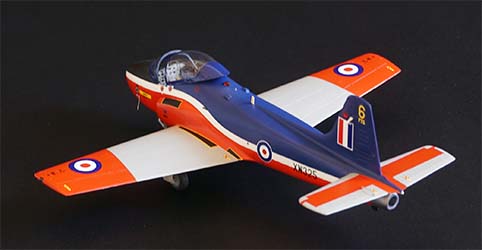
The Jet Provost is finally completed. This has not been an easy build and I am glad it is behind me.