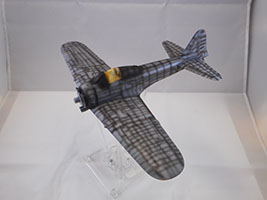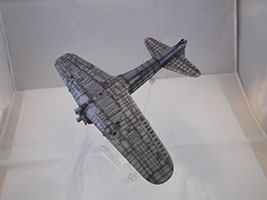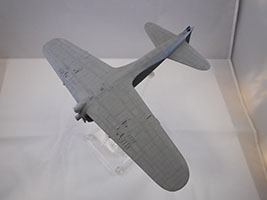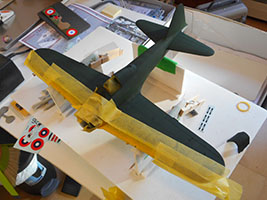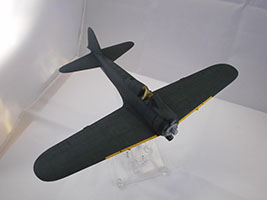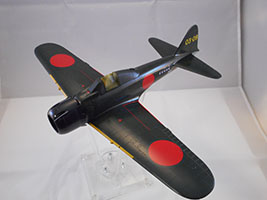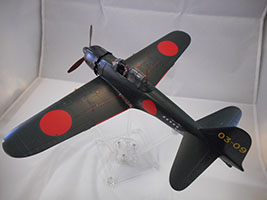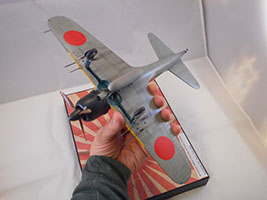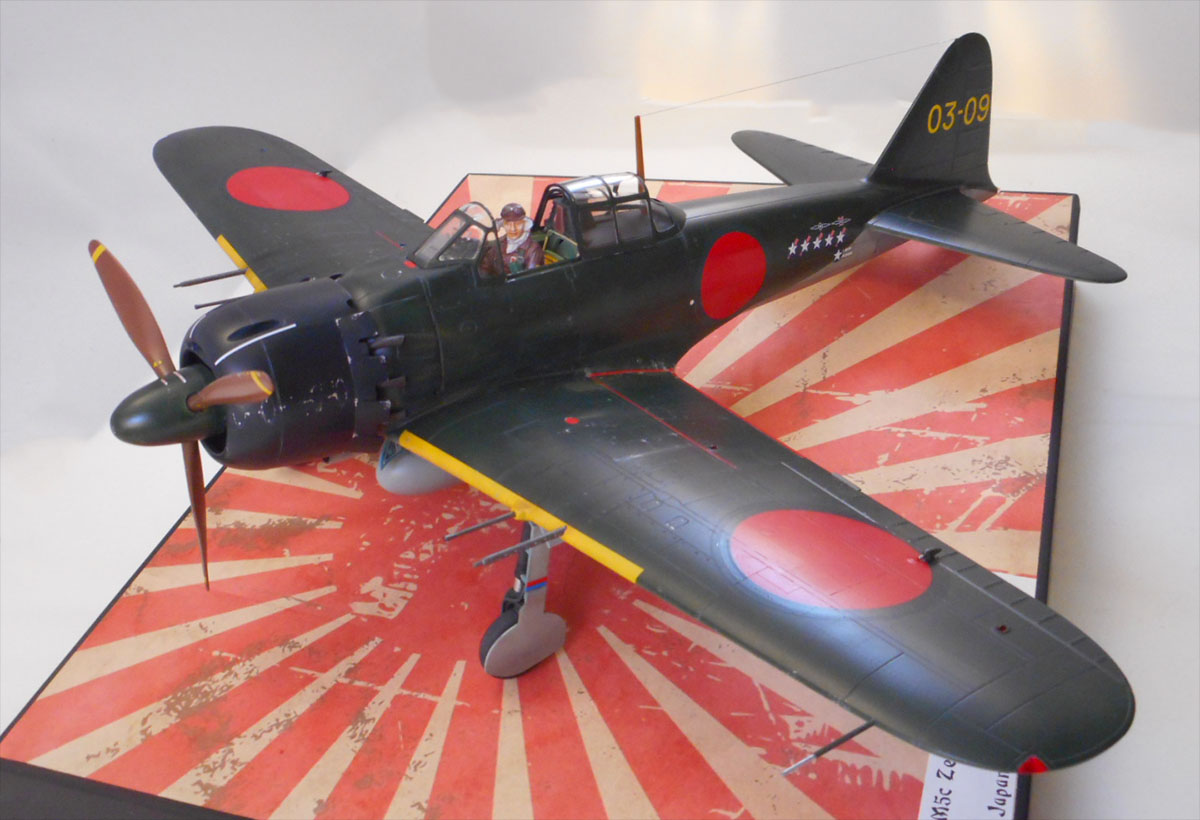
Hasegawa 1/32 A6M5c Zero Build Review
By Larry Horyna
| Date of Review | May 2017 | Manufacturer | Hasegawa |
|---|---|---|---|
| Subject | A6M5c Zero | Scale | 1/32 |
| Kit Number | 08884 | Primary Media | Styrene |
| Pros | Easy build, nice details | Cons | Nothing noted |
| Skill Level | Basic | MSRP (USD) | $59.95 |
Build Review
When Hasegawa announced a new tooled 1/32 Zero many asked 'why?' since the Tamiya 1/32 A6M2b and A6M5 represent the best Zero kits available in that scale. However, Hasegawa's new kit is a good choice for two reasons. One, the version is slightly different than Tamiya's being an A6M5c (essentially, different armament and hard points under the wings for bombs). Two, the price difference is substantial. I got my kit through Lucky Model for $32.00 including shipping compared to Tamiya's kits coming in at closer to one hundred dollars.
This is not exactly a blown up version of their 1/48 kit as it does not have separate flaps. I built the 1/48 kit in the exact same markings years ago and it was a great fitting, very nice model. Interestingly, I built the 1/48 OOB and basically did the same thing with this one. Being someone who really gets into super detailed cockpits and stuff, I was looking for a nice, relatively quick OOB build to get something on my shelf. Between commission builds and detailing the snot out of my own stuff, I don't seem to get much finished for me.
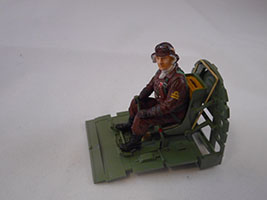
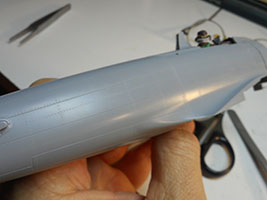
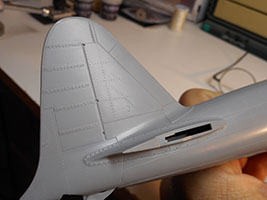
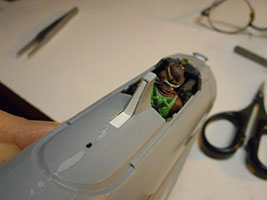
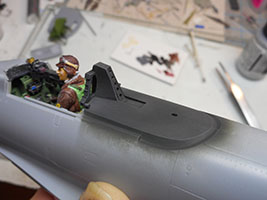
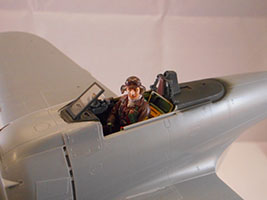
What sealed the deal for me on this kit was great looking pilot figure. I don't normally put pilot figures in my airplanes, but the figure would hide most of the areas I would normally want to detail up. In the end, this kit really fit the bill! My only disappointment, and this goes for all of Hasegawa's 1/32 retooled WWII aircraft, is that they do not tool most of the rivets. I know this is personal preference as many modelers would say you can't really see most of the rivets anyway. Because I like to play with paint effects and weathering, I really love kits with rivet detail! It turned out to be nothing that an RB rivet tool and a little extra time wouldn't cure. It only added a few extra hours to the build and for me, it was worth the time.
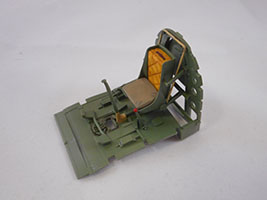
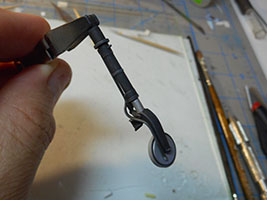
Typical of Hasegawa, everything was very straight forward with construction and fit was exceptional. I used very little filler. The only tricky area is the roll support behind the headrest. The back has lightening holes with a seam running right down the middle of them. My solution was to glue a piece of .005 sheet plastic over the holes and re-drill them. The engine is very nice and only needs a wiring harness, which I may add at a later date but keep more with the OOB idea I did not add one (besides, the big spinner kind of hides a lot of engine anyway). The kit does provide very nice brake lines for the landing gear.
I also prefer to paint the national insignia and various other markings using masks but again, for expediency, I decided to use the kit decals. I will say, I wish I had taken the time to paint the markings. The kit decal Hinomaru are a bit pinkish to my eye. I ended up using an extra set of Tamiya Hinomaru that I had on hand as I like the slightly deeper shade of red that they are. This particular aircraft had the over-painted white surround and the shade of green on the decal was different enough from the paint to give it a slight over-painted look. Again, I think this would have looked better actually painted but it's good enough for what I wanted to do on this one.
The model was painted with Tamiya paints. I think the JN Green is a little dark and I did not do as much as I typically do to break up the monotone effect of such a dark shade. This particular aircraft is well documented in photos and appears fairly new and clean so I was conservative on wear and tear (again, this was also a time saver). Clear coats were Future for the gloss and Tamiya flat clear, which is really not a dead flat but has more of a slight satin sheen, which was what I was looking for on this one. When I want something dead flat, I have not found anything in acrylic better than Testors acryl flat coat.
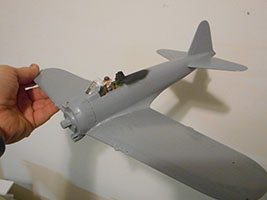
The end result is a nice model that took far less time than I usually spend on a 1/32 model. More importantly for me, it's FINISHED! I would highly recommend this kit. It's a great value for the money and a fun build.


