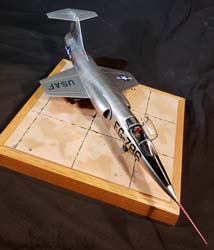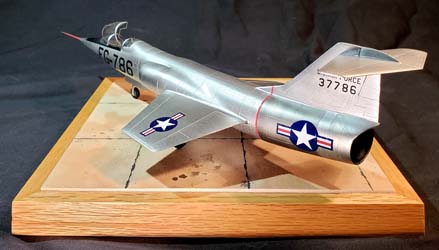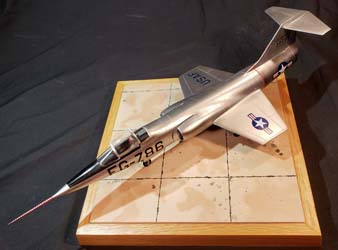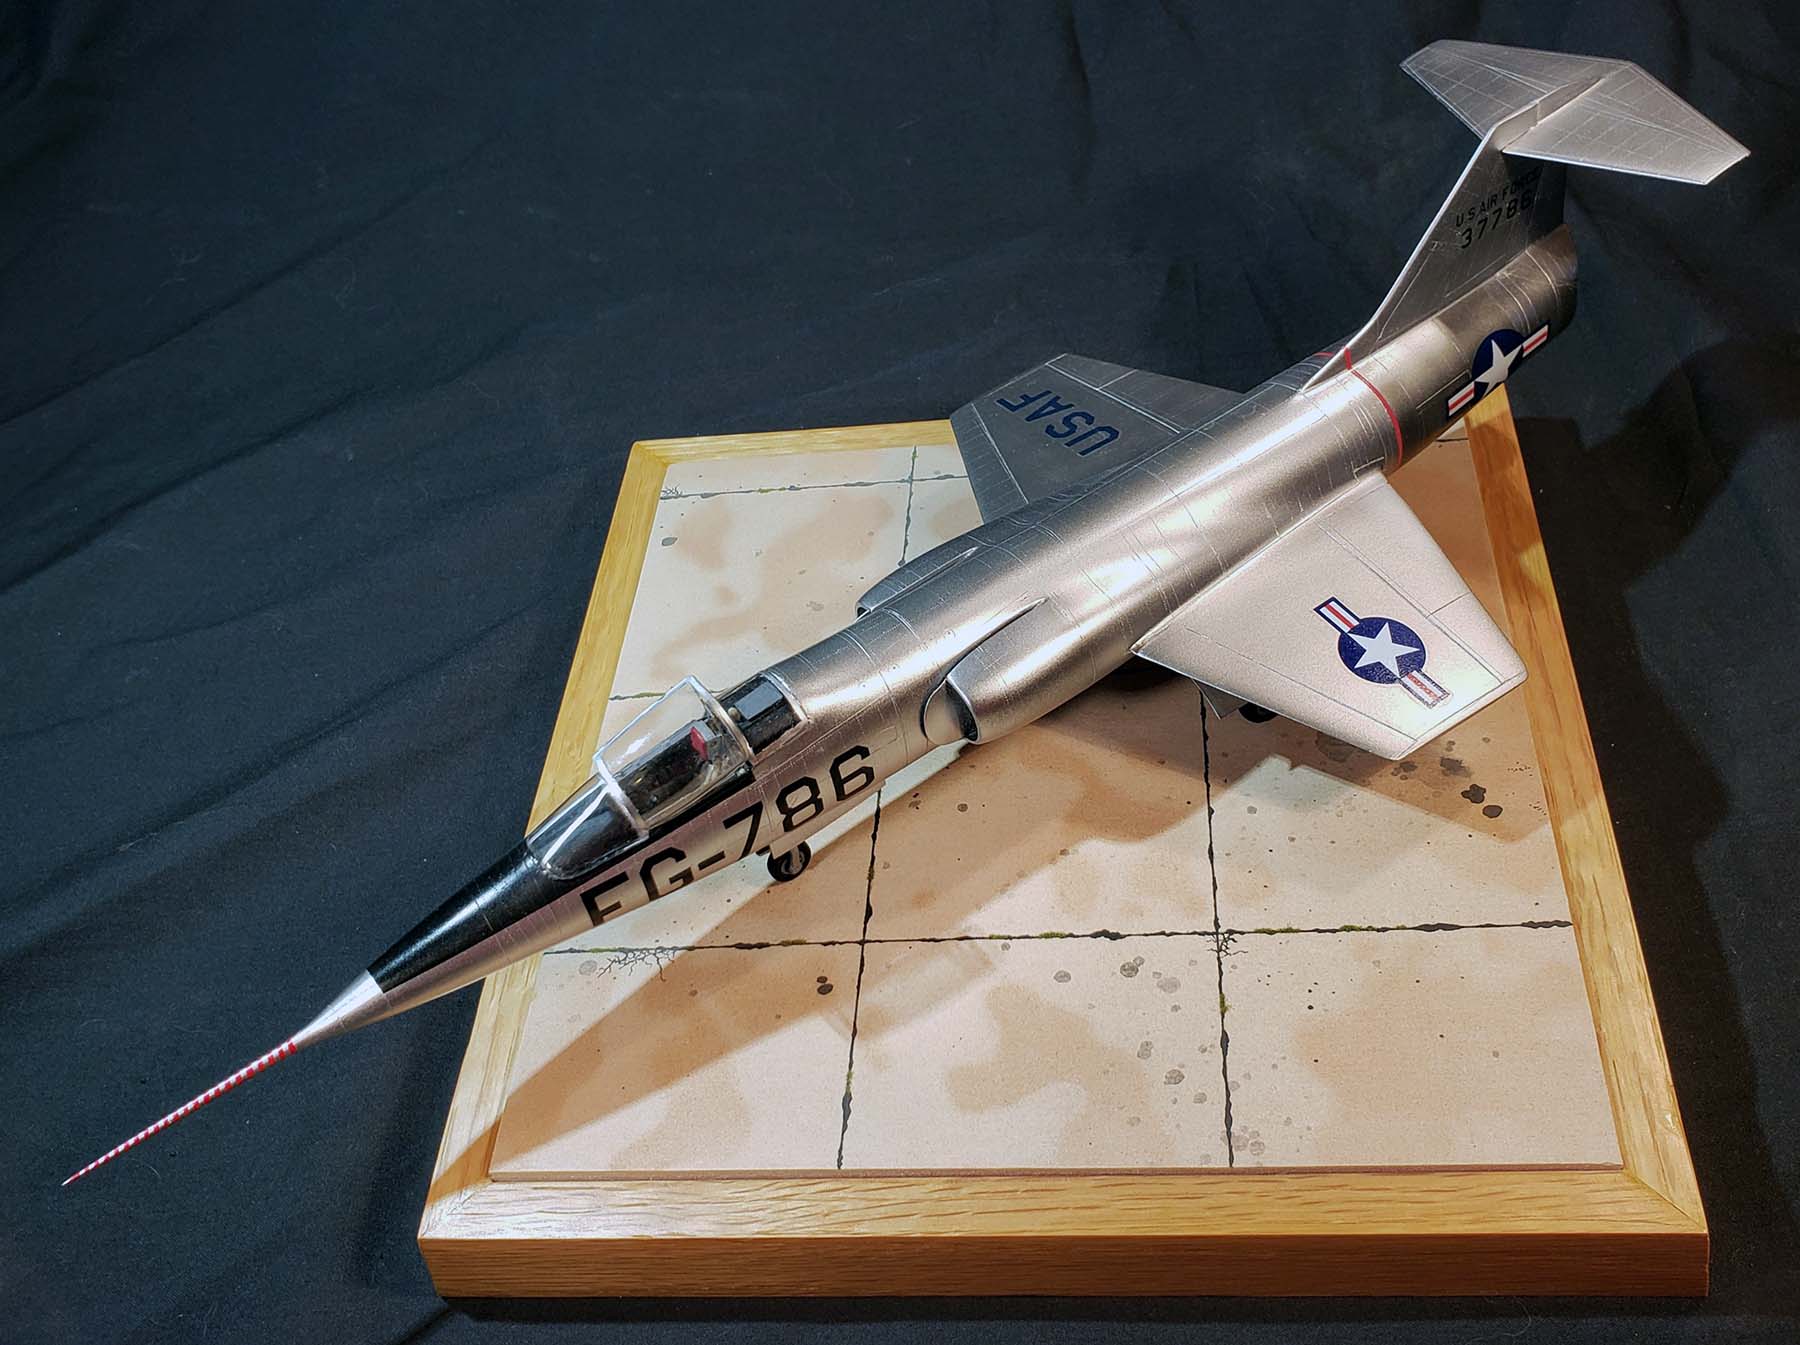
Hawk 1/48 F-104A Backdated to XF-104 Kit Build Review
By Kelly Jamison
| Date of Review | July 2018 | Manufacturer | Hawk |
|---|---|---|---|
| Subject | F-104A Backdated to XF-104 | Scale | 1/48 |
| Kit Number | 0504 | Primary Media | Styrene |
| Pros | None here! | Cons | See text |
| Skill Level | Experienced | MSRP (USD) | OOP |
Build Review
Every aircraft has a beginning. The F-104 Starfighter is no different. When the Air Force put out a requirement for a single-engine high-performance supersonic interceptor, Lockheed stepped up with a radical new design heavily influenced by Clarence "Kelly" Johnson. Better known in the hallow halls of the Lockheed Skunkworks as "Mr. Johnson."
USAF fighter pilots complained about their aircraft being on par or slightly better than their Russian counterparts they met over the skies of Korea, Lockheed took notice. They started a development program for the perfect high-speed interceptor. Nothing but cutting edge design, super sleek, Gatling gun loaded, easy to produce and maintain. The design started to take shape with all the elements that Kelly Johnson approved of. And in typical Skunkworks fashion it was only one year from award of contract to the first flight. This was an amazing feat for any manufacturer at any time.
The first XF-104, 53-7786 officially took flight on March 4th starting the Starfighter's long career in service of many different countries. 53-7786 was lost on 11 July 1957 when a known Achilles heel appeared, an uncontrollable flutter in the tail fin that ripped it from the fuselage which forced the pilot to eject using the unique downward firing ejection system.
Over 2,500 Starfighters were produced and served with 15 different countries while being manufactured in 7 different countries under the Mutual Defense Assistance Act. This aircraft had a long and turbulent flight history with a high loss rate due to training and operational environments. Regardless it did leave a mark on aviation history with its innovation and unique design.
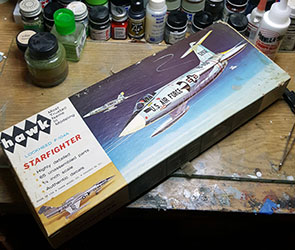
I looked at different kits to use as the base for my backdating project. The Hasegawa, ESCI, Monogram kits didn't have the small tail look I needed or the shape of the front canopy of the early XF-104 prototypes. After a long search, the only kit that would work at all was the very old Hawk F-104A and a complementary set of drawings I found on the Internet, the most important tool I have in my arsenal, a new razor saw. This kit goes back to 1961 in its origin. Mine is the 1964 boxing and it looks every bit of its 53 years. Made with very brittle greyish-silver plastic and a yellowing clear canopy with a bare minimum of parts and a vague shape that looks like a Starfighter, this would be my starting point due to the short tail and forward windscreen. Oddly enough it came with a boarding ladder and a standing pilot. In the scrap box it goes! There was going to be a lot of work ahead on this build.
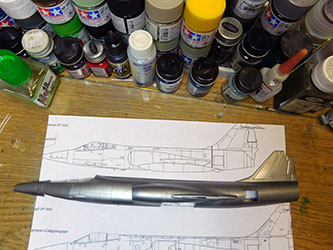
There were so many modifications that were needed to convert the F-104A into an XF-104 and many more modifications that were needed to correct the old moldings. This proved to be extremely challenging. You know what they say about eating an elephant…one bite at a time. The first order was to get all the measurements down and cutting it up to match the correct stubby length of the first two prototypes. I had to refer back to my plans I found on the internet often.
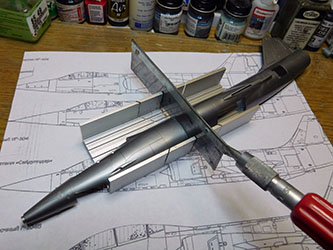
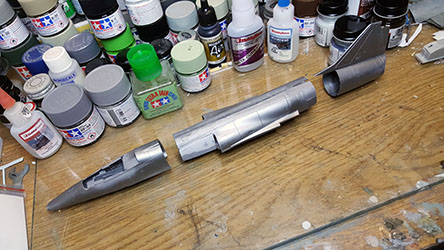
Using my plans, I cut the fuselage into sections. Then I worked each section until they were ready to go back together. Well that was the intent at least. Lots of work went into every section so I will cover those individually.
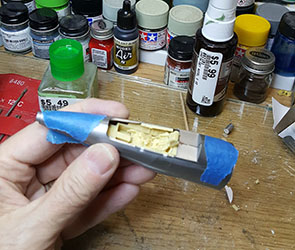
I cut the nose off at the intakes since the XF-104 was shorter from the intakes forward. Then I cut off the incorrect one piece intakes to replicate the splitter plates. This took some inner structure scratch building to build up the area to mount the corrected intakes to. The real deal didn't have the distinctive spike in the intakes but had a curved splitter plate and open intakes giving the XF-104 a very different look in that area. Superglue, plastic card and sand paper were my friend during this part of construction.
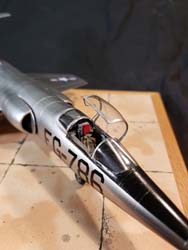
I fit an F-104C cockpit that I had and I found an early Lockheed C-2 ejection seat that I backdated to a C-1 downward firing seat using more references found online. It took some cutting and grinding but I got it all to fit. I also plugged up the large notches the original open kit canopy was supposed to sit in. I also used a resin nose wheel well that I had to modified because the early Starfighters had the landing gear in the forward section of the nose wheel bay. The two seaters maintained this configuration while all later models had the wheel strut at the back of the wheel well.
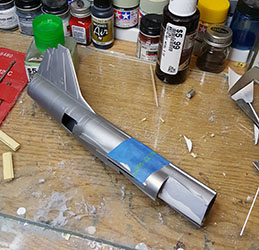
To get the aft fuselage the right length, I cut it along a panel line that also shortens the airbrakes to the same size as the XF-104. They were much smaller than the production F-104A. A tricky cut had to be made to keep the tail fillet intact.
With the fuselage halves together, I used a Black Box main wheel well to replace the non-existent wheel well area and shimmed up all the open areas with plastic card stock and filler putty. Then it was time to stitch it all together. Alignment was the most difficult thing with each section having to be aligned and held into place for the superglue to set up. Time and patience won the day on this section of the build.
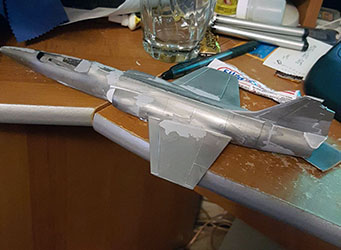
Now comes the sanding. And the putty. And the sanding. And the putty. And….you get the point. It was a slow massage to sand all the parts to fit up right. Lining up the different segments and getting the wings mounted with the right dihedral. I ended using some Legos to make a makeshift jig. Once I got the wings at the correct angle, I superglued the nosecone in place, taking extra care to get it aligned along the center axis of the fuselage on the horizontal and vertical. It proved difficult since the nose shape is not a perfect cone.
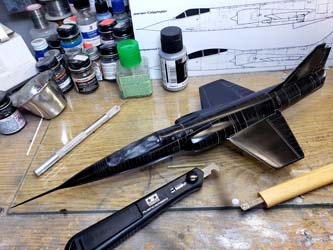
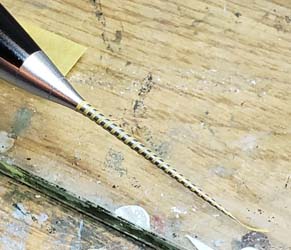
I also put some solid brass rod in my Dremel tool and spun an extra-long pitot tube using files and emery paper to get the taper just right. Some epoxy got it glued in and more putty and sanding blended it in. Now I had a deadly weapon that in fact stabbed me on more than one modeling session. I small cork went on the tip inspired by a scene from "Dirty Rotten Scoundrels" Thank you Steve Martin!
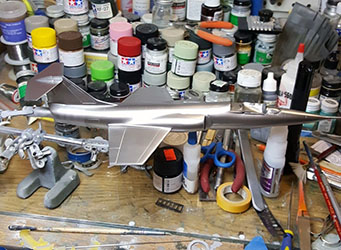
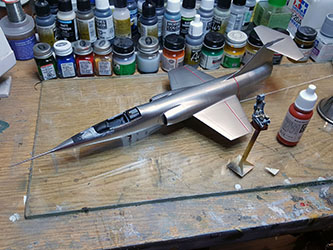
I have been using Tamiya spray primer for some time now and used it multiple times on this project to get the seams all smoothed out. Once I was happy with the surface I painted it Tamiya Gloss Black and then used different shades of grey and white to replicate the different metals. The whole thing got a coat of Vallejo Silver. I masked off the warning stripes on the wing and fuselage engine area and then used my rivet maker to replicate the different rivets. I went light because of the extremely smooth surface of the Starfighter.
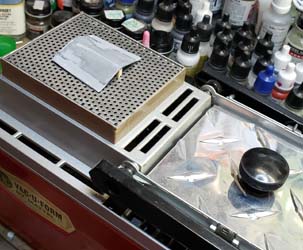
Using my trusty old Mattel Vac-U-Form, I made new canopies and landing gear doors. I made two sets of doors then cut one set to look like stiffening panels on the inside of the gear doors. It is an easy way to make great looking doors with a little work.
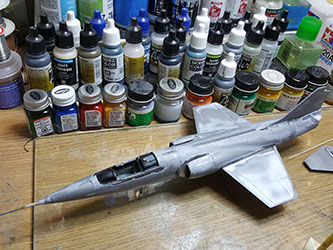
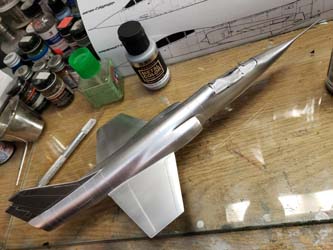
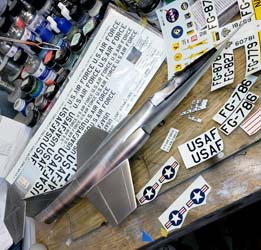
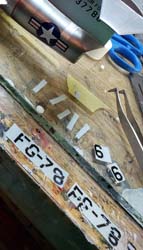
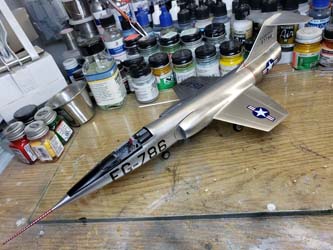
I did not like the look of the silver after it had had some time to dry and sanded it all off and tried again. It still didn't look right so I sanded it all down and here is where we sit. The forward canopies are problematic because of the thin edge of the vacuum-formed part and the silver is a tough color to get right in scale. I still have to do landing gear and early Starfighter wheels and piece together all the different decals to get the right FG-786 tail code.
We left off with me not happy with the way the silver went down, and I sanded it back to the plastic for the 3rd time and I polished out all the scratches again. I used a fine cloth to buff it down just a bit more and then the primer went on. I used Stynylrez water based Acrylic polyurethane primer for my first coat. It smoothed out everything and showed up a few flaws that I went back and fixed. I really like the way Stynylrez for the way it airbrushes and sands, but that name blows up my spell checker!
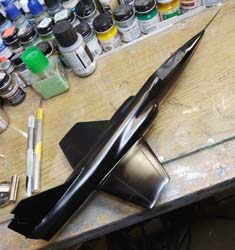
One more coat of primer and a full wet sand session and polish yielded a great surface to start from. I used a Tamiya Acrylic X-1 Gloss Black for the under coat of the silver. It gives some depth to the silver and I believe it takes out some of the toy like effect a strong silver paint can give. This also gave me something to see when riveting and rescribing all the lines. This really slowed down the build but is necessary to do.
I used vinyl tape as a guideline due to the ability to fit around the curves of the 104 fuselage. It helps with a rivet tool and/or a scribe to control your lines. If you are uncomfortable with this, use an old wing or fuselage to practice on but be aware of the different densities of the plastic and what happens when you hit the softer puttied areas. It takes a tuned touch to be consistent.
My biggest recommendation is to not do it all in one sitting. Try a wing then go watch a TV show. Then come back when your eyes are adjusted, wrist and fingers are not tired. It will take a bit longer, but you will be much happier, have less mistakes and will be done quicker than if you make lots of mistakes and must start over. The old saying “Slow is steady, steady is fast.” applies here.
An Optivisor really helps during this stage of the build. You need the ability to see exactly where your lines start and stops along with the rivet depth. I had downloaded some profile line pictures to help me reference the lines. A few corrections were made where I went off track or drew a line with a scribe too long. A quick buff with a soft cloth takes off any minute rough edges and polishes out any ridges formed by scribing. Then it was time to spray the silver.
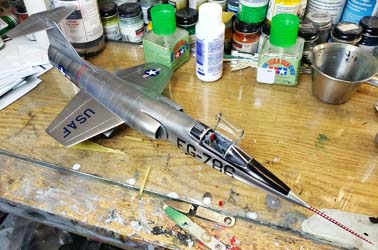
There are a few outstanding acrylic silvers that have come out lately. My go to has always been Alclad but I have slowly moved to Vallejo Metal Colors. I used 77.724 Silver to start with overall. Make sure to mix up the paint well to get the metallic blended. Once dried, I started the tonal changes in different panels by using Vallejo 77.702 Duraluminum and 77.704 Pale Burnt Metal around the exhaust area. Since the XF-104 was not flown operationally for a long period of time, I kept the discoloring a little limited. I finished off the painting using a coat of Future Floor Polish and Tamiya X-18 Semi-Gloss for the antiglare panel in front of the windscreen.
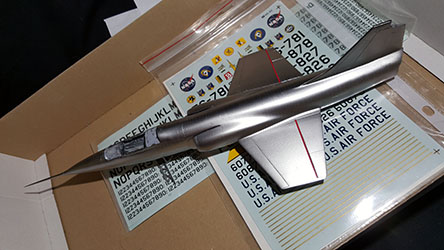
Going through my decal dungeon, I got all my numbers and letters in order. Then disaster struck once again on this project. The call sign letters disintegrated upon touching water. All my old Microscale decal sheets did this. They were useless. I had to dive back into the dungeon and see what I had. I found an old sheet of numbers and letters that didn’t even have a company name on the sheet. I have no idea when or where I picked these up. I bet we all have things in our collection that have just always been there, or you have no idea when they appeared. But I was back on track. Note that the USAF on the wings is a dark blue and not black but the fuselage letters and numbers are black.
I put the XF-104 away from my work area and broke out the old Mattel Vac-U-Form machine. I got this as a birthday present from my brother many years ago. Just a few years ago I did the upgrade kit I got online. It worked perfectly for making the wheel well covers I needed. The F-104A wheel well covers come in two sections that allows just the main gear to come out and then closes around the back section but the XF-104 almost has almost two equal size doors that do the same function. The production model just shortened the length of the door attached to the gear. No need to have all that door attached to the gear. So, I needed to make new doors to get the size right, but they have a complex blend to meet the bottom of the fuselage. Vac forming seemed to be the easiest way to replicate that.
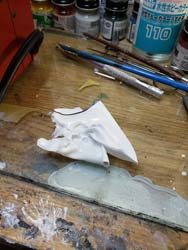
The first try didn’t go so well. Rarely do I hit a homerun the first attempt on anything I do in modeling. I let the plastic get too hot and it responded in kind. But the second try went very well. I went ahead and made another set. This second set I cut down and glued to the inside of the first set to replicate the inner stiffening structure of the doors. I have to say I guessed what this area looks like due to never seeing a single picture of the inner doors of the XF-104 anywhere.
Since the front gear doors are just small rectangles, I used some sheet plastic and made a pair with a little detailing on the inside of each door. Both doors and the scratch built front landing gear doors got the same treatment as the rest of the model with the primer/Gloss Black/rivets/silver process. I had to take my time in getting them glued into place. Because of their size, it exaggerates the look if you are not exactly symmetrical under the wings.
The next step to tackle is the painting of the stripe on the pitot tube used on the XF-104s. This was a real dilemma that took some thought. I had been thinking of using wire but knew that I wouldn’t get that sharp edge I needed, and it would be very difficult to get the spacing perfect. The thickness of the wire would set up the angle of the spiral up the pitot tube. So, I put some Tamiya low adhesive tape on some glass and with a new #11 X-Acto blade installed, I cut some different thickness strips of tape. It took a few attempts but got the tape spaced right and consistent to the tip. I used a paper plate with a hole in the center to protect the rest of the aircraft from any red overspray as I used Vallejo Red to finish off the pitot tube. Careful unwrapping the tape gave me that focal point (no pun intended) I was going for.
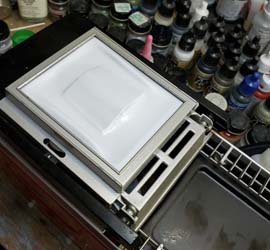
The final problem I had to overcome was the canopy. The original one was very yellowed and very thick and clouded. I pulled out the trusty old Mattel again and some clear sheet plastic. I superglued the canopies together and sanded any blemishes out with some micromesh sandpaper. I needed to use non-curing putty to support the canopy. If you use a vac machine, you can collapse the master mold when applying the vacuumed to the hot plastic if you don’t reinforce the shape. Once I got the canopy formed to my satisfaction, and it did take three tries, I cut them apart and built the defogging tubing that ran the parameter of the main canopy frame by using thin wire. One of the toughest things was how to glue the thin plastic of the vacuum formed canopy to the fuselage. I ended up using a thinned down Microscale Krystal Klear white glue and just glued a little dot at the canopy frame /fuselage junction then let it dry. Then slowly ran a bead of glue around the thin edge. It took a few tries to get it right but eventually it got glued into place.
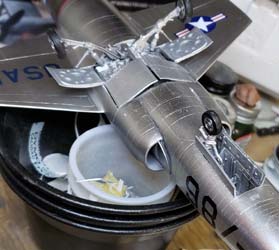
This build had been going on for a long time and was wearing me out. It got shelved a few times because of all the hurdles that had to be surmounted on just about every area. Cutting the fuselage apart and aligning it all along with cutting in the intake strakes and slits that ran back from the front of the intakes was difficult. The scratch-built wheel well covers, adapted resin wheel wells and cockpit were a lot of work. Not to mention backdating the Lockheed C-1 downward firing ejection seat. The results are nice but 8 months, sanding, painting and stripping paint off happened at least three times with at least 5 sessions of touchups and more than a few ruined decal sheets added up to a difficult build. But hey, how many 1/48 XF-104's do you see.
Every now and then, take the road less traveled. You will always learn something (good or bad) that you didn’t know before and will always be wiser if you do.


