


HK Models 1/32 B-25J Mitchell Build Review
By Michael Benolkin
| Date of Review | May 2012 | Manufacturer | HK Models |
|---|---|---|---|
| Subject | B-25J Mitchell | Scale | 1/32 |
| Kit Number | 01E01 | Primary Media | Styrene |
| Pros | First kit of this subject in this scale (in styrene) | Cons | See text |
| Skill Level | Experienced | MSRP (USD) | $174.95 |
Background
For the background of this aircraft and a what is in this kit's box, look here.
Weight and Balance
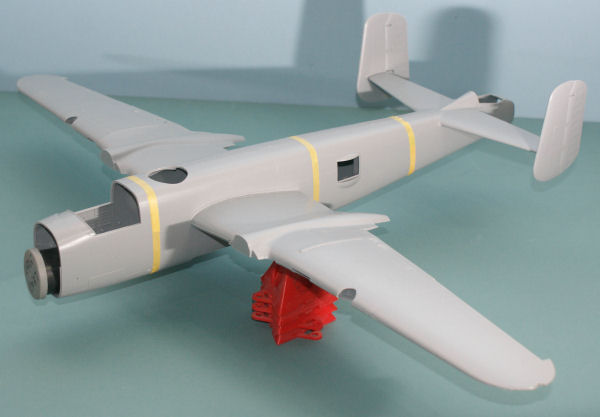
I am still impressed with the HK Models 1/32 scale B-25J Mitchell kit and while I had some concerns with a few aspects of the kit, I decided to dive right into a build. Based upon some email exchanges with some folks building the model, there was question as to whether the kit-recommended 2.8 ounces/80 grams of ballast would be sufficient. The quickest way to find out was to mock up the model and see where we were as far as Center of Gravity (CG).
First I built up the wings and tail assemblies - I used Tamiya Extra Thin Cement for assembly after removing the sprue tree stubs and a few flash spots around the mating surfaces of the wing halves. I am even more impressed with the engineering in this kit as I glued the wings together as the designers put in sufficient structural frames to minimize flexing of the wing during handling. There is even a structure inside the lower half of the wing for the main landing gear strut to mount and that structure butts up against the upper wing half for additional strength. Very nice. The wings go together with ease. I also assembled the horizontal stabilizer and vertical stabilizers and rudders with the Tamiya cement. The rudders are dry-fitted to the vertical stabilizers and the vertical stabilizers are also dry-fit to the horizontal stabilizer at this stage as I’m not ready to finalize those subassemblies.
I removed the fuselage halves from their trees and cleaned up the mating surfaces. For this CG exercise, I simply used Tamiya yellow masking tape to hold the fuselage halves together. Like the rest of the kit so far, the fuselage halves go together nicely. The wings slide onto the fuselage attachment points quite firmly and coupled with the internal structures with the wing, I am no longer skeptical of the wing/fuselage joint’s structural strength. I dry-fit the tail assembly onto the rear and we’re ready to go.
The reason for going through this CG exercise is because of the variety of ballast weights and installation approaches that have been shared with us to date. When I do my build, I only want as much ballast in the model as needed while not adding unnecessary strain on the landing gear. So it’s back to basic pilot's ground school on aircraft weight and balance:
On full-scale aircraft and on this model, the center of gravity (CG) needs to be ahead of the main landing gear by about 1/5 inch/13 mm. Like a full-scale aircraft, you make assumptions on your loads and their placement in the aircraft to ensure the CG is within safe limits. For this model, safe simply means that it will sit firmly on all three landing gear struts without using excessive weight.
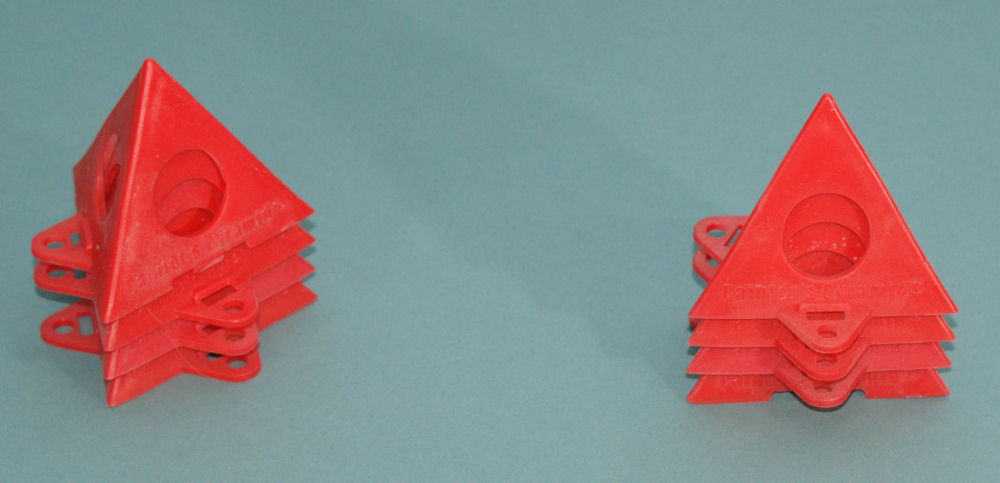

I plugged the tips of the plastic pyramids into the main landing gear strut holes and the model predictably sat on its tail. I stuck a scale under its tail and it weighed out at two ounces/57 grams at 12 inches/304 mm of moment aft. Moment distances are measured from the CG reference point, in this case from the main landing gear holes. That means that I’ll need four ounces/114 grams at six inches/152 mm of moment forward. I used an old film container and measured the requisite amount of lead shot. The four ounces/114 grams were placed in the nose and sure enough, the aircraft was in balance as you can see in the photos. What does this mean for the build?

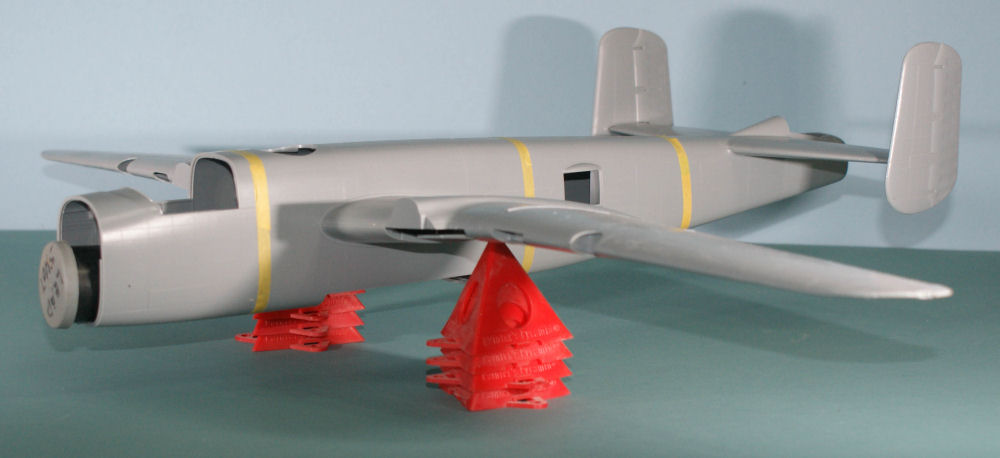

First, there is more ‘stuff’ going into the model forward of the CG reference than aft, but it takes twice as much weight in the nose to offset any additional weight in the tail. In this case, we have the elevators, tail gunner details and the transparency to the rear. There are also some ammo runs and guns for the waist positions. Beyond that, most of the weight that will be added to the model will be forward of the main landing gear (CG reference point). We also don’t have the nose compartment installed for this test which adds a few inches of forward CG moment to the model. If we place the ballast under the floor of the nose compartment, we’ll only need 3.2 ounces/91 grams. Conversely, if we stuff the area behind the engines and behind the cockpit with ballast which is roughly 3 inches/76 mm of moment forward of the CG reference point, it will take 6 ounces/172 grams of ballast to do the same job. No matter how you look at it, the kit-recommended 80 grams of ballast appears to be insufficent.
| Unmodified CG | Test CG | Nose Compartment | Engine Ballast | |
|---|---|---|---|---|
| Arm (mm) |
-304 |
152 |
190 |
101 |
| Weight (g) |
57 |
114 |
91 |
172 |
| Moment (g-mm) |
-17328 |
17328 |
17328 |
17328 |
Armed with this data, I’ll probably use around 95 grams of ballast under the nose compartment floor just to offset any unknown variables during assembly.
To be continued...