


Italeri 1/32 F-104G/S Starfighter Kit Quick Build Review
By Michael Benolkin
| Date of Review | December 2013 | Manufacturer | Italeri |
|---|---|---|---|
| Subject | F-104G/S Starfighter | Scale | 1/32 |
| Kit Number | 2502 | Primary Media | Styrene, Photo-Etch |
| Pros | Nicest F-104 kit in any scale to date | Cons | Nothing noted |
| Skill Level | Basic | MSRP (USD) | $169.00 |
Quick Build Review
For a brief history of this subject and a look at this kit out of the box, look here.
To get started with this kit, you need to spend a little time in the back of the instruction book to select which subject you're going to build. There are ten subjects covered by this kit and these illustrate how there is no simple F-104G or F-104S option here. With the F-104S, two versions are provided, the F-104S which was the first operational Starfighter to carry the radar-guided AIM-7 Sparrow missile, and the F-104S-ASA which could employ Sparrow, Aspide, and the AIM-9L Sidewinder. Parts are also provided for the CF-104 and the variations of the F-104G in service (most notably the Lockheed C2 or the Martin Baker Mk.7 ejection seat). Next, walk through the assembly steps to see where the assembly steps for your subject are called out so you won't inadvertently go down the wrong path. I decided on a generic F-104G but selected a few options that weren't relevant to see if there were any surprises in the assembly process.
Since this is a quick-build, the standard rules apply: the only materials used to build this model were Tamiya Extra Thin Cement, X-Acto knife, Xuron sprue cutters, a micro-chisel, and a few hobby files. No cyano was required since I didn't use the photo-etched parts, and no filler or paints were used so you can see the bare kit as-assembled.
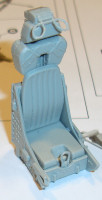
As with any good aircraft kit, assembly starts with the cockpit and specifically with the ejection seat. I built-up the MB Mk.7 and though I didn't use the photo-etched pilot restraints, the seat is quite nice.
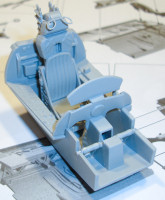
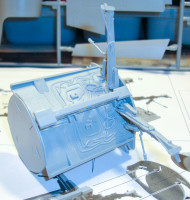
Next comes the cockpit tub and this will be a joy to detail paint. The details are sharp and will be great to work through. The kit provides a choice of styrene instrument panel or the option to replace sections of the panel with photo-etched details. I used the styrene panel and this too will look great with some detail painting and some decal instrument faces dropped into the provided recesses. The only point I found unclear in the instructions is the placement for the ejection seat rails. There is a narrow and a wide arrangement but after some trial and error, the Mk.7 goes onto the narrow rails, the C2 goes onto the wide rail placement.
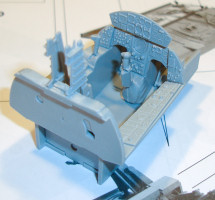
The main wheel wells are next and these assemble with no surprises. I did spend a little time cleaning up the main gear struts of the mold lines before mounting them. The intake ducts that mount to the rear bulkhead can go onto the part rotated up or down. Since there is no clear indication in the instructions for orientation, I found that you want the duct sloping up to the top of the aircraft so the J79 will be properly oriented in the fuselage.
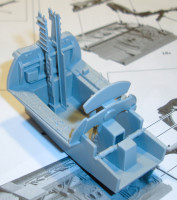
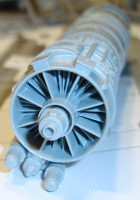
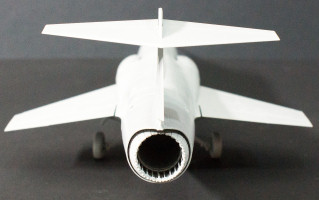
Speaking of the J79, this is a nice rendition of the engine and it is almost a shame to close this up inside the jet. That's probably why Italeri left you with a tail cradle and an engine stand to display them separately, but the interior detail of the afterburner chamber is going to look awesome with some detail painting and weathering. The kit provides two nozzles for the earlier engine used on the F-104G and the later model used on the F-104S. The detailing on these are equally impressive and will look great with some metallizer treatment.

The fuselage goes together next with the cockpit, avionics bay, main wheel wells, and engine all going between the fuselage halves. Make sure your fuselage half edges are smooth as there was a hint of mold lines on either half at the mid-section that would have interfered with the otherwise perfect join.

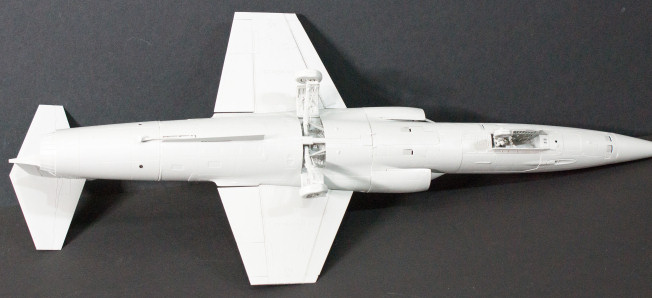
The nosewheel well is built-up with the nose gear and all mounted to a forward ventral insert that mounts under the fuselage. This is installed with a second insert that mounts under the center section of the airframe. Both install with no gaps and no problems. This is some nice engineering here Italeri!


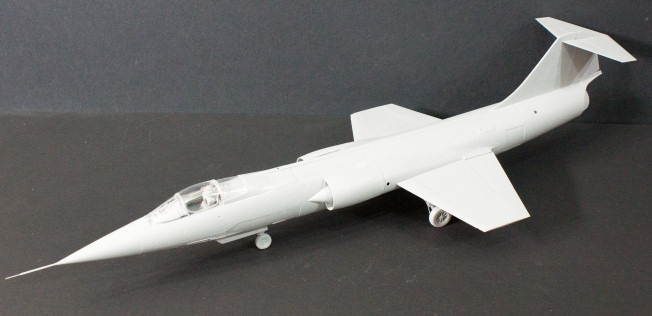
Before you install that radome, note that the instructions don't mention ballast. As this kit goes together, you'll note that it sits nicely on its landing gear until you install the tail cone. I did leave off the radome just in case of a ballast issue and I'm glad I did. With the model fully assembled, I found that a 3/4 ounce ballast weight on the ejection seat would keep the aircraft properly standing on all three landing gear. I installed that weight in the radome and all is well.
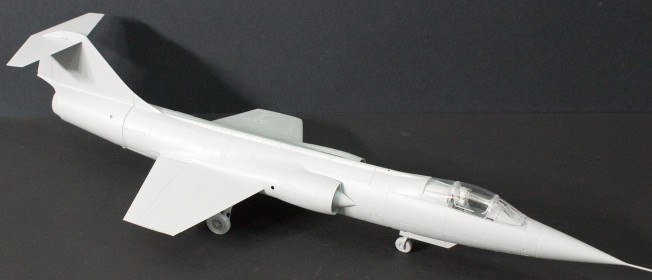
I opted to pose all of the access doors and panels closed to see how all would fit. Before I did, I assembled the M61 Vulcan cannon and that will look nice with the gun bay doors open. In fact, the only doors that will require care are the gun bay doors - they close up with no gaps, but the recess that they fit into is a fraction of a millimeter too deep and the doors recess a little too far as you'll see in the images. This is easily fixed with thin Evergreen strips around the door edges before installation (not a problem if you pose these doors open).

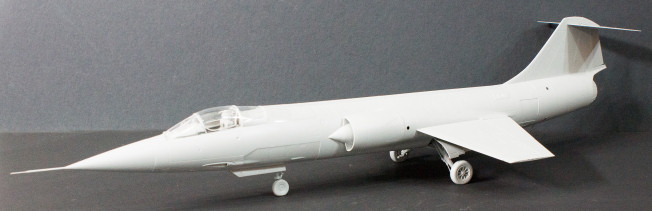
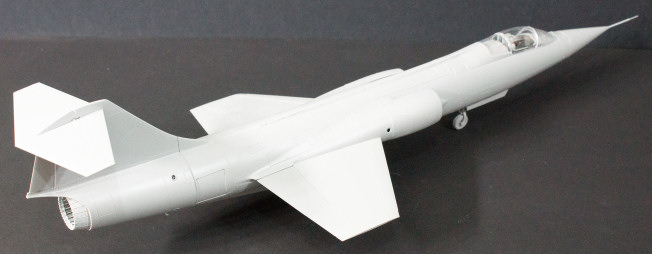
The intakes, wings, and tail section all go together without problems. One wing went in firmly while the other had a little play in the joint. You'll need to ensure that the anhedral is symmetrical while the glue dries.
For the sake of clarity, I left off the pylons and external stores, but you do have a nice selection and spares regardless of your chosen configuration.


Conclusion
This kit is the nicest F-104 I've seen in any scale to date. The detailing looks great out of the box and I don't know that one would need aftermarket support (though you know AMS modelers will do so anyway). I didn't find any serious issues in the model aside from the ballast mentioned above and the fit of the model is great. With the exception of the recessed gun doors, there were no steps or gaps that need filling. Now that I have another F-104G kit on-hand, I am looking forward to doing this again with the full treatment!

This kit is definitely recommended!
My sincere thanks to MRC for this review sample!