


Italeri 1/72 Leopard 1A2 Build Review
By John Kelley
| Date of Review | November 2009 | Manufacturer | Italeri |
|---|---|---|---|
| Subject | Leopard 1A2 | Scale | 1/72 |
| Kit Number | 7031 | Primary Media | Styrene |
| Pros | Accurate shape & got fit | Cons | One piece road wheels and molded on tools are soft |
| Skill Level | Basic | MSRP (USD) | $15.00 |
Build Review
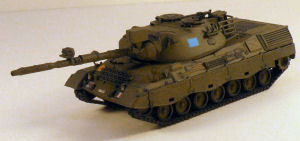
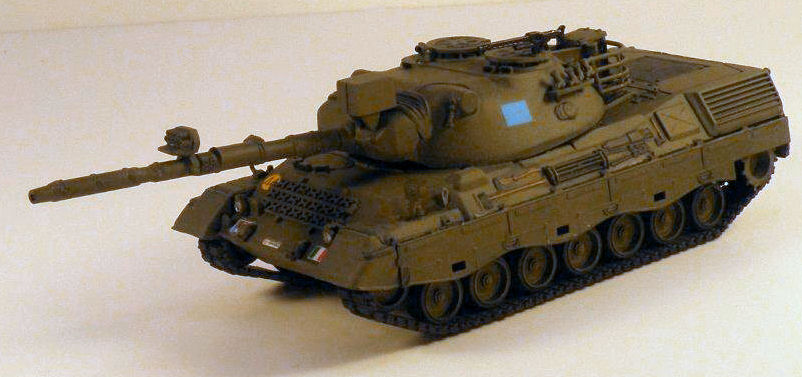
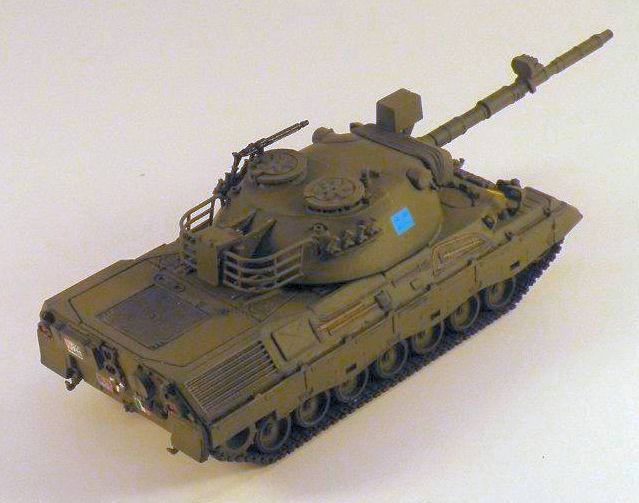
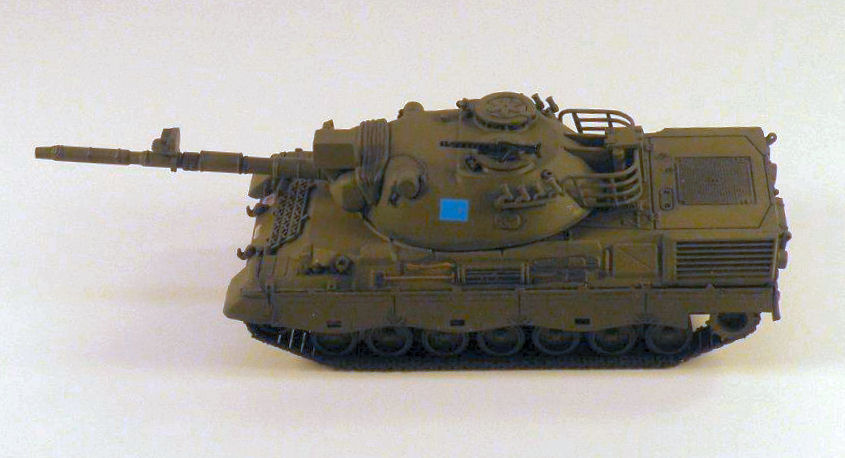
The Leopard 1 series of Main Battle Tanks has served Germany and her allies since 1965. The Leopard 1A2 was the second upgrade of the Leopard 1 and came with a thermal shroud for the main gun, side skirts and a thicker cast turret.
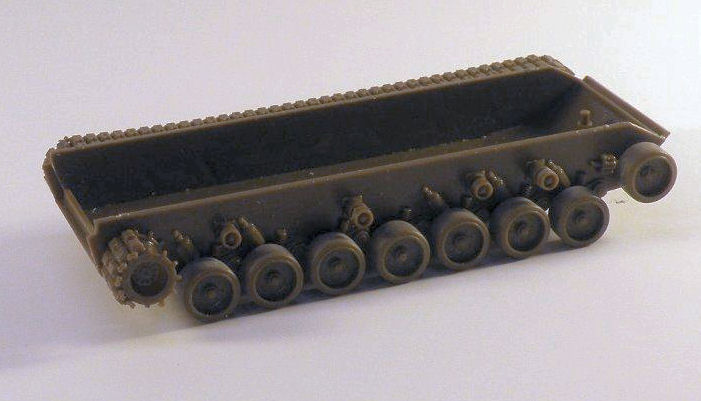
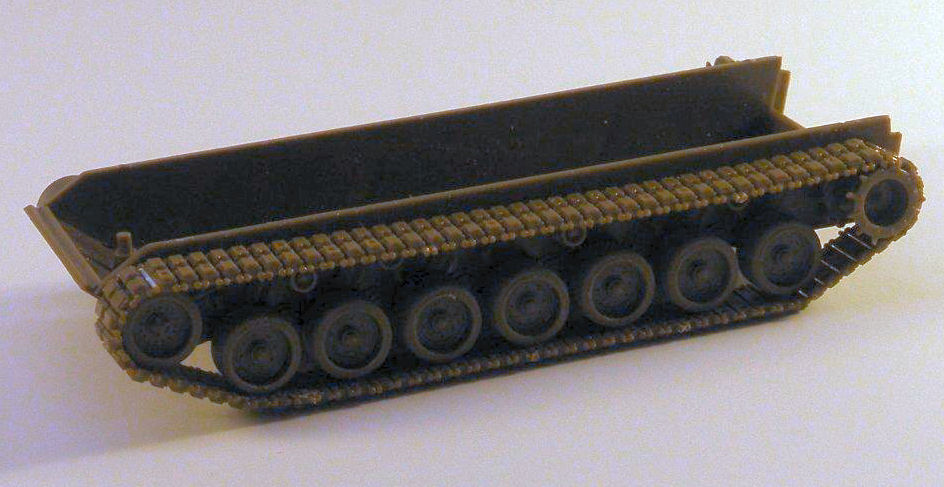
Since this kit has already been reviewed already on Cybermodeler as an in-box ( look here), we will start with the construction. I began by building the lower hull minus the running gear and tracks to ease assembly. After the hull dried, I installed the running gear and assembled the link and length tracks. The tracks fit fine, except around the drive sprocket. To fix this, I cut off the teeth on the drive sprocket that had a link glued on it. This allowed the links to wrap around the sprocket nice and tight.
There are some ejector pin marks on the track pad face but these were removed with a file and a sanding stick. After I finished the lower hull, I put on the upper hull and the rear plate. The fit on them was good but I needed to fill a depression in the lower front plate with some putty.
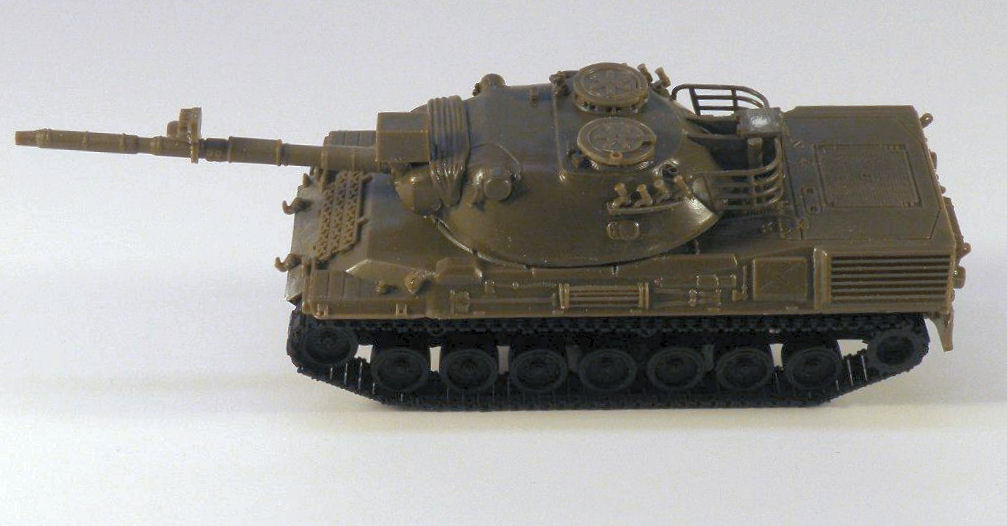
Next, I built the turret and applied some putty on the bottom of the turret behind the mantlet to fill two gaps and on a depression on the top of the turret in front of the commander's hatch. On the gun mantlet there are two rods sticking out from it. I believe these represent the corks used to waterproof the mantlet. You can either leave them or cut them off and drill two holes to represent the gunner's sight and the coax M.G.
The only other assembly issue I had was building the turret basket. The searchlight housing didn't sit level, so I sanded a little off the right support arm. The right basket railing 7C did not fit in the location holes in the searchlight box very well. The next time I build this kit, I will enlarge the holes for a better fit. I filled a depression on the box lid and added a piece of .010 plastic to the bottom of the box since that area was closed off on the real tank and the kit did not supply one. I trimmed the grids, parts 67C and 68C to fit the basket better, after this I added the final details and began painting.
I painted the model with Model Master acrylic paints except where mentioned. After finishing the lower hull, I broke out the airbrush and painted it flat black. The rest of the model was finish in the same color as I completed each assembly. I sprayed on the olive drab letting a little of the black to show through. I then applied a gloss coat and put on the decals. I chose the l9 Gruppo esplorante "Cavalleggri Guide" Division Corazzata Ariete. I have no idea what it means, but I thought that the markings were interesting and a change from the usual German ones. The decals went on well but are a little thick. I should have trimmed around them but I was in a hurry to apply them so on they went. The details on the lower rear hull plate interfered with the decal, so I raised it higher to clear them. I picked out the tools with wood and gun metal.
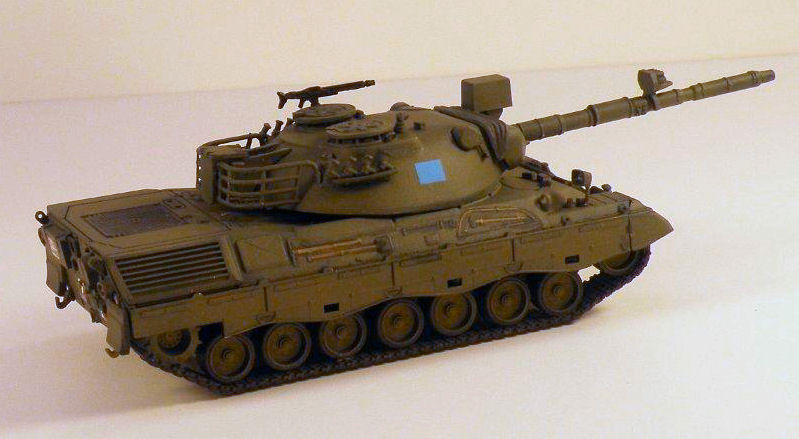
I applied a black wash to highlight the details and dry brushed with olive Drab. I then applied a Flat Coat which went satin so I mixed Tamiya flat base and clear and applied some that was chalky. I applied Master flat clear and everything was fine then.
I liked building this kit. Except for the issues I mentioned it was a straight forward build. The kit is accurate in shape and general appearance but it has some simplified areas. The road wheels are one piece instead of two. This can be solved by filing a groove around the wheel making it appear as two wheels instead of one. The tracks lack guide teeth but they are so small it can be ignored or teeth made using the smallest u channel available. The tools are molded to the kit and are soft in detail. Replacing them with scratch built or photo etch tools would make a big difference.
Despite these last issues I recommend this kit to any modern armor fan. When built it looks like a Leopard lA2 and that is what matters. In fact I liked the kit so much I bought one from my local hobby shop. I would like to thank my wife Beth for helping me to write this review.
My sincere thanks to Testors for this review sample to build.