Kitty Hawk Models 1/48 UH-1D Huey Build Review
By Fotios Rouch
| Date of Review | February 2021 | Manufacturer | Kitty Hawk |
|---|---|---|---|
| Subject | UH-1D Huey | Scale | 1/48 |
| Kit Number | 80154 | Primary Media | Styrene, Photo-Etch |
| Pros | Nice kit | Cons | See text |
| Skill Level | Experienced | MSRP (USD) | $79.99 |
Build Review
For a brief discussion of this subject and a look at this kit out of the box, look here.
Kitty Hawk's Huey is generations ahead from its Italeri/Revell sisters. Models now include photoetch for the fine details and interior details that used to be resin aftermarket territory some years ago.
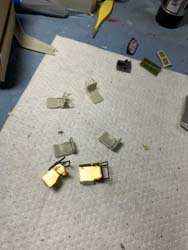
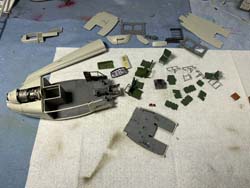
This model includes everything a modeler needs for a great result without the need of any aftermarket help. Having said, I went ahead and got all the available resin accessories from Res Kit, a Ukrainian company that I have been focusing on for a little while now. They 3D print their sets for the most part and their printer is pretty good with barely any visible printing artifacts. For the UH-1D they offer a cockpit, a cargo bay, photoetch/resin seats a complete main rotor (sans blades) and engine and a tail rotor. All that, as usual, complicates the build process but I do that to myself almost every time.
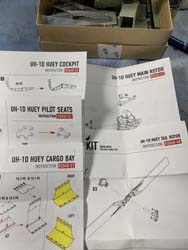
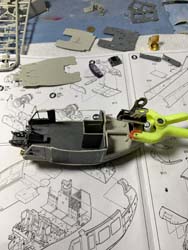
Some notes from the build process. The kit is a tight fit to begin with and adding major interior resin parts makes it that much more complicated and difficult to put it all together. Res Kit has printed on the back side of the large parts messages of encouragement! Like "You can do it" and "We believe in you" and such. If that is not a sign of a tough set to build, I do not know what is! The Res Kit instructions also have you trim existing plastic areas for the resin to fit, such as the rails above the sliding doors. The ResKit photoetch are thick and difficult to bent for the small parts. I am fine for the large pieces to be tough but for the small parts and the seat fabric, I feel it should have been on a separate and thinner brass fret. In contrast, the Eduard photoetch parts I used to spruce up the interior are much easier to use.
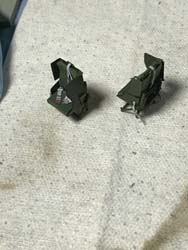
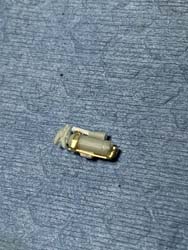
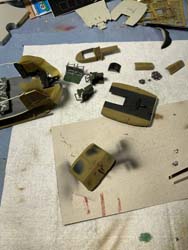

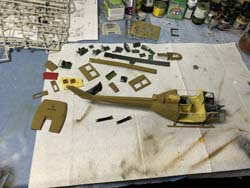
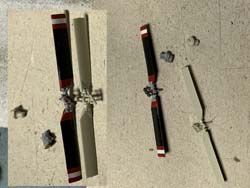
Another note is that the main rotor is a model in itself and significantly better than the kit parts but I could not get it to fit in the available cavity. I had to trim some areas and modify the position of some actuating rods. The tail rotor is more detailed and larger than the plastic one, but I did not take the time to measure the real thing at the PASM museum.
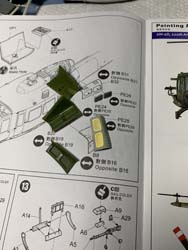
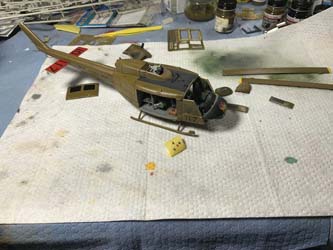
Now I am at the stage of closing everything up. Some fine trimming/sanding is necessary but basic test fitting looks mostly okay. Once test fitting was done and it did take a whole bunch of time and some minor trimming, it was time to affix the roof on the Huey. It went well and all the transparencies were positioned in place after the protective vinyl masks were taken off. There is a mistake in the instructions and there are a few, that has the modeler install the wrong engine intake covers. Use C25 and 26 instead of B19 and 20.

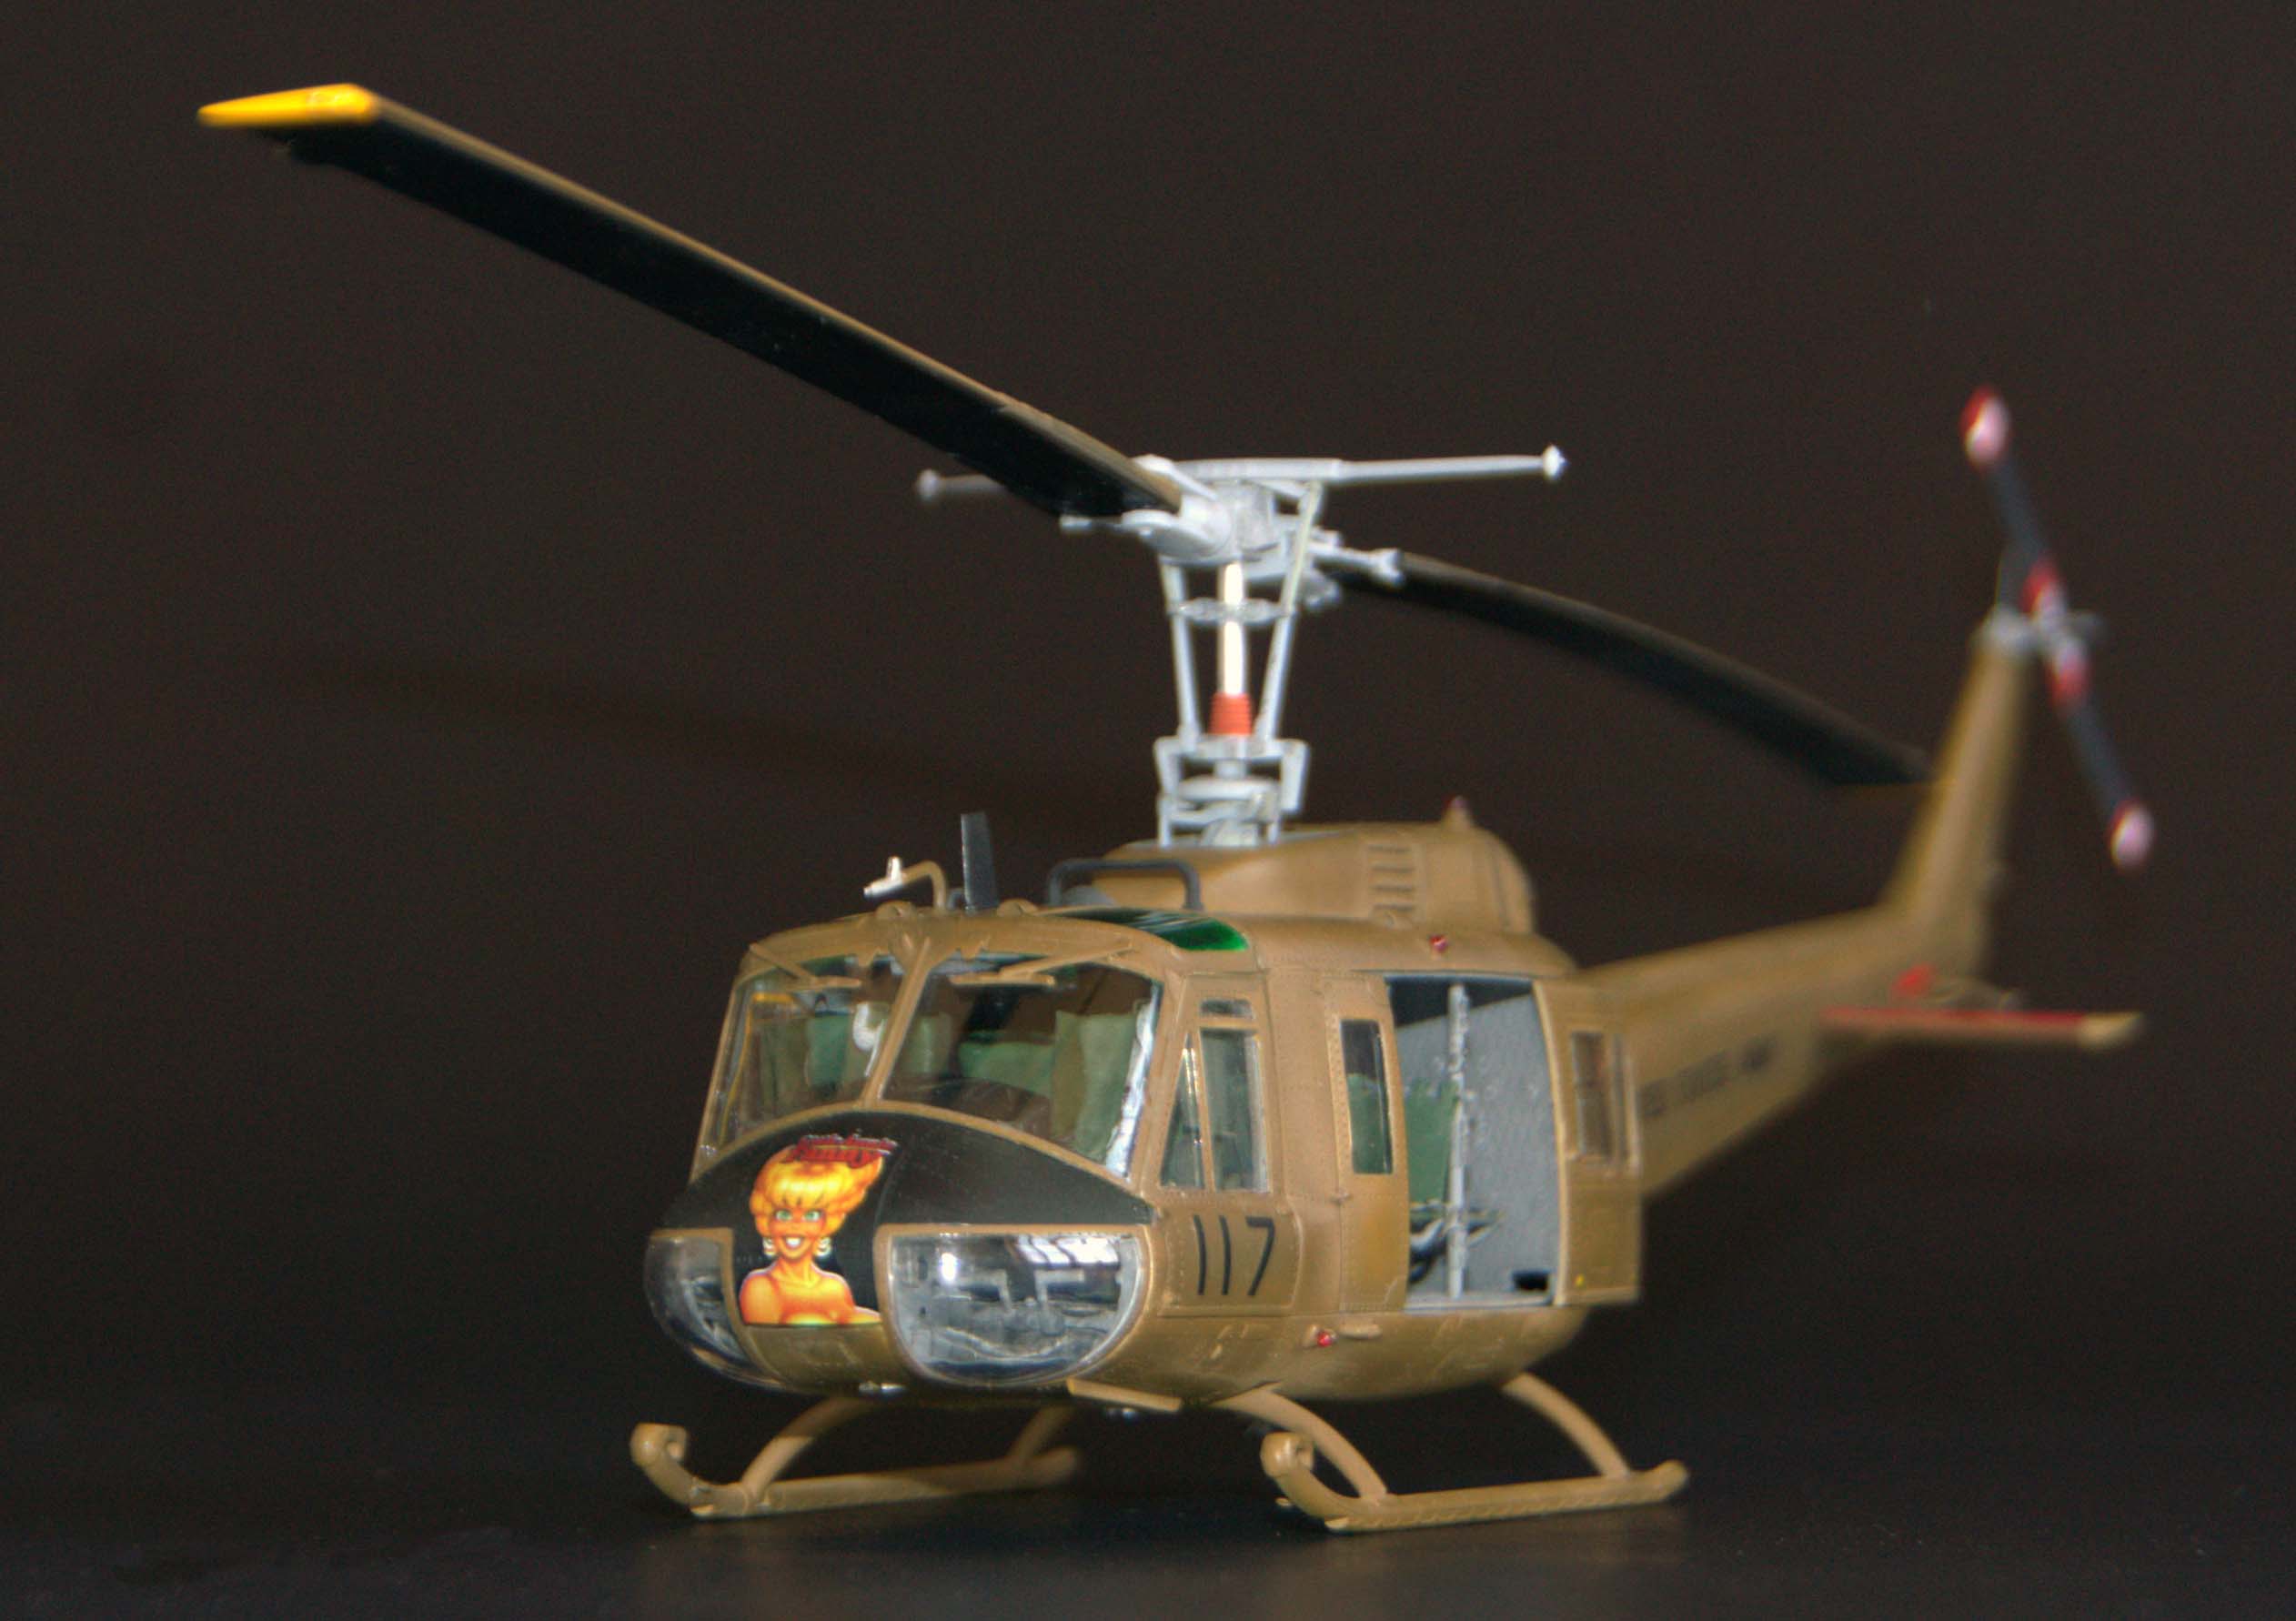
The rest of the build was straight forward with some fine tuning needed for the resin parts of the rotor. A gloss coat went on next before the decals were applied. The decals went down okay except for the nose art.

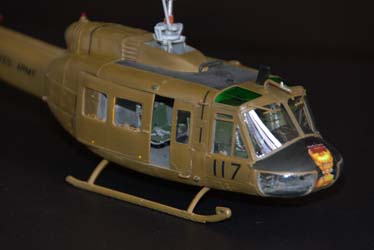
The artwork looks nifty with nice shading reminiscent of the Zotz and PynUp decals of yesterday. The problem is that it is oversize. The Bad Girl head is a bit too large per the Vietnam era photos. I also had to paint the black stripe over the perforated grill because decals over the perforated photoetch would look awful.

I am satisfied with the final results and I have to admit that all this resin made me feel very uncomfortable and worried me that in the end nothing would fit. I think the model is just fine on its own but if you want to go the extra mile it is possible to have a better result.
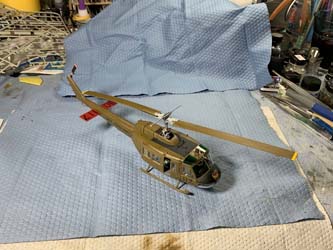
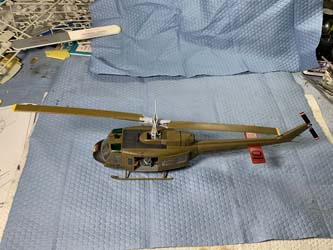

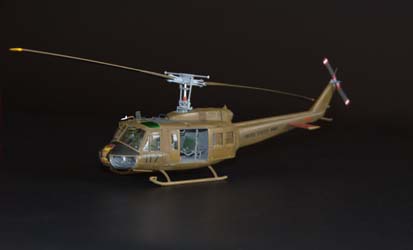
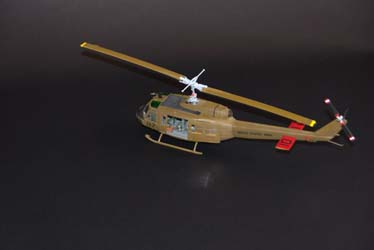
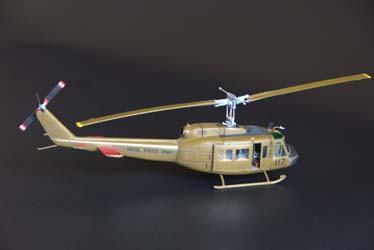
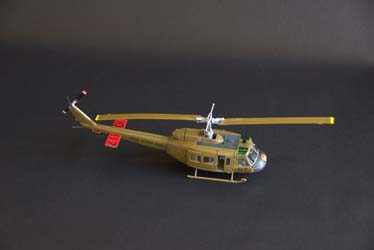
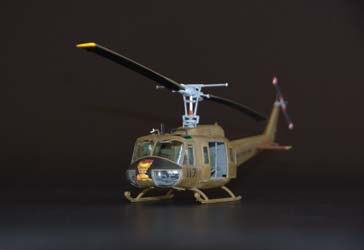
Here's the completed model: