Revell 1/48 AH-1F Cobra Kit Build Review
By Kelly Jamison
| Date of Review | October 2020 | Manufacturer | Revell |
|---|---|---|---|
| Subject | AH-1F Cobra | Scale | 1/48 |
| Kit Number | 5321 | Primary Media | Styrene |
| Pros | Low cost, ease of build, clever engineering | Cons | See text |
| Skill Level | Intermediate | MSRP (USD) | $15.50 |
Build Review
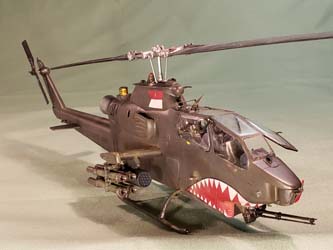
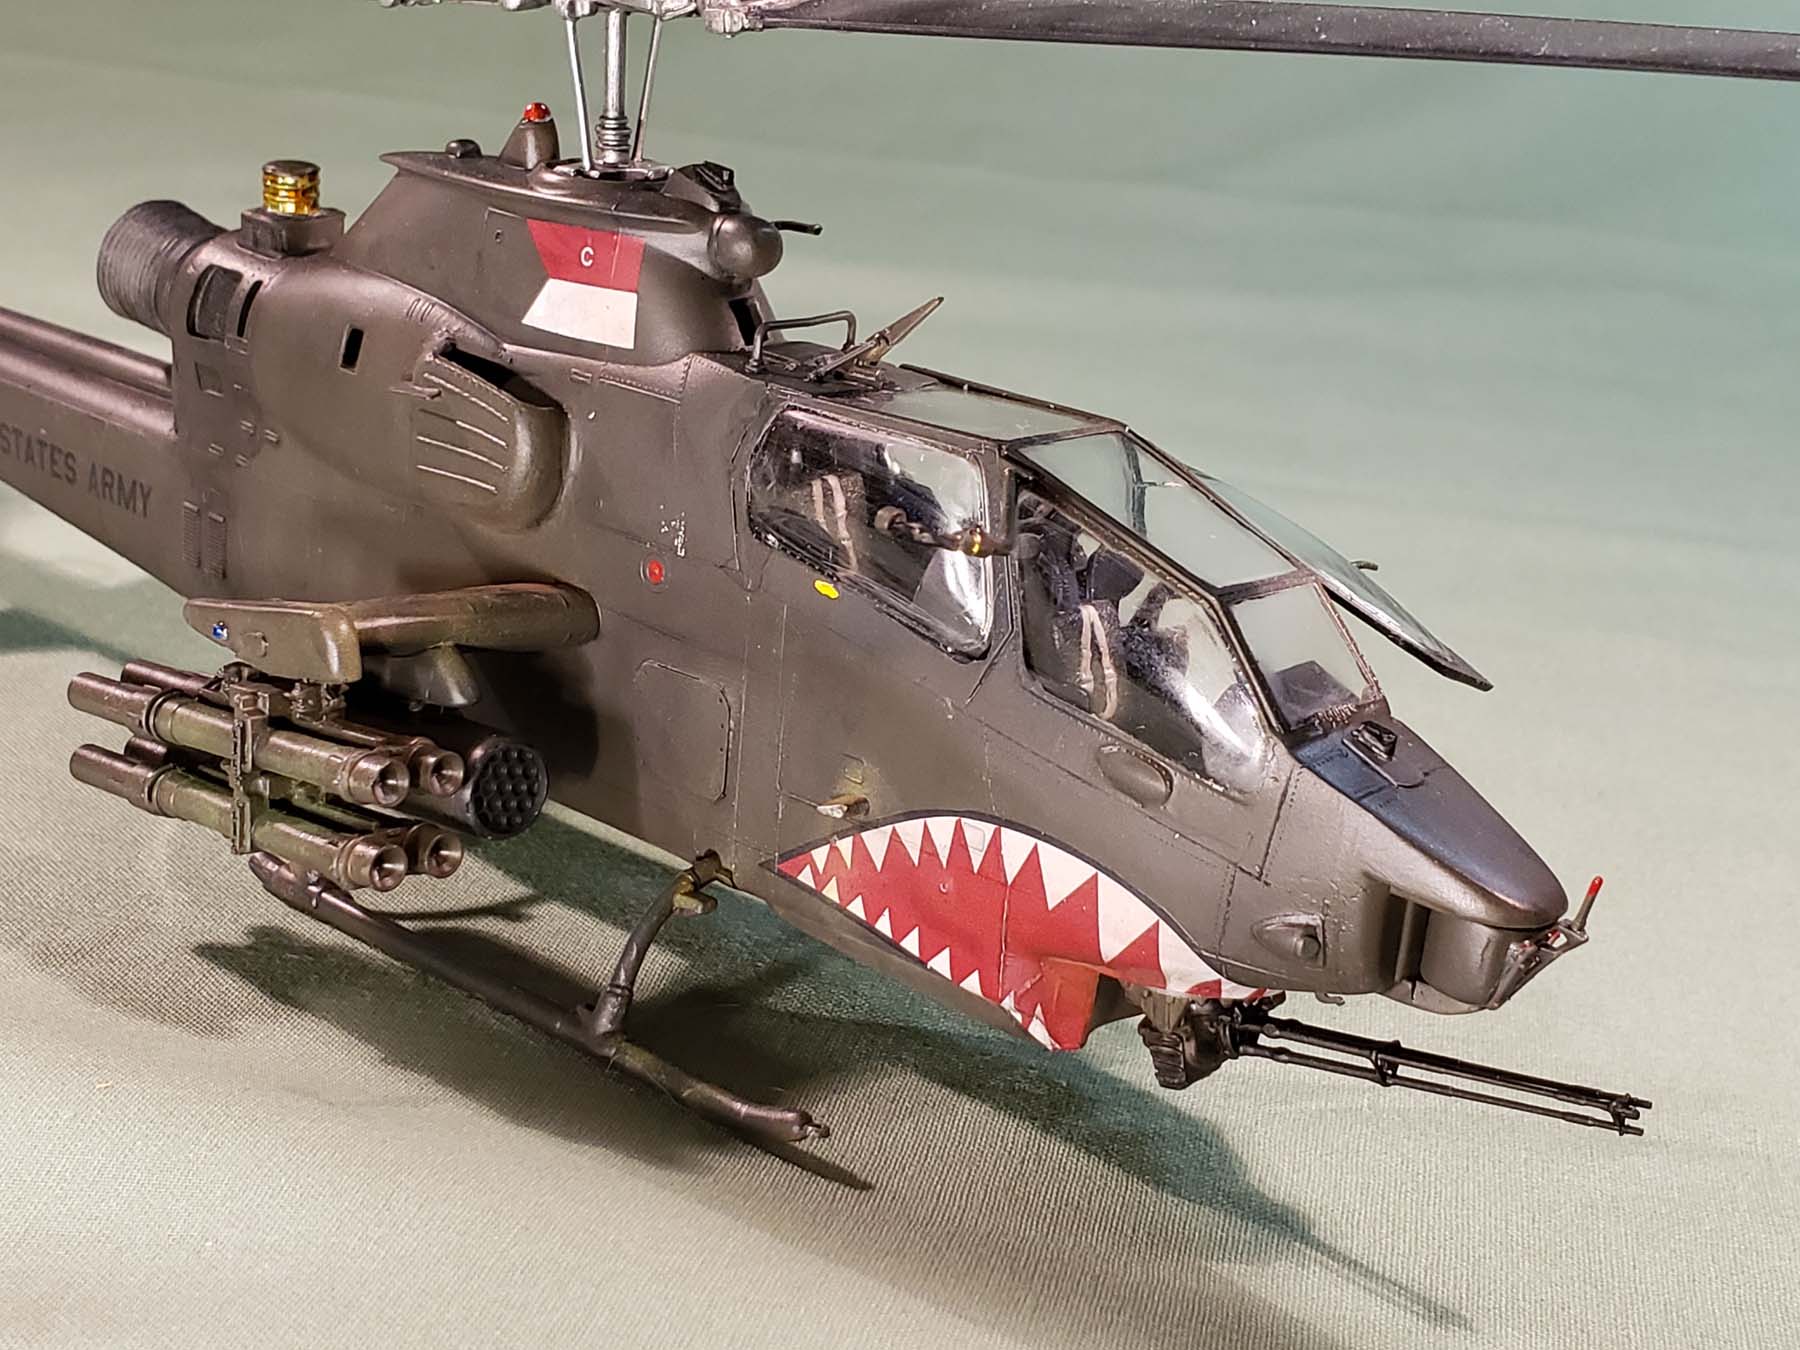
What is one of the coolest helicopters ever made? The AH-1 series. It is exceptionally long-lived design first flown in 1965 and deployed by the US Army in 1967 during Vietnam. The design continued to develop over the years and found itself in service in many foreign nations and even the US Forest Service and a few in civilian service used in films and airshows. Even Red Bull has one. Admit it. It is one of the coolest helicopters ever made!
If you want an AH-1F, there is only one game in town readily available. First issued by Monogram as kit number 5444 in 1986 as an AH-1S, the kit has been reboxed and eventually found itself under the Revell label in 2009. Although it was issued by Hasegawa/Monogram in 1992 and Revell/Monogram in 1998, the latest iteration was released in 2013 as the Red Bull Demo Team Cobra. The kit is this review was released in 2012 as kit # 85-5321.
The cockpit is detailed but there is room for you to super detail it as you wish or just build it out of the box. Everything got clipped of the trees and painted a dark black-grey with semi-gloss detail and a light tan wash just to show some of the relief and detail. I did not want to spend too much time in the cockpit tub. The seatbelts are molded into the seats and got painted in a light grey with the buckles picked out with a silver gel pen. It all went together in minutes. I decided to build the pit out of the box using the decals that came with the kit. I found the decals thick and exceedingly difficult to work with. Solva-Set would barely take care of getting them snuggled down. Multiple decal solvent sessions were spent before moving on. While I had the airbrush out, I went ahead and painted the inside fuselage halves black-grey.
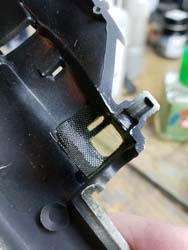
The engine was only two parts. I painted it silver and used a dark wash to pick up the details. You cannot see much of the engine on my version, but for its simplicity it very nicely done in that wonderful Monogram way. I cut off the molded-in exhaust pipe to be able to use the Werner’s Wings Resin Upgrade set exhaust stack. You could use the kit exhaust with just a little effort with a shaped file and a few extra minutes on your hands. I skipped the tail rotor assembly called for in the instructions, other than to glue in part 16 which is the shaft for the tail rotor that goes through the tail from the inside. I carved out the screen in areas that are molded into place and replaced it with screen from an old gift bow. It is a real fine mesh. I wish I would have thinned out the walls of the engine bay a little more before supergluing into place.
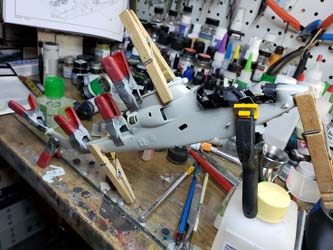
I went ahead and glued the cockpit onto the right fuselage half. It really didn’t matter which side. A few minutes later it was time to glue the fuselage halves together. Get your clamps, clothes pins, and rubber bands! You will need a lot of them for the long fuselage and tail boom. Once dry, I puttied and sanded. For most part there was little seams to fill except underneath the boom where it meets the main body and put the winglets on. I thought I would replicate the grip surface area on top of the winglets with masking tape but didn’t like the end result, so I took the tape off.

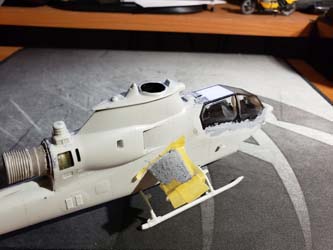
I skipped Step 5, the missile tubes and Step 6, the rocket launchers and the front gun assembly and restarted the build at Step 7. I dry fitted the skids and discovered that the area below the cockpit was warped from production. I needed to glue the back area first then once that was dry, use clamps to pull the front area into its proper place. I put the gun assembly off to the side for a brass barrel upgrade. I also held off part 51 which is the cable cutter and the antennas as they are just more fiddly bits easily broken off while handling.
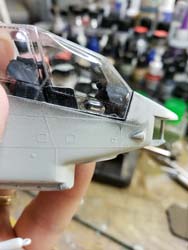
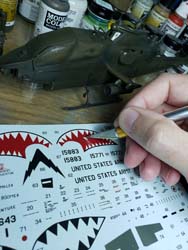
Now the ugly part of this kit. The canopy. There are a few problems with it. They are not meant to be posed open but a few moments with an Exacto-knife could open that up. I decided to keep it closed. The front of the canopy would not snug down and was thrown off by the gunner’s instrument panel. Maybe this was a mistake I made earlier in the build which threw off the alignment of the windscreen. I decided to hand paint the inside of the canopy and dip it in Future so that I could superglue it without fogging and fill in the areas where the canopy meets the fuselage.
I got the exhaust stack superglued into place. It needed a little putty to clean up the seam. While I had the putty out, I wanted to replicate the textured walkway areas on the winglets, so I used Tamiya putty to replicate the rough area. I over did it a bit knowing that I would knock it down the high areas with a few swipes of sandpaper. The Tamiya masking tape kept the putty off areas I didn’t want texture on. Then the winglets got glued into place and I started festooning the fuselage with all the little bits and pieces.
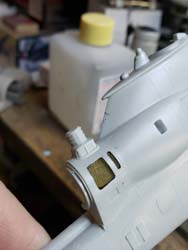
I used very thin sheet plastic and replicated a few panels that stand out on the real thing. A sharp punch was used to replicate the screw holes. I also installed the resin upgrade engine intake covers and added these small tabs onto the intake covers. While I was at it, I added small stiffening bars to the upper and lower cable cutters seen in my reference photos. And the nose camera turret got installed by cutting out the mounting bar from the fuselage and sliding the assembly into position. Then everything got a coat of Stynylrez Acrylic Primer. I went back over the entire model looking for any flaws that needed correcting. There were a few, all caused by the builder and not the manufacturer.
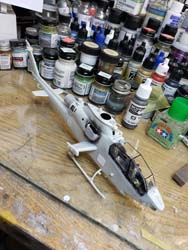
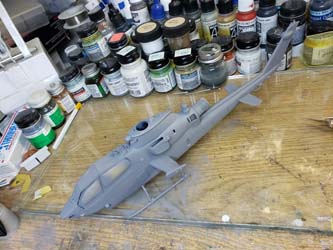
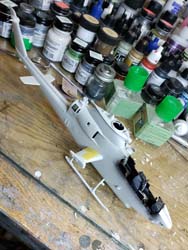
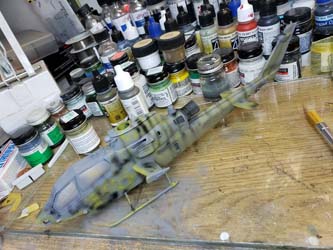
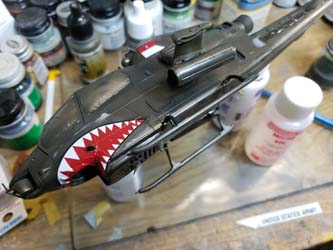
It was time for painting. I got out my trusty Iawata airbrush and loaded it with Model Masters Acryl Black for some pre-shading and reloaded it with Model Masters Acryl Yellow Zinc Chromate to finish off the effect. Next, I used MRP US Helo Drab (FS 34031) It was just about the perfect paint shade for what I was doing. The paint was thin and ready to go right out of the bottle. It took a few light coats to get the color I was looking for. Some post shading and touchups got everything where I wanted it. After drying, the whole kit got a coat of Future in preparation for decals and weathering.
Now was the time to revisit Step 5 and the weapons. This is where the original designer was very smart. Their simple engineering makes for a genuinely nice cluster of missiles. It takes some clean up but when you see how it goes together, you will see what they were thinking. Very clever and nicely done. The rocket launchers were just simply two halves and two end caps. Doesn’t get much easier than that. Painted OD green and a black wash really made these look good. I used a little pastel light green to give some contrast to the tubes.
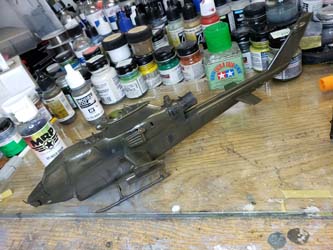
The decals. Although, I love the subject matter, the decals were thick and difficult to use. I saw what was coming and cut the small slit needed to go around the footstep protruding from the fuselage. I am glad I did that but that also pegged the decal to be in a position that was difficult to work around the bottom of the nose and around the machine gun mount area. Lots of Solva-Set, Micro Set and Micro Sol were used. The decals just did not want to lay down right. It took many sessions to get them to snug down. The last thing I did in the paint shop, was go over the whole thing with a silver chipping pen and give a little wear and tear on everything. Some dark washes, pastel chalks and airbrushing lighter and darker areas. Then everything got a flat coat. I used a brand-new bottle Model Master Acryl Flat.
Next came the rotor blades. These are casted in one piece and are very well done. The large blades did not sag as much as you would see with a UH-1D. The way they connect to the main drive shaft and counterweights shows more of the cleverness of the design of this kit. The center hub got painted Vallejo Acrylic Silver and the blades got a coat of Vallejo Acrylic black-grey and airbrushed with black to give them a more weathered look.
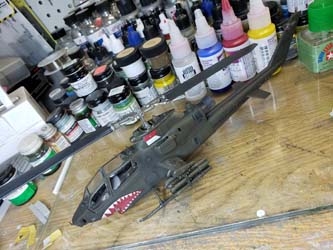
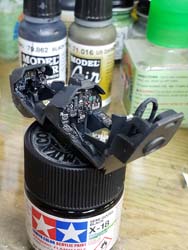
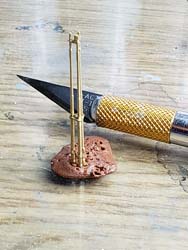
Lastly, the Master Brass barrels. I thought it was a bit frivolous expenditure for the kit but after looking at the kit barrels, purchasing the brass ones was money well spent. It was a bit difficult getting the barrels triangulated from each other at first, but a spot of non-curing putty helped hold everything in place until I could use some ultra-thin superglue to tack it into place. Take your time with this and it will be worth it. When you cut the old barrels off the kit piece, you need to cut a slot in the receiver mechanism to clear the disc that the barrels mount to. It took a few seconds with a razor saw to get it set exactly right. I used a semi-gloss black and then dusted it very lightly with pencil lead graphite to give it that gun metal look. Some small detail was picked out of the machine gun mechanics then it got all glued into place.
After kicking back and looking at this kit, I was pleased. The resin goodies were not expensive, and the brass pieces really made a difference. All in all, the kit was easy to build, did not have a large parts count and after all these years is probably one of the best values in our hobby. I plan on building a Desert Storm tan one and a few other versions that have my interest not to mention opening the canopies and super detailing the cockpit. I was impressed by the engineering of the original kit and except for the canopy, which I still admit could have been my fault, this kit was a lot of fun to build. I recommend this kit for a pallet cleanser or add to your collection of rotor wing aircraft. I think that this kit could be build by a beginner or an expert and both would get the same amount of satisfaction.

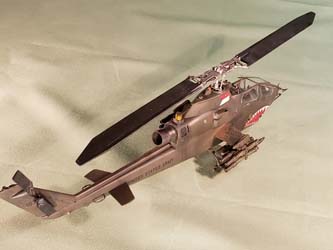
Postscript: I just could not take that large gap where the canopy met the fuselage on the left side. I ended up taking my Exacto knife edge and slowly scoring the canopy frame until it separated. Then I propped it up to the right angle and added a small strut from wire and a handle from some scrap plastic and cleaned up the area around the canopy edge. It looks so much better to me. It is a bit scary to be cutting on a finished model but sometimes it works in your favor and sometimes it does not. I think I got away with it on this one.