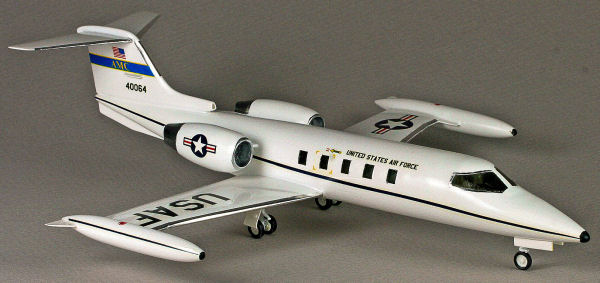
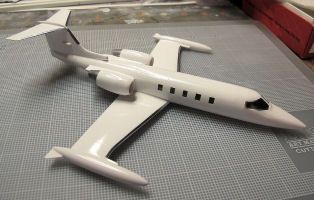
RVHP 1/72 C-21A Learjet Model 35 USAF Build Review
By Chuck Holte
| Date of Review | August 2013 | Manufacturer | RVHP |
|---|---|---|---|
| Subject | C-21A Learjet Model 35 USAF | Scale | 1/72 |
| Kit Number | 72200 | Primary Media | Resin |
| Pros | Well fitting, well molded resin kit - few pinholes, easily repaired | Cons | Ultra thin vac canopy difficult to mate to fuselage; other than main wing assembly in one piece, everything else was butt joint assembly |
| Skill Level | Experienced | MSRP (USD) | Out of Production |
Background
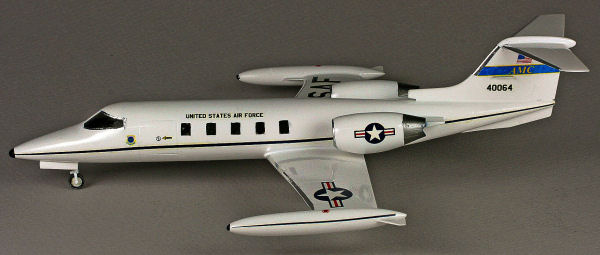
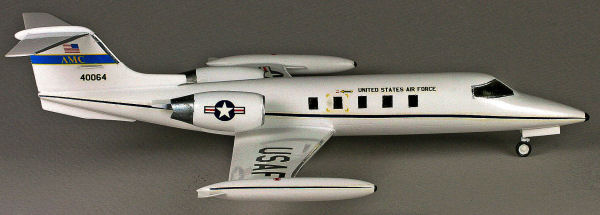
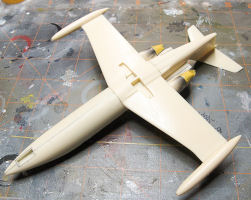
The RVHP C-21A kit is nicely packaged in a sturdy, top opening carton that adequately protects the delicate resin contents. The contents include the typical left and right fuselage breakdown and a six part cockpit with decals for the instrument panels. The main wing assembly is one piece with separate external (tip) fuel tanks. Other that the one piece wing, most parts are joined to the fuselage with butt joints with little locating information. The kit also includes semi-clear resin bits for the cabin windows and very clear and thin vacuform windscreen (with a spare). Main and nose landing gear are nicely detailed white metal bits with two complete sets of resin wheels. Instructions are barely adequate but do provide painting and marking profiles. Decals are provided for two aircraft, one assigned to US Air Forces Europe (USAFE) and the other Air Mobility Command (AMC).
Construction
No real surprises in the construction. Cockpit first, but very little of the detail will show when the aircraft is buttoned up. I added seatbelts and straps to the plain resin non-ejecting seats. Cabin windows are more easily installed before joining the fuselage halves. Parts were joined with slow cure gel super glue and most of the seams required a small amount of the same CA to close gaps. I wet sanded the filled seams with 400-600 grit paper and finer grades to achieve a surface ready to polish overall with Brasso.

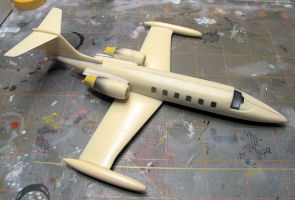
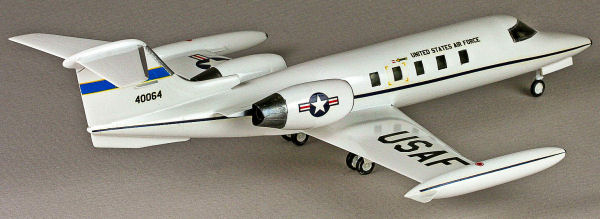
The one problem area that took the most time was faring in the windscreen/cabin roof prior to painting. The vacuform piece is very thin and had little edge surface to mate to the resin fuselage. To solve that problem, I created a "ledge" of scrap plastic along the top edge of the inner cockpit, so the canopy had something to rest on and mate to in two dimensions. I after dipping in Future, I masked the windscreen with Bare Metal Foil prior to supergluing to the fuselage. The rest was prime, fill and prime some more.
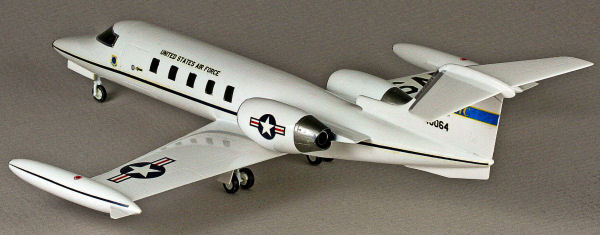
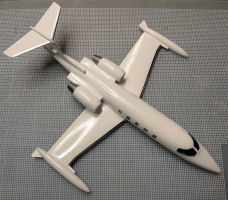
Once all the gaps and dings were filled and polished, the model was primed with Tamiya rattle-can Fine Surface Primer, followed by several light coats of Tamiya rattle-can Pure White lacquer. When the surface of the model had cured, I used Bare Metal Foil in thin strips to outline the windscreen and household Reynolds Wrap foil with Micro Metal Foil adhesive on the leading edges of the flying surfaces.
The kit supplied decals were adequate and would likely have turned out nicely, but I happened upon the Draw Decals Lear 1 sheet for US Army and USAF C-21s and decided to use them instead. The Draw Decals go down well, are very strong and snuggle tightly to gloss finishes.
The landing gear and doors were added as the last step and, after a few minor touch ups with a fine brush, the C-21A was ready for the display case. It was an enjoyable build of a sleek, but seldom modeled aircraft.