


Special Hobby 1/48 Saab AJ-37 Viggen Build Review
By Fotios Rouch
| Date of Review | November 2020 | Manufacturer | Special Hobby |
|---|---|---|---|
| Subject | Saab AJ-37 Viggen | Scale | 1/48 |
| Kit Number | 48148 | Primary Media | Styrene, Resin, Photo-Etch |
| Pros | Nice detailing, unique subject matter | Cons | Needs lots of work at the wing roots |
| Skill Level | Intermediate | MSRP (USD) | Out of Production |
Build Review
It was 1980 or thereabouts when I saw the first ESCI Viggen displayed at a hobbyshop in Athens in the splinter camo. I remember what an impression it made on me and how much I wanted to build one someday. I was just too scared to do the camouflage. Back then ESCI was the queen of affordable but nice models in Greece. Fast forward a few centuries later and a new Viggen family came out from Sweden's Tarangus via Special Hobby. I promptly acquired a few from both companies and sat on them until I had all the aftermarket stuff I needed.
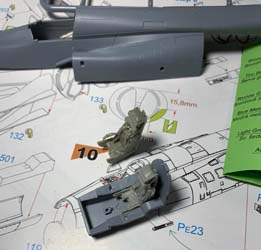
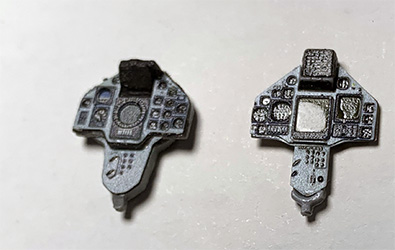
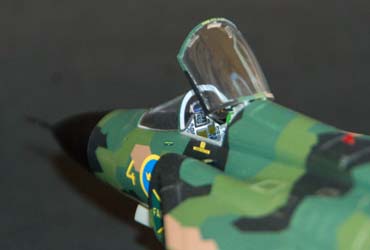
The kit is better than the usual limited run with some locating pins present between the major parts. Work started with the cockpit and I used Eduard photoetch parts for most of the instrumentation. I had two ejection seats to choose from. Since the Maestro seat did not fit in the plastic cockpit tub, I went with the CMK one.

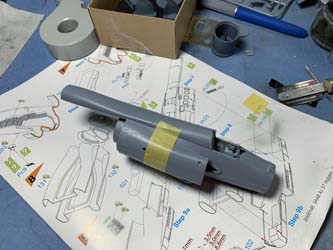
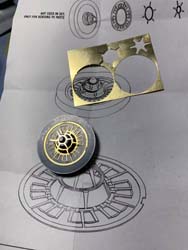
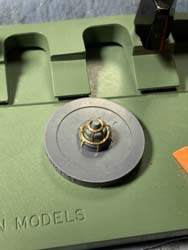
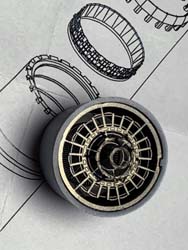
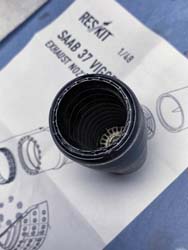
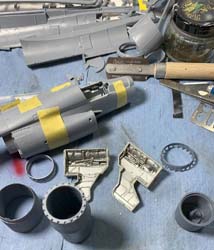
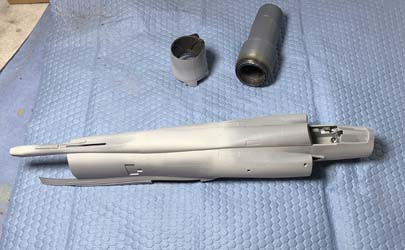
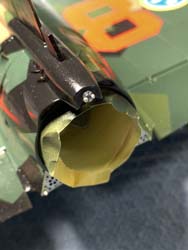
I had also gotten the Reskit exhaust set which is really nice and mastered in a 3D printer. If you look carefully you can see the tiny steps on the curved surfaces left by the creation process. 3D printing technology has come a long way and curved surfaces are almost completely smooth now. The set comes with resin and photoetch parts for the afterburner section. Test fitting is very important with such kits. The fuselage goes together okay for the most part with little gaps left here and there.
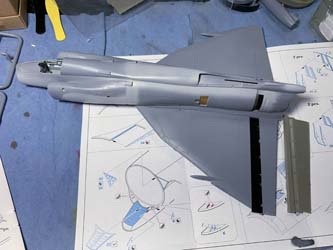
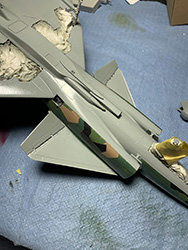
The wings were more of a headache for my build. It did not look like the two top parts for the wings would match well with the bottom wing part without leaving gaps and steps and also meet the fuselage without gaps. I did not follow the instructions and decided that having a perfect sandwich between the top/bottom wings was more important to me. Also the resin wheel wells by Maestro complicated the assembly further.
In the end after a lot of test fitting and sanding, I got the wings to fit the fuselage with no gaps.
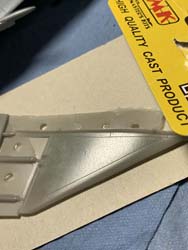
I also had purchased resin canards from CMK and Maestro. The CMK canards were not useable, and I found it shocking how quality control allowed such parts to get out. The Maestro canards were okay.
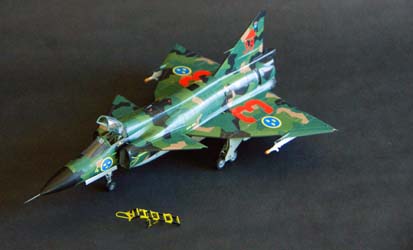
I do like the look of dropped flaps, so I removed the flaperons and replaced them with resin ones from Maestro. I decided to separate them and pose them at different angles as per the photos.

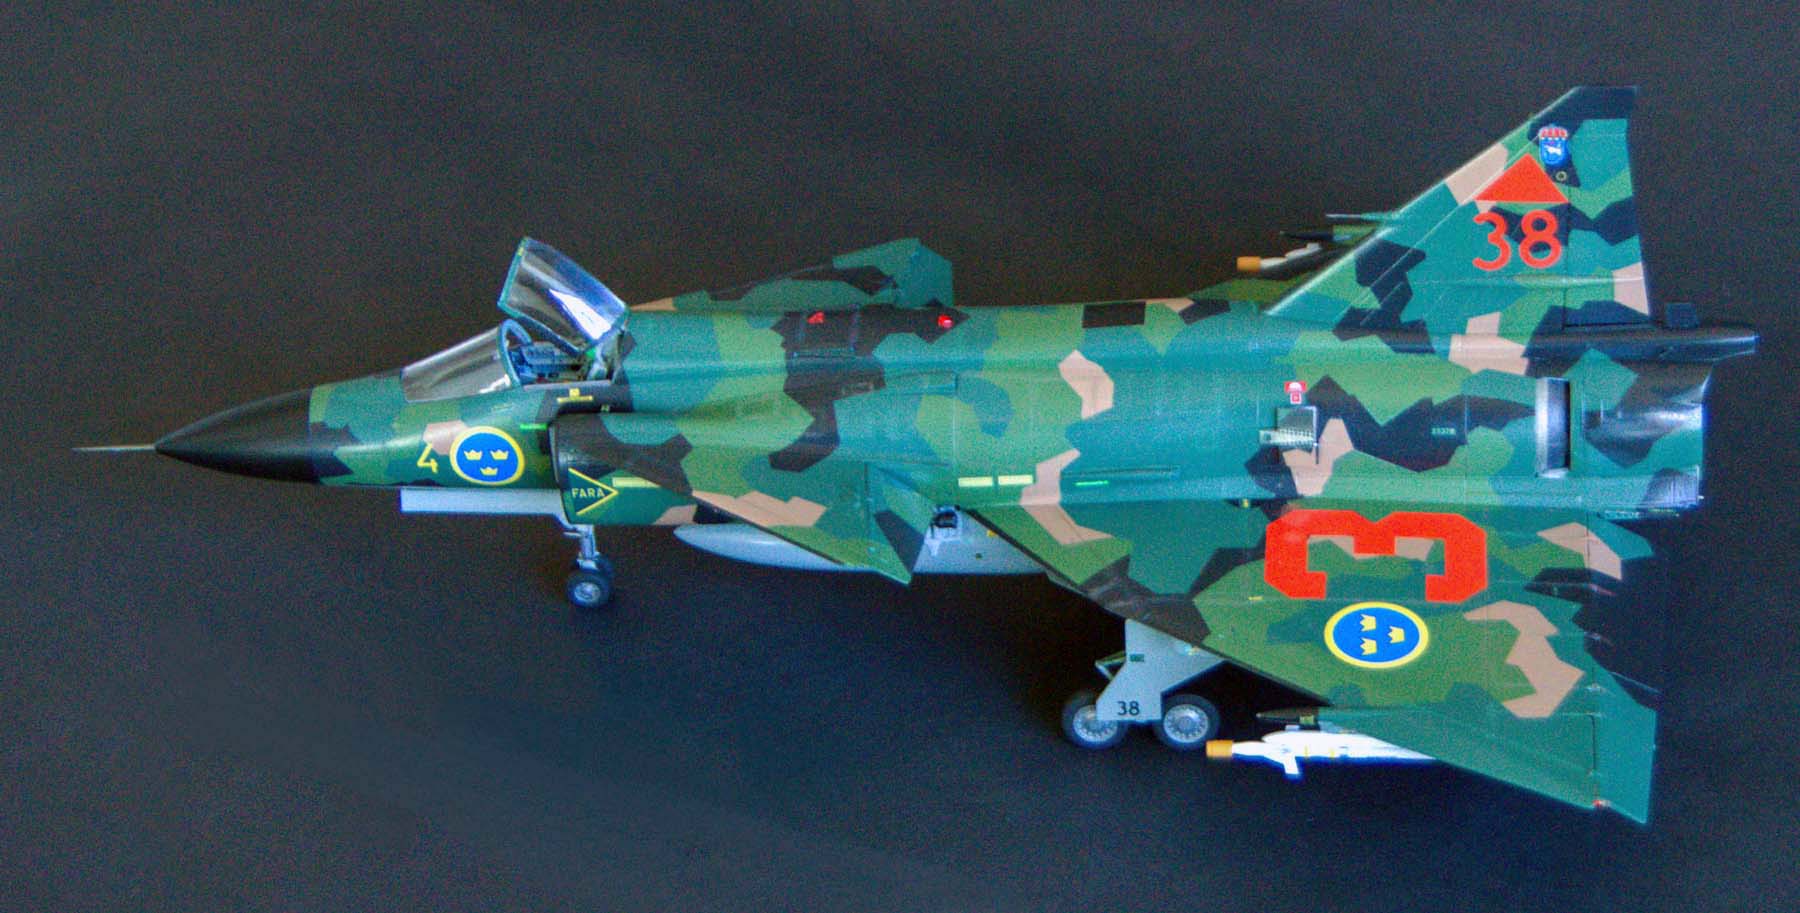
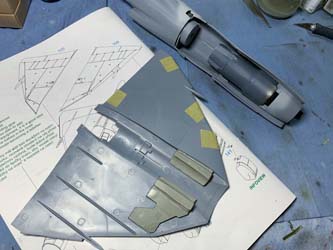
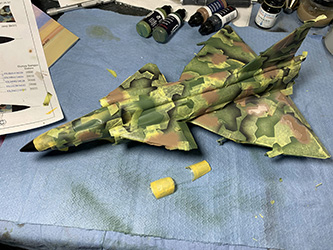
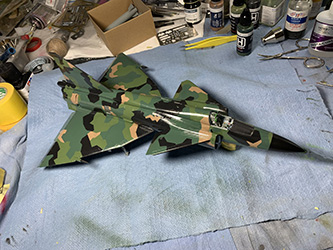
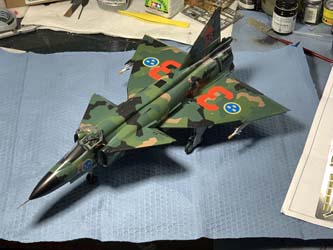
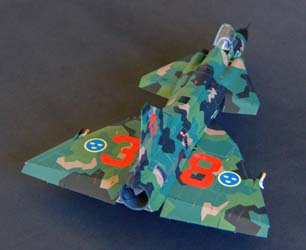
Work on the Viggen continued with applying the camouflage. The masks I purchased look very nice but they do not include any instructions to help with where to start the mask applications. I thought that a good start would be the leading edge and trailing edge of the wings and starting from the back and forward fuselage of the plane.


I used the dark green as a basecoat so I could save multiple removal and reapplications of the masks. Successive colors were sprayed, and masks were applied and removed. I was certain that touchups would be needed as there was no way to get everything perfect in one shot.
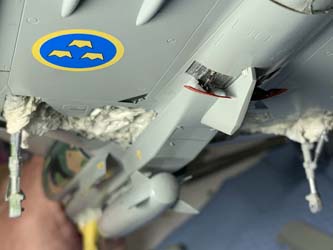
As I was admiring the model, I realized my most rookie mistake ever. I followed the kit instructions! The tail shown in the instructions for the JA kit is actually for the AJ variant. After I had put so much work in the kit, my only recourse was to change my direction and finish it as an AJ version. That meant that I had to change the instruments, the belly, add the VHF antenna and one more thing that I have not mustered the courage to do yet. The little fins on top of the canards.
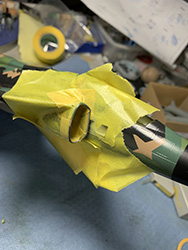
I applied a coat of Future and added the cockpit details next. I also sprayed the black intake lips and the black wing leading edges. The project will continue with some minor paint touchups and the build of the landing gear.
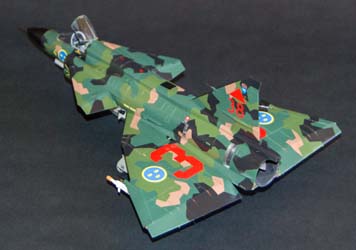
The rest of the JA-37 work continued with the addition of the speed brakes from the Eduard photoetch set. The set is fine, but the modeler needs to fabricate the actuating rod from various diameter styrene rods.

I decided to pose the top fuselage brakes open although I have not seen any pictures of them open on the ground.
Next, I fabricated the radar warning receiver in the tail cone area based on photos from the Squadron Walkaround book.
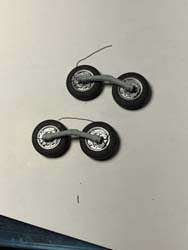
The main and front landing gear were put together with their brake lines.
The decals went on next after a coat of Future application to smooth the finished paint. The kit decals were very hard and did not care much for the Tamiya decal softener or the strong DACO decal softener. A final coat of lacquer semigloss clear coat was applied and the model was done.
I have been contemplating to add a bit of weathering, but I need to be careful not to damage the finish.
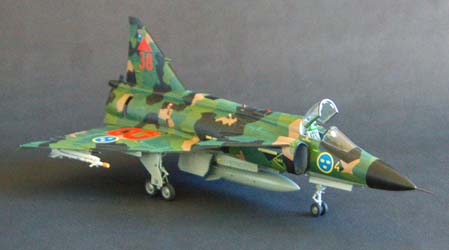
This family of kits will most likely be the only way to get a modern interpretation of the Viggen in the foreseeable future. The kit has its difficulties and its omissions or mistakes or instruction issues but if you study your subject well, then a good result is possible with patience and skill. I like the end result although in my effort I did not address the longer RM8B engine's effects on the fuselage.
Recommended to modelers with experience in limited run kits.