


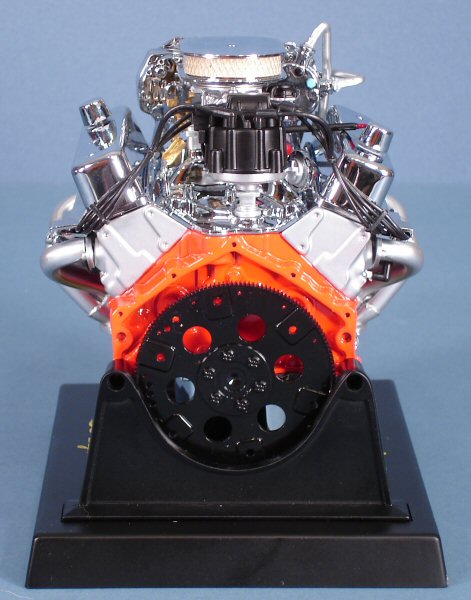
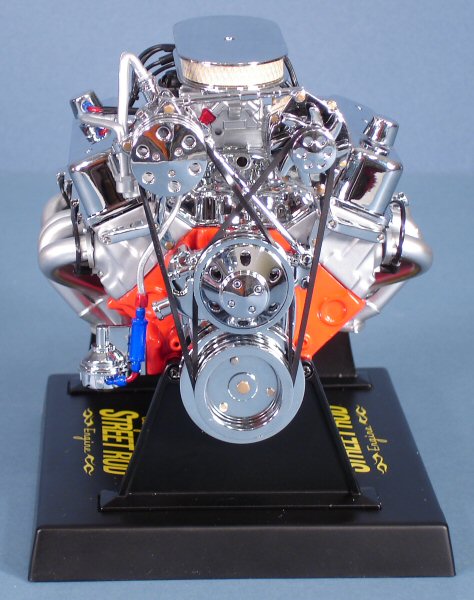
Testors 1/6 Chevy 350 Small Block Street Rod Engine Build Review
By Michael Benolkin
| Date of Review | October 2005 | Manufacturer | Testors |
|---|---|---|---|
| Subject | Chevy 350 Small Block Street Rod Engine | Scale | 1/6 |
| Kit Number | 0456 | Primary Media | Metal & Styrene |
| Pros | Pre-finished - no painting required, outstanding detail. | Cons | |
| Skill Level | Intermediate | MSRP (USD) | Out of Production |
Background
Check out the kit review here.
The Kit
As I mentioned in the kit review, all of the parts are nicely sealed up into small packets to prevent damage before reaching your workbench. Assembly is to be accomplished with four different types of screws and/or cyanoacrylate glue.
The large instruction sheet is nicely illustrated with only a part or two covered in each step. You'll need to spend a little time to acquaint yourself with the instructions and the kit as there are a few precautions you'll need to take to make this a smooth project. First, while the instructions show part numbers, the parts are not numbered, so you'll have to locate each part the good old-fashioned way. Second, I had hoped that the parts were grouped together by steps to minimize the number of packets that need to be open at any time. For the most part, plan on opening all of them up and putting the loose parts into a bowl or container to keep them from wandering off before you need them.
Construction
Once I was oriented with the project, I located each part and dry-fit the part first. If the fit is tight, don't force it. The paint and/or powder coating has closed up the holes ever so slightly, so use a small round needle file to open up any holes that require some help.
You might be tempted to use liquid cement on the plastic-to-plastic bonds (I was). Don't bother - the paint or chrome plating is thick enough that you won't get any reaction from the cement. Stick with the cyano.
The Dodge Hemi goes together rather well and it is a simple build. The initial steps have you install the oil pan, dip stick, starter and oil filter mount before installing the engine stand and display base. I was a little suspicious of the front engine stand mount as it is a VERY tight fit between the engine block and the crank sheft pulley. It took a bit of swearing to get the mount in place and the screws tightened with those close confines.
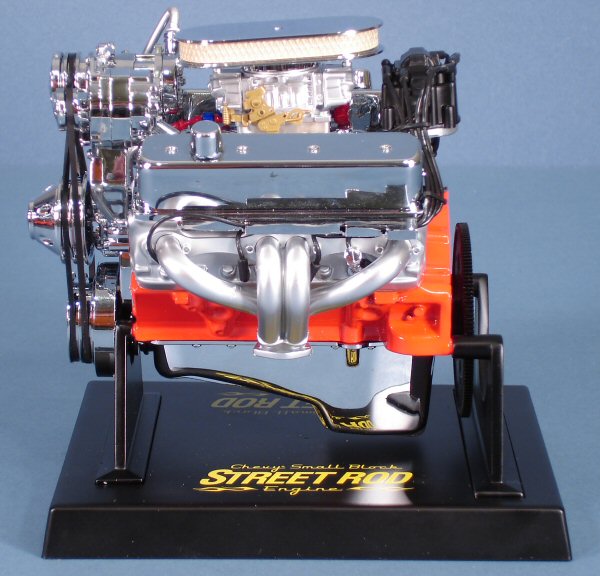
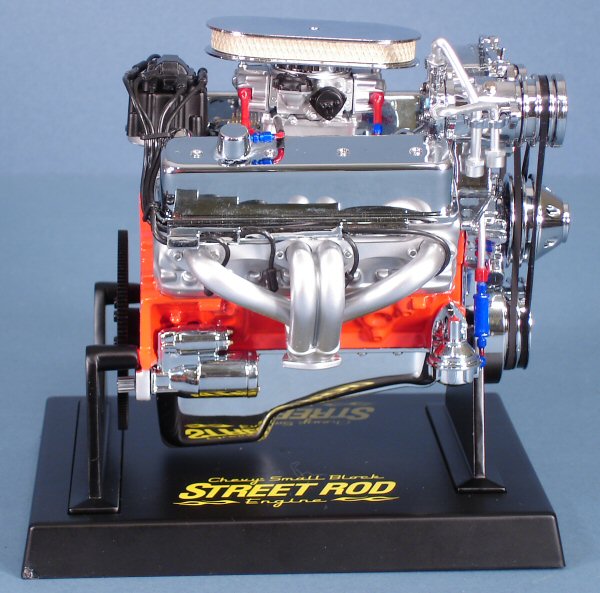
It is very important to check out each step carefully before proceeding. My challenge after the front engine stand was with the valve covers. These have channels to route the ignition harnesses safely over the exhaust headers. The kit captures the detail, but the chrome plating made even cyano not very effective here as I had to re-work this step a few times. If I were to do this again, I'd scrape the chrome off of the edges of the lower cable plate (parts 40) and the corresponding surfaces inside the valve covers (parts 41) to use liquid cement and obtain a stronger bond. Once all of this is in place, DO NOT glue the spark plug wires onto the spark plugs. You'll be adding headers in this area a while later, THEN it will be safe to wire the engine up.
Conclusion
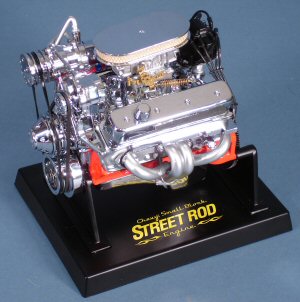
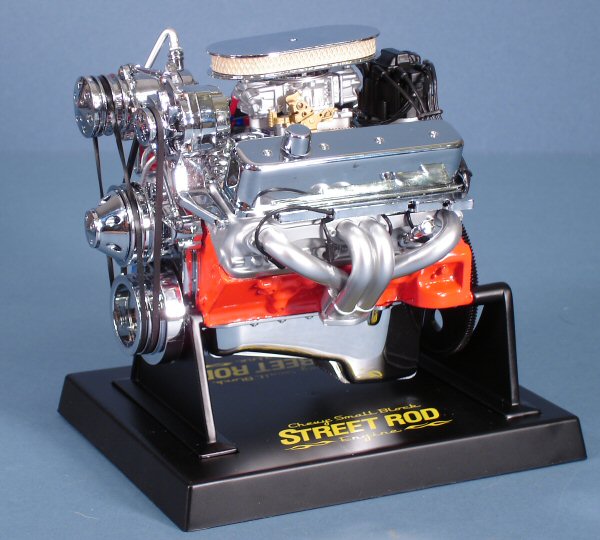
The kit goes together as advertised and looks stunning when completed. I never used any paints. The instructions do recommend a little painting of details and a wash to bring out more details, but this is left to the modeler's taste. I rather enjoyed the project as a quick-build that looks great on the shelf. Give one of these engines a try, I think you'll like it!
My sincere thanks to Testors for this review sample!