


Trumpeter 1/144 USS Gato SS 212 1941
By Michael Benolkin
| Date of Review | August 2006 | Manufacturer | Trumpeter |
|---|---|---|---|
| Subject | USS Gato SS 212 1941 | Scale | 1/144 |
| Kit Number | 5905 | Primary Media | Styrene |
| Pros | Simple build | Cons | |
| Skill Level | Basic | MSRP (USD) | $42.95 |
Background
For the background of the subject or a look at the kit out of the box, check out the in-box review.
Construction
Well, when I unloaded the kit onto the workbench, I was able to dispatch quite a few pieces straight away. All of the interior of the main pressure vessel was put aside. I gave some thought about tossing the pressure vessel as well since it is not visible inside the assembled hull, but I opted to use the vessel for structural strength. I assembled the pressure vessel halves using Tamiya Extra Thin Cement. I used this cement throughout the build.
The pressure vessel was installed inside the hull halves, keeping an eye on the alignment rings and their places inside the hull. With the vessel tacked into place, the hull halves were cemented together and clamped together to assure a tight bond. The main deck goes atop the hull and dovetails with forward and aft ends. I dry-fitted the deck before installation and found a touch of flash here and there that needed to be dispatched and the result was a nice tight fit.

The instructions called for the propeller shafts, stern planes and rudder to be installed, but I opted to wait until a little later.
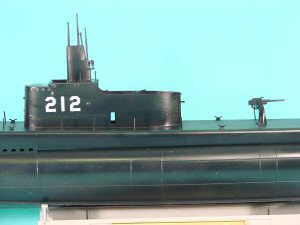
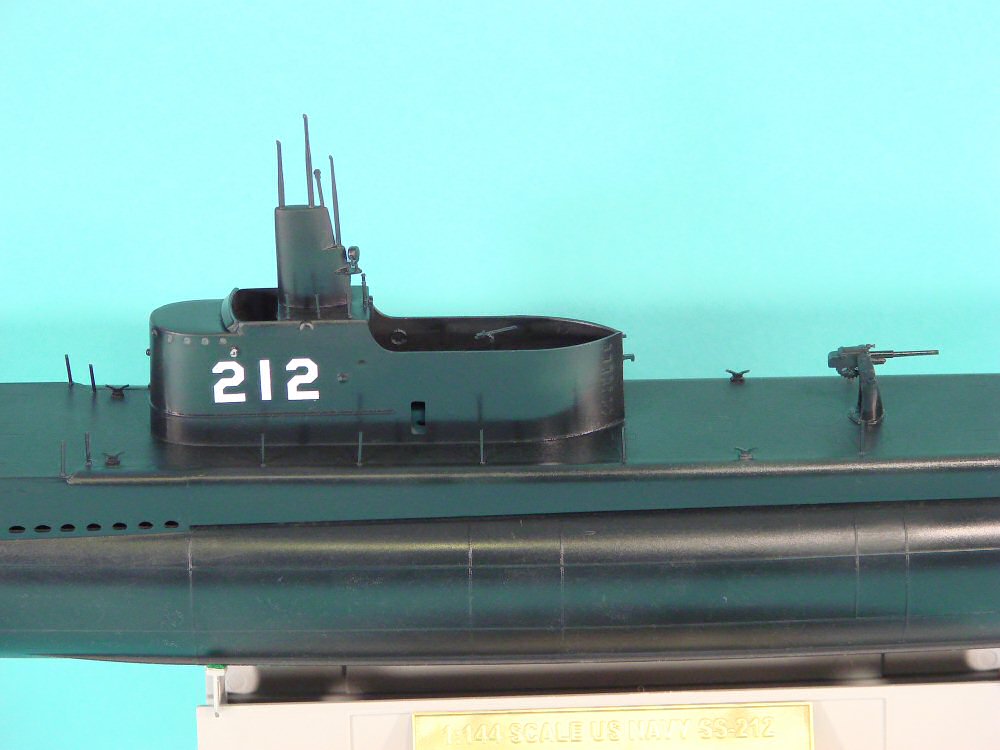
I paused in step four with the construction of the conning tower. The kit tower represents the initial configuration of the Gato-class conning towers that didn't survive long with operational experience. Many configuration changes were made in the shipyards and even more in the field to the point where no two Gato-class boats looked alike by the end of the war. I thought about reconfiguring my boat for a later service period, but then I received the release notes for early next year - Trumpeter will release the Gato in its late-war configuration. With that dilema over, I built the conning tower per the instructions.
The insides of the conning tower had several ejector-pin marks in visible areas. I filled each one with Gunze Sangyo's Mr. Dissolved Putty, then sanded the dried putty flush with the surrounding surface. It doesn't take much time to cure and even less to smooth out.
I wasn't too thrilled about how the periscopes and antenna are mounted to stubs atop the enclosed frame. Next time I will drill out the mounting points to provide a more solid join. I assembled the conning tower pressure vessel, installed in into the recess on the deck, and mounted the conning tower over the pressure vessel.
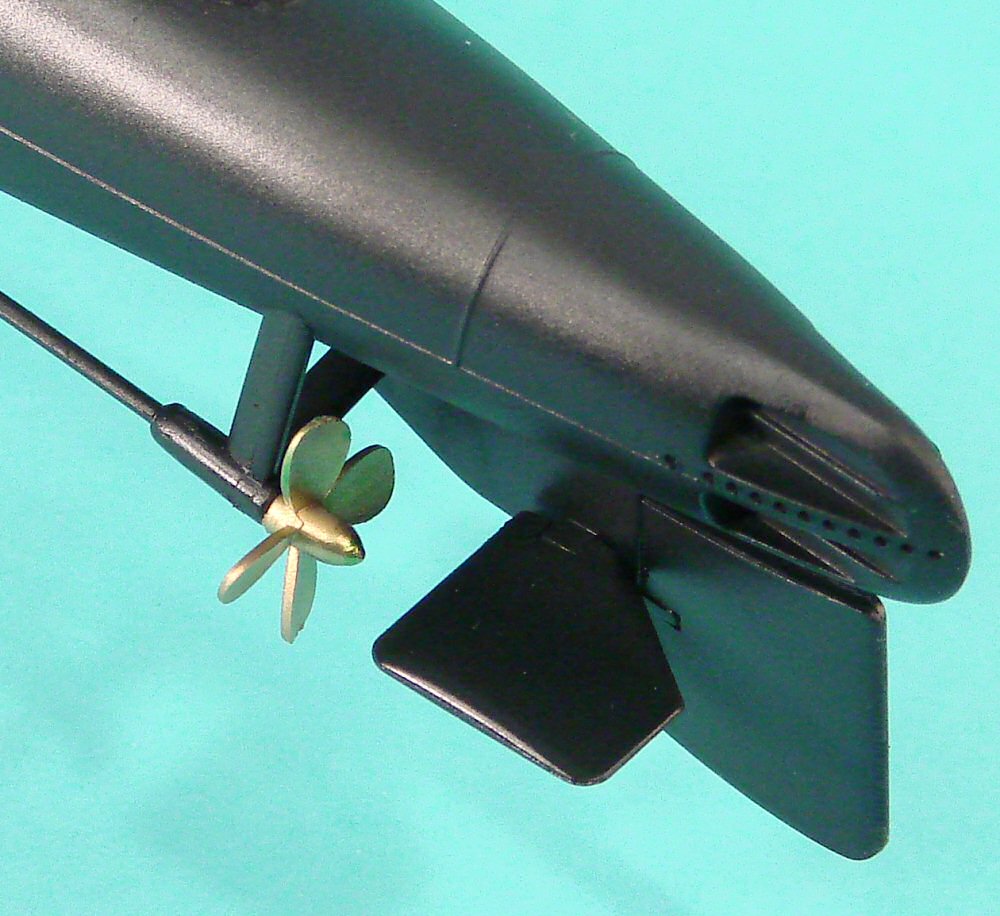
I had a good laugh at the 'workable' bow planes. The two hinge halves mount to the plane and then into a hole on the side of the hull. If the hinges could be assembled so that the bow planes could stow and deploy, that single pin mounting point would be sheared off in no time. I opted to glue my bow planes in the stowed position out of harm's way.
The kit comes with a wealth of cleats, stanchions, hatches, and other deck hardware. I used the parts provided, but the AMS modeler will want to replace the stanchions with thinner brass wire more to scale. That way it will all look more natural when rigging the rope railings and HF antenna.
I added the propeller shafts, stern planes and rudder at this point, we're ready for paint!
Painting and Finishing

I went over all of the seams with the Mr. Dissolved Putty and then wet-sanded and buffed the seams smooth. The results turned out rather nice.
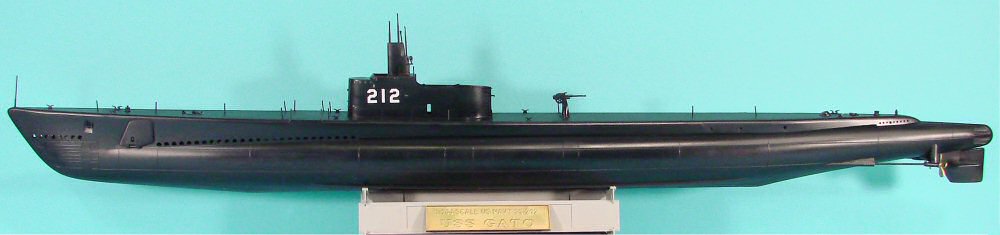
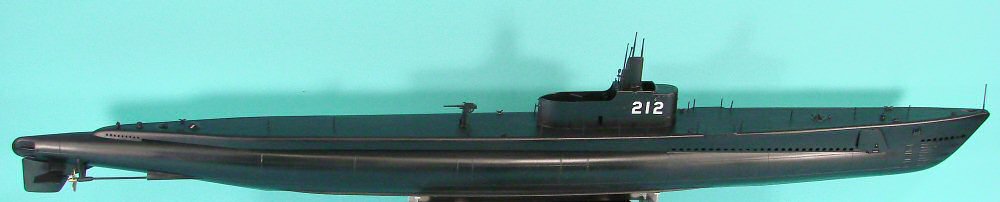
The kit instructions call for Flat Black, and even the various photos of the initial configuration Gato appeared to be black, but I just couldn't do it. I almost used Tamiya NATO Black (a few shades lighter) but settled on a more appropriate color - Tamiya Sea Blue. This is a very dark blue that looks nice flat, but with a clear coat over the top, it is blue-black. It looks great!
I added the conning tower numbers as shown in the instructions, but some of the photos of the early Gato showed the hull numbers repeated on the bow. I opted to leave well-enough alone. A safety tip here, make really sure that you have the decal properly located before you completely remove the backing paper. Once that sucker laid down, it was there to stay!
With the paint dry, I added a drop of Elmer's White Glue to each of the port holes in the conning tower using a toothpick. The glue dries smooth and clear rendering the glass easily.
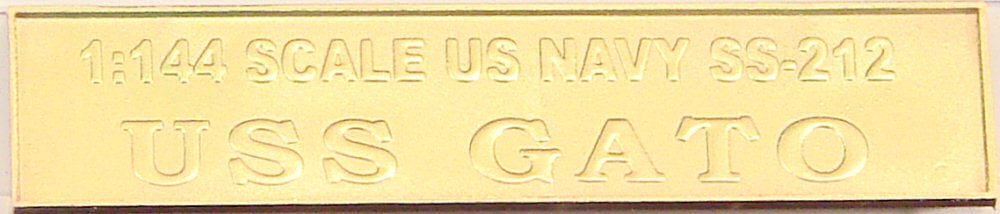
Now it was time for the brass parts. The two propellers and the nameplate were going to be brass, but I don't have a brass color handy. I saw an interesting tip on the Werner Floyd video about doing bare metal finishes. Take Alclad Pale Gold to the parts, then apply a thin mist of transparent green. The result does look like brass. You cannot apply Alclad directly to styrene as many plastics will react/melt. Alclad II has produced a series of primers, one of which is clear. I applied the clear primer to the props and nameplate. It was dry in minutes. Next came a good coating of the Pale Gold. When this was dry, I used a thinned mixture of Tamiya's Transparent Green over the parts, and the results do work nicely. The props and nameplate were installed.
Conclusion

I could have gone hog-wild on rigging and weathering this submarine, but I decided I'll save that for the late-war Gato. When I put this on my shelf, I was astounded that the Gato is only a few feet shorter than the Sea Wolf! In 1/144 scale, it is a bit shorter, but it is still over 26.5 inches long! I cannot imagine where anyone is going to park a four+ foot submarine when the Revell kit is released. The Trumpeter 1/350 aircraft carriers are long enough!
I was pleased with the way this model went together. I didn't run into any serious problems other than forgetting just how long the hull was when turning it around on the workbench. Talk about clearing stuff out of the way!
This is definitely one worth building. Definitely recommended!
My sincere thanks to Stevens International for this review sample!