


Unimodel 1/72 T-34/76 Model 1943 Build Review
By John Kelley
| Date of Review | January 2010 | Manufacturer | Unimodel |
|---|---|---|---|
| Subject | T-34/76 Model 1943 | Scale | 1/72 |
| Kit Number | 326 | Primary Media | Styrene, Photo-Etch |
| Pros | Good detail, good track detail and overall shape | Cons | Vinyl tires and tow rope |
| Skill Level | Basic | MSRP (USD) | $13.20 |
Background
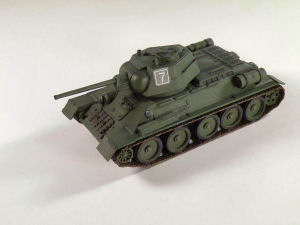
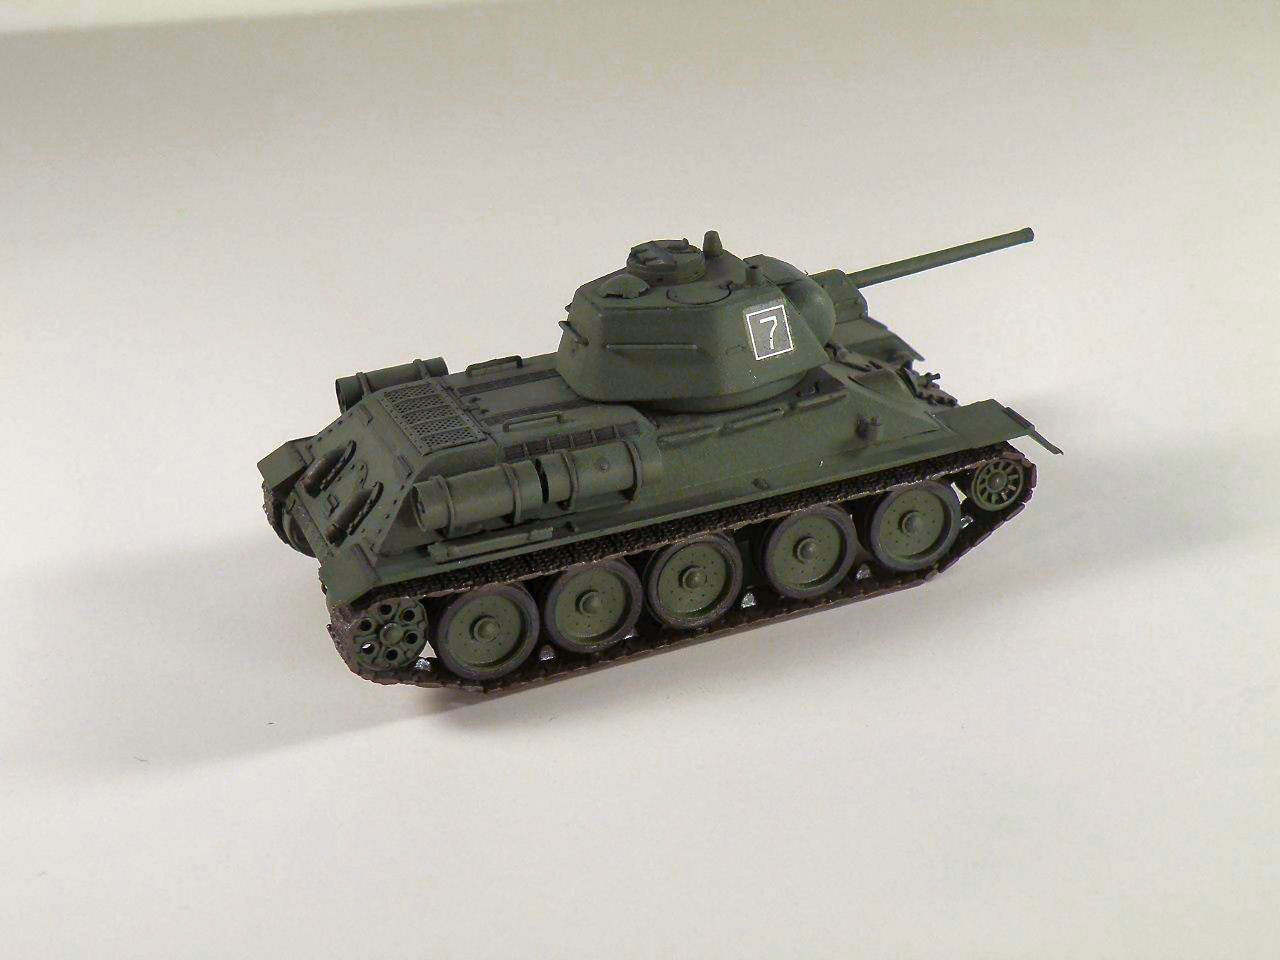
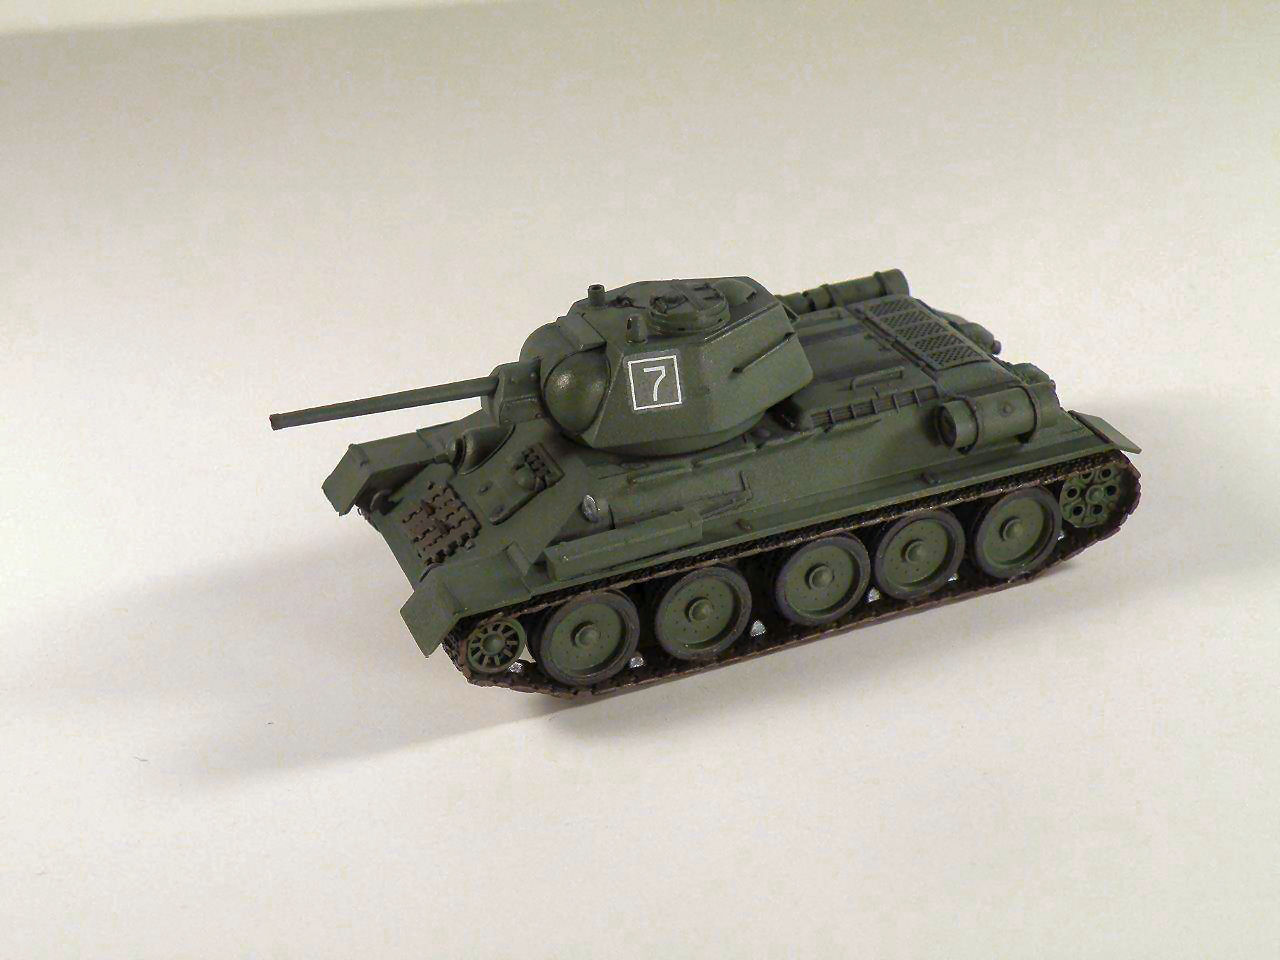
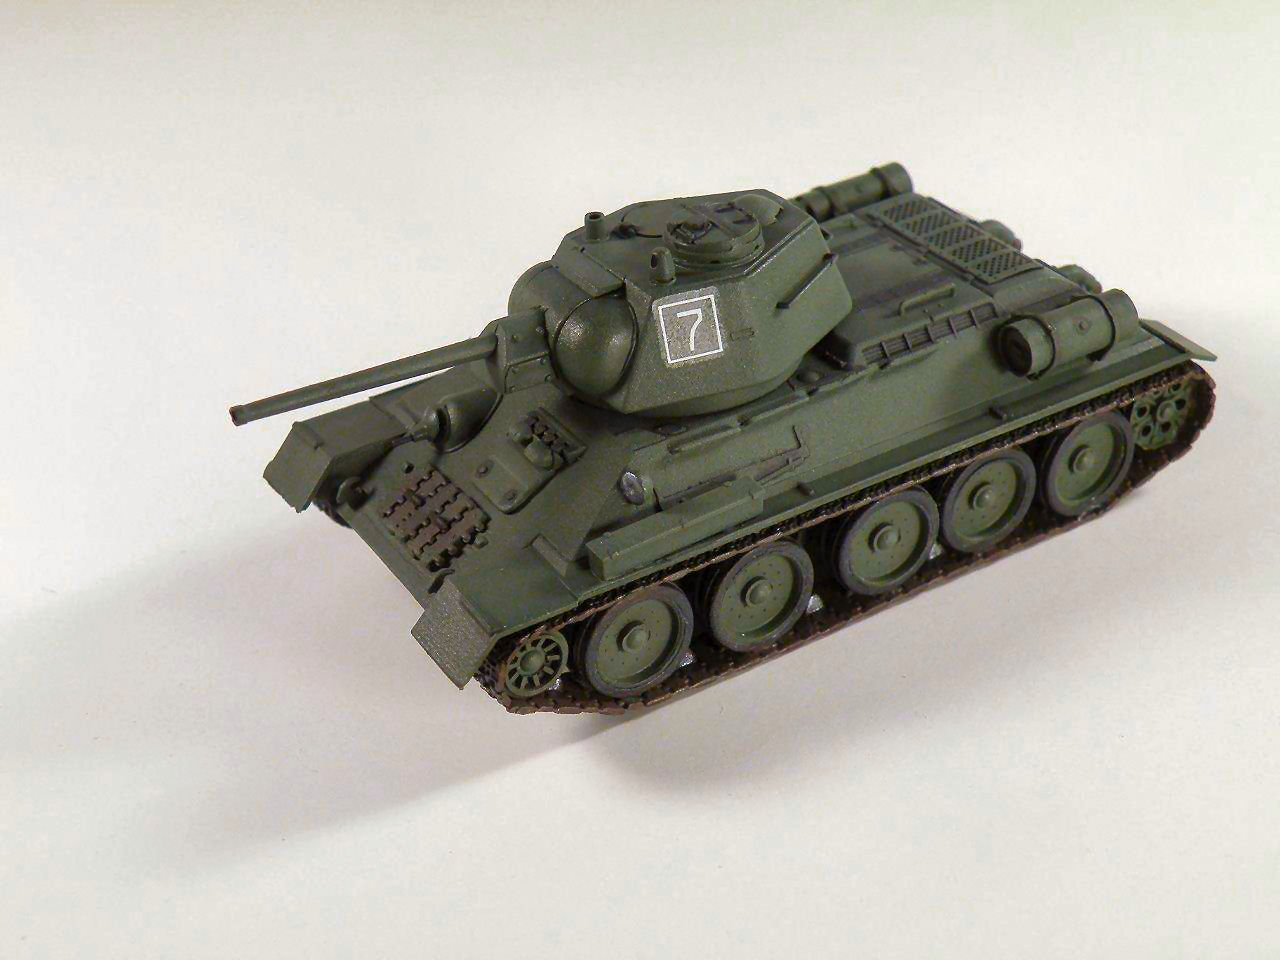
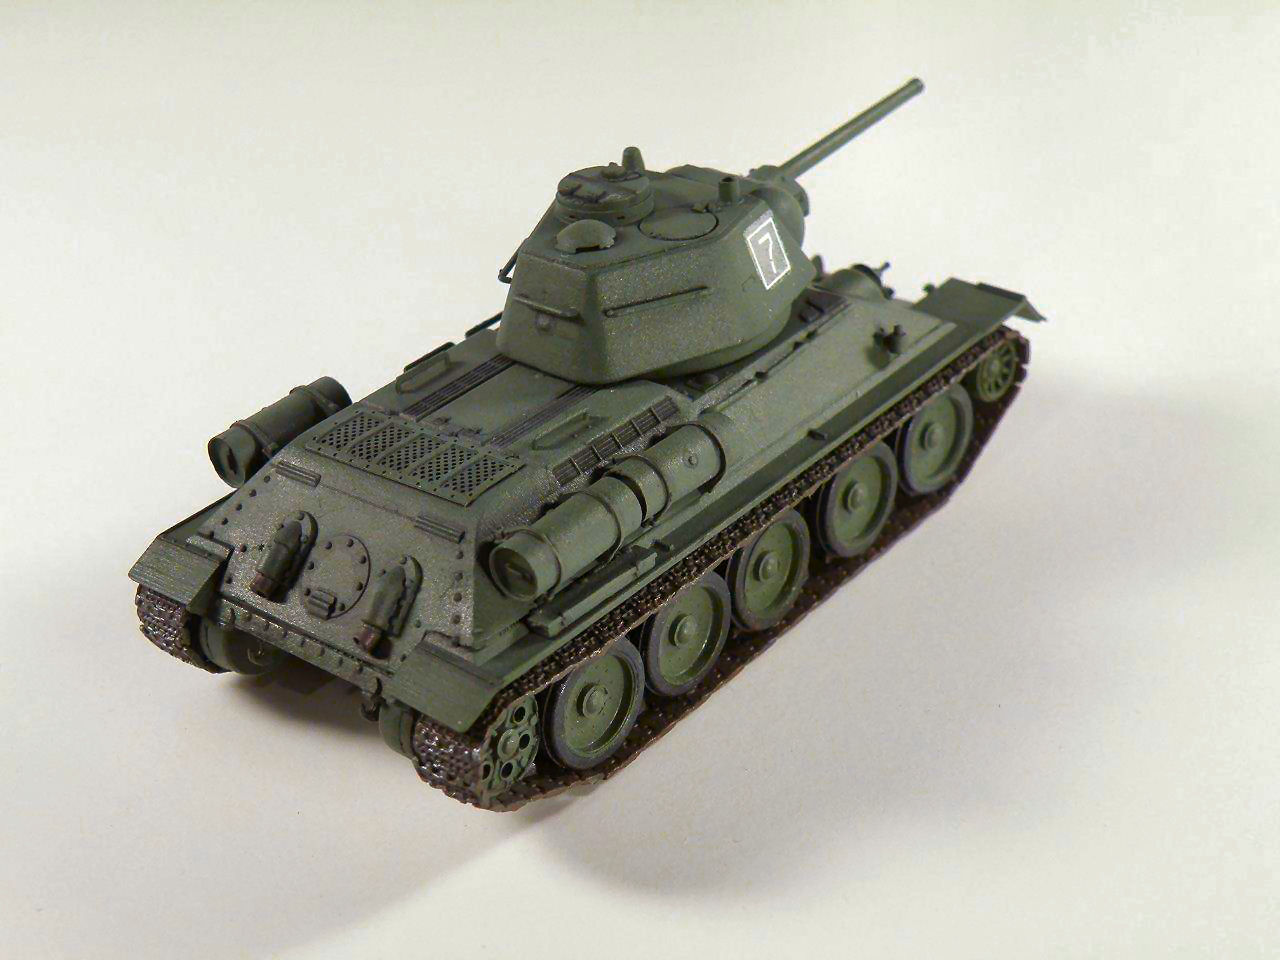
The T-34/76 Model 1943 was the final version of the 76mm gun tanks. Distinguishing marks from the earlier versions were the hexagonal shaped turret and commander cupola. Introduced in 1943, it served throughout WWII and even into post war use.
The Kit
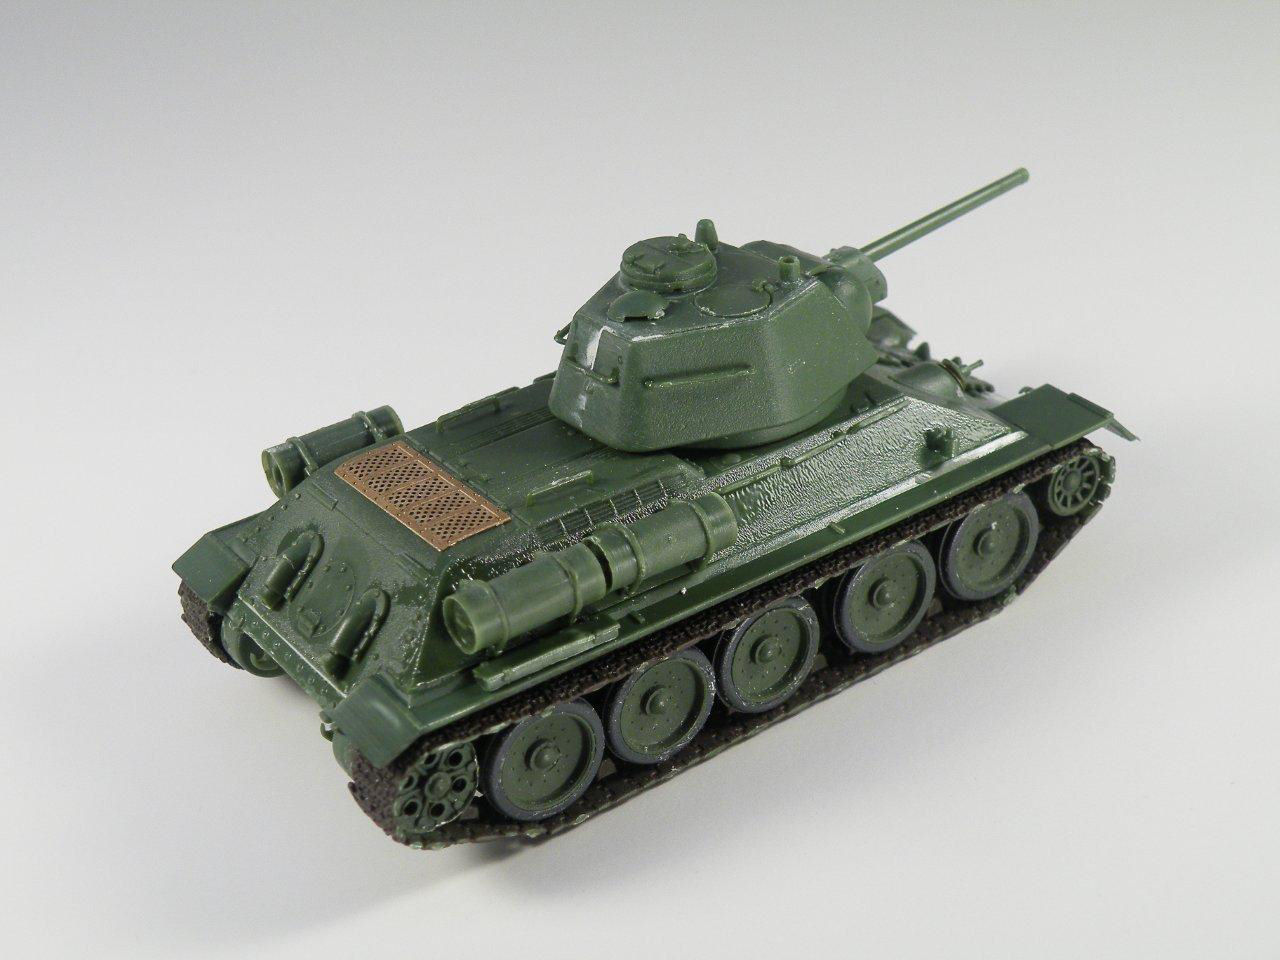
UM has released a well detailed 1/72nd scale model of this tank, and it is the subject of my review. The UM kit has some unique features to it, such as vinyl road wheel tires, separate fenders and photo etch accessories. The moldings are well done and you are given a variety of grab handles, bullet splash rails and extra tracks. You are even given additional parts from their earlier T-34 kits which would be useful for other models.You get 6 versions to model. By the way I found a picture with a Model 43 with the straight bow armor. It was a finale series
For me, the tracks were the highlight of this kit and are very well molded and detailed.
Construction
I began by assembling the lower hull which posed no problem except for two large gaps where the bow Part 48c and tail piece 50b meet the lower hull pieces. I filled these gaps with putty and sanded smooth. I added the idler arms for the road wheels, which locked into place quite nicely.
At this point, I pre-painted the sides and wheels Tamiya Field Gray XF-65, painted the vinyl tires Tamiya NATO Black and the tracks with Modelmaster Panzer Schokoladenbraun #4797. Since the tires are separate from the road wheels, I found it easier to go ahead and pre-paint everything and then assemble.
After painting the road wheels and tires, I found the tires fit quite snugly onto the wheels without the use of glue. At this point, I assembled the running gear and began adding the tracks. The tracks went on quite easily with the fit between the links to be very good. The only problem I encountered with them was that I found the idler and drive sprocket were too narrow to accept the track teeth. To fix this issue, you can either add plastic between the wheels to widen them or simply cut off the teeth, which is what I did. The tracks are very well detailed and are much better than some other link and link tracks that I have put together. I like them so much, it would be nice to see UM release them as a separate set so I could put them on other T-34 kits.
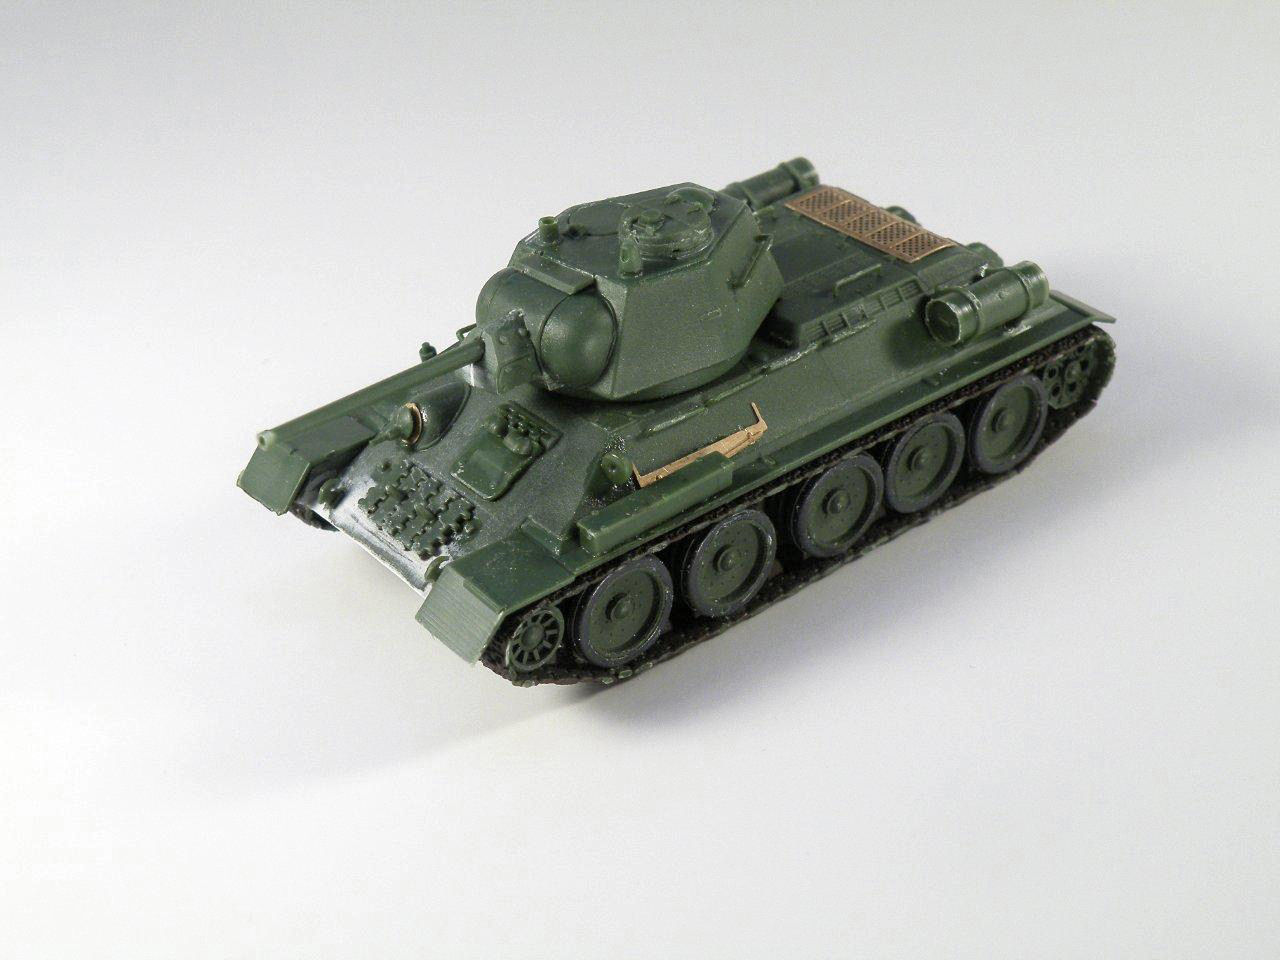
I added the fenders to the upper hull and added that assembly to the completed lower hull and found a large step between the upper hull and Part 48c. I added .010 plastic and putty to fill this step. I also added a strip of .010 plastic to the rear plate before adding to the lower hull to close up the gap in that area as well. I added the photo etch parts starting with the engine air intake screen Part 39d. I used a pair of round nosed pliers and made a slight bend at the end of the screen to match the curve of the model.
Next I assembled the fuel tanks. I like the way UM has broken down this assembly. You have two end caps and two center pieces that are glued together. This minimizes the amount of sanding you have to do because only the center section needs to be sanded down. The end caps are then glued on and the tanks attached to the hull. I added the rest of the final details to the hull assembly. Fortunately for me, UM provides extra track links and handholds for the turret and upper hull because I needed them since at least two of the handrails went flying when trying to remove them from the sprue. The extra track links can come in handy as extra stowage.
The turret assembly had no issues except for a gap in the back of the turret, which was filled with some putty. I also had to fill a hole in the search light. This was accomplished using Mr. Surfacer 500. I drilled out the main gun and the exhaust pipe openings, and this completed the construction.
Painting and Detailing
I air brushed the model with the Field Gray and then over coated that with a mixture of 40 drops Field Gray to 8 drops XF-57 Buff to lighten up the green. At this point, I touched up the over spray and detail painted using Silver for the search light and for the exposed track teeth.
I painted the exhaust pipes the same color as the tracks. The model was then glossed using Modelmaster Gloss Coat and the decals were added.
Although, while I gloss coated and added the decals, then flat coated, the decals still silvered. I have not had this problem with other decals before.
I then made a wash of Flat Black and thinner and highlighted the details. Afterward, I used Modelmaster Flat Coat to finish the kit.
Conclusions
I like the UM kit, but I still prefer plastic tires and tow ropes over vinyl. I really did not encounter any problems with the vinyl tires and with the exception of some filling and sanding, the kit went together quite well. I used Tamiya Thin Glue to assemble the tracks and super glue to attach them to the vinyl tires. This caused no problem and the assembly is nice and firm. I recommend this kit to any one interested in Soviet WWII armor.
My sincere thanks to Squadron Mail Order for this review sample!