


Eduard 1/32 F-86F-40 Interior Detail Set First Look
By Michael Benolkin
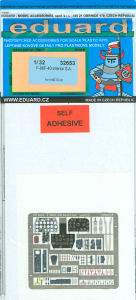
| Date of Review | March 2010 | Manufacturer | Eduard |
|---|---|---|---|
| Subject | F-86F-40 Interior Detail Set | Scale | 1/32 |
| Kit Number | 32653 | Media | Photo-Etch |
| Pros | Beautiful transformation of the Kinetic 1/32 F-86F-40 cockpit | Cons | |
| Skill Level | Intermediate | MSRP (USD) | $30.00 |
First Look
 |
 |
Eduard from the Czech Republic is easily the most prolific producer of aftermarket details. Period. Their series of photo-etched detail sets have brought additional fidelity to otherwise bland subjects, and have taken even the best-produced models and kicked them up a notch or two with details that cannot be produced with injection-molded plastic.
When Eduard first introduced the acetate-printed instrument faces that go behind their photo-etched instrument panels, this raised the bar on model cockpit reality as you could almostread the time on the aircraft clock. How could they top that?
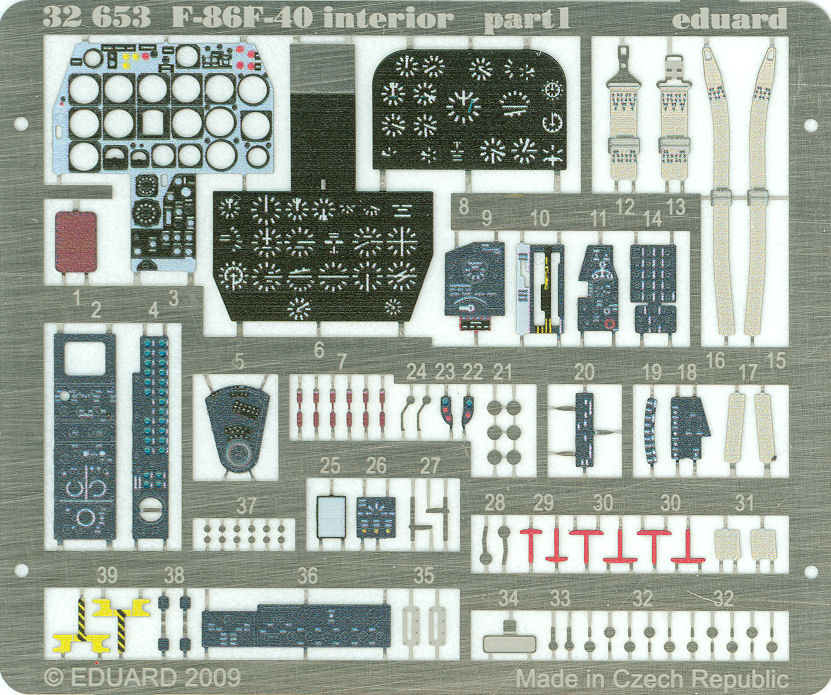
It took a number of years, but the answer is color photo-etch. Somehow Eduard has developed a process for printing color directly on their photo-etched parts such that now you not only can read the instrument faces, you can now see the color warning arcs around airspeed indicators and color reference circles around Luftwaffe flight and engine instruments.
Eduard didn't stop there. One of the challenges for less-experienced modelers attempting to use photo-etched details in confined spaces is trying to avoid having cyano adhesives from oozing out of the most inopportune places such as an instrument bezel or other visible location. Eduard has produced self-adhesive photo-etch to solve that problem. Simply remove the part from the fret, remove it from the backing paper, and then place the part in its location. According to Eduard, you can move the part to fine-tune its placement before pressing the part more firmly in place to set the adhesive.
This set provides nicely color-printed instrument panels, one that provides one type of panel layout that comes in the kit, the other a replacement panel with updated instrument layout. The set provides nice side consoles, new throttle quadrant, and lots of color-printed T-handles around the cockpit.
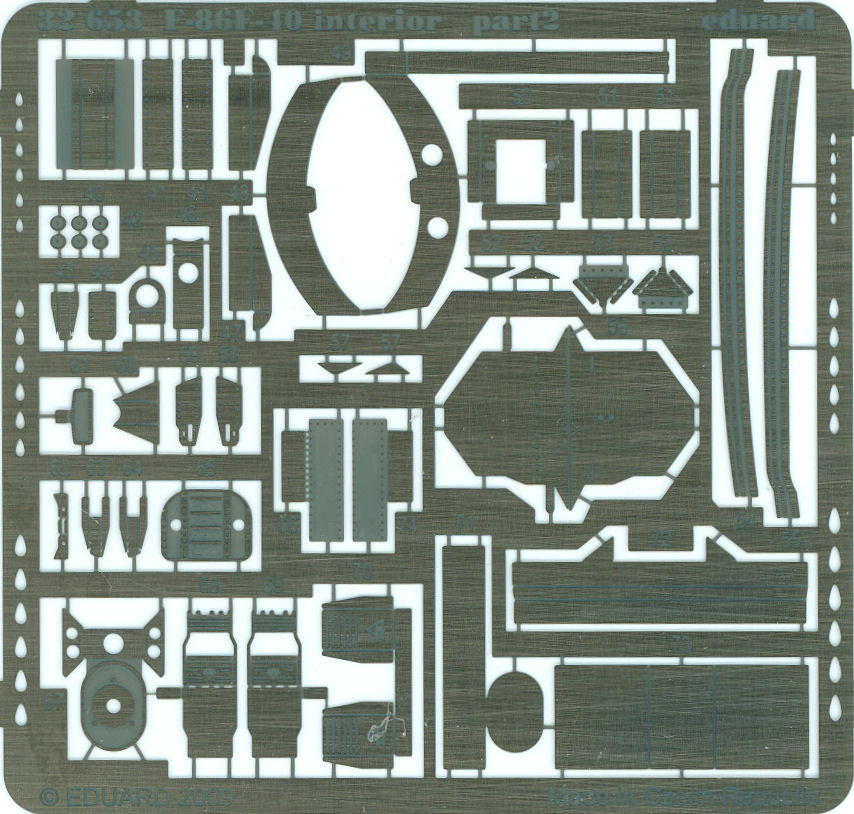
The second set of photo-etch provides a serious overhaul of the kit's ejection seat including color-printed seat belts and shoulder harness from the first sheet. The rear deck and the sliding rear deck under the canopy also get some serious detail updates back there. Very nice indeed!
You should be able to find this detail set at your local hobby retailer or one of the many online hobby shops. Trust me, thisis worth looking for!
My sincere thanks to Eduard for this review sample!