


MPC 1/25 1969 Pontiac GTO ‘The Judge’ Funny Car Kit First Look
By Aaron Thomas, Front Range Auto Modelers (FRAM)
| Date of Review | November 2012 | Manufacturer | MPC/Round 2 |
|---|---|---|---|
| Subject | 1969 Pontiac GTO ‘The Judge’ Funny Car | Scale | 1/25 |
| Kit Number | 0784 | Primary Media | Styrene |
| Pros | Decals, Tampo printed tires | Cons | Considerable amount of clean up, mold lines, flash |
| Skill Level | Experienced | MSRP (USD) | $25.95 |
First Look
 |
 |
 |
 |
 |
 |
 |
 |
 |
 |
Arnie Beswick "The Farmer" from Morrison, Illinois is a legend in his own time. He is the most well-known Pontiac drag racer in the world. For over 50 years, his successes have made him a fan favorite
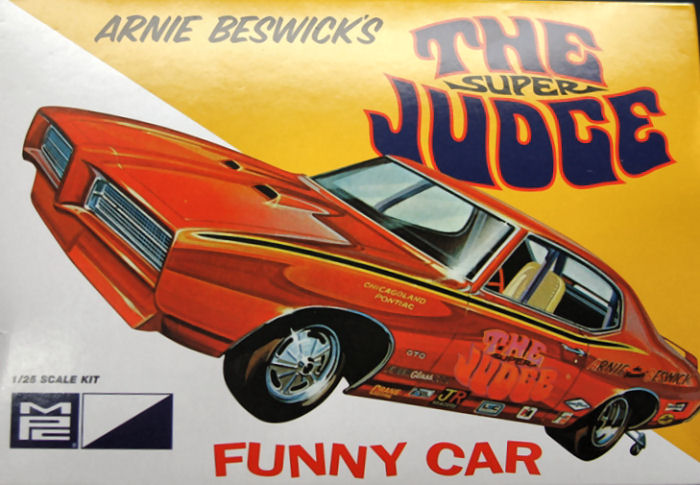
The latest kit from MPC/Round 2 is Arnie Beswick's "The Super Judge". It is a 1969 Pontiac GTO Funny Car, Kit #784/12. This kit was originally issued in 1969 as Kit #719-200 and has been reissued several times in various forms. The cost is $25.99 MSRP. The box still exhibits the same cool box art after all of these years.
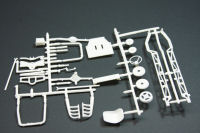
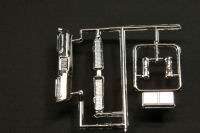
Use caution when removing the parts from the plastic bags as some loose small parts might accidentally get thrown away. As with most model cars, the assembly begins with the engine. There should be no issues with this 14-piece assembly and it can easily be detailed with extra parts, like plug wires, fuel lines, etc.
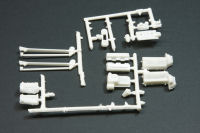
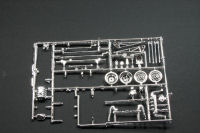
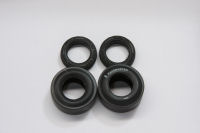
Step 2 is directed toward the assembly of the wheels and tires. The front tires are the typical, treaded skinny ones that you would normally find in the kits from that time period. However, the rear tires are a different story. They are the usual "slicks," but MPC/Round 2 has added printing to these that read, "MH Racemaster" and the size, 10.50-15. These tires are beautiful!" I see these tires winding up on other projects as well. The assembly of the wheels and tires are straight forward and there should be no issues.
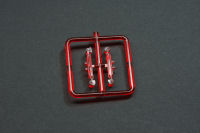
Step 3 addresses the assembly of the frame. Use caution here and take your time, as it is critical to get this straight and square. Everything else from here until completion is mounted on this frame, so for easy building, it is imperative that this frame be straight.
Steps 4, 5, and 6 involve the front and rear suspension and the installation of the previously assembled engine. The rest of the engine is also attached at this time, including the blower belt, fuel pump, and the headers. All of this should be fairly easy, but again, taking your time will pay off later.
The completion of Steps 7 and 8 is when the model takes shape and begins to look like a 60's-style funny car. The interior begins with the floorboard and continues on with the dash, steering wheel, and seat. Next, the roll bars are added and this is where some extra detailing would really pay off, such as: seatbelts, and roll bar padding. Once the interior is finished, the chassis is finished up by installing the wheels and tires, the fuel tank, and the "wheelie" bars. The chassis should be finished at this point.
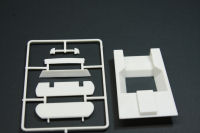
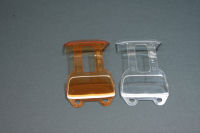
In Step 9, the work on the body begins. There are some posts that need to be cut off on the inside of the body, so that the interior "sheet metal" can be installed. After the sanding and painting is complete, the windows can then be installed. An interesting addition to this kit is an extra set of orange windows, so that the builder may either choose the clear set or install the orange ones, as the reference pictures show the car with either.
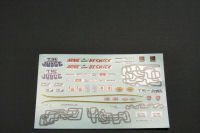
Step 10 shows the final assembly of the model. It involves the decals and includes a couple of other parts, such as: the parachute and the front spoiler. As with most re-issue kits, the decals are a real bright spot because they are new, fresh, and easy to apply.
Thanks to MPC for re-issuing this kit. Keep in mind that the molds for this kit are well over 40 years old. While they have held up over the years, there is a considerable amount of clean up of flash and mold lines. However, with a few added details, this kit will build up into a nice replica of an iconic funny car from the late 60's. I will be anxiously waiting for other Round 2 releases.
My sincere thanks to Round2 Models for this review sample