


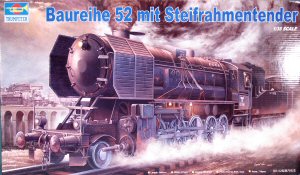
Trumpeter 1/35 Baureihe 52 mit Steifrahmentender Kit First Look
By Michael Benolkin
| Date of Review | March 2006 | Manufacturer | Trumpeter |
|---|---|---|---|
| Subject | Baureihe 52 mit Steifrahmentender | Scale | 1/35 |
| Kit Number | 0210 | Primary Media | Styrene, Photo-Etch |
| Pros | Excellent detailing | Cons | Politically correct decals |
| Skill Level | Intermediate | MSRP (USD) | $159.95 |
First Look
 |
 |
 |
 |
 |
 |
 |
 |
 |
 |
 |
 |
 |
 |
 |
 |
 |
 |
As the war in Europe progressed, planners knew that they had to move supplies around the continent in an expanding radius from Berlin. Since the autobahn as we know it today didn't exist, roads were limited, and airlift was still in its infancy, the bulk of the logistics movement fell on the railroad. German engineers ensured that the rail lines from Russia to Italy were kept in order to move the supply trains.
One thing became apparent as the German lines pushed outward, more locomotives will be needed - the assets of the German railway and the confiscated assets of other state railways were already reaching their limits. A heavy freight locomotive was needed that could carry sufficient water and fuel to move supplies across the vastness of the eastern front. The BR 52's 2-10-0 design was selected to maximize traction. This new engine must be easier to build and maintain than the BR 50 with a significantly reduced parts count and a service life of 5-8 years. The parts count was indeed reduced by 20% over the BR 50, while the service life (of those that survived the war) turned into decades to serve across post-war Europe.
By the time the war ended, over 6,100 of these engines had been built. Many survived the war and continued as freight engines well into the 1980s. I saw several BR 52 engines with the special condenser tenders (which extracted moisture out of the air to extend the water supply) operating around East Germany in the early 1980s. Even today, several countries around Europe have restored a few BR 52s with several more undergoing restoration.
CMK had previously released two versions of the BR 52 in 1/35 scale. These were advanced models cast from resin and photo-etch. One featured the Wannentender (similar to a Vanderbilt tender) while the other had the 'Wiener Steifrahmentender' type (rigid box structure) tender. Until now, these were your only options for the purpose-built German World War 2 class 52 road engine.
Enter Trumpeter. Once again, they have taken a complex subject and turned it into an engineering work of art. This release is the box-type coal tender feeding the engine. I don't know if they have either the Vanderbilt or the even more intriguing water condenser tender version in their future release plans.
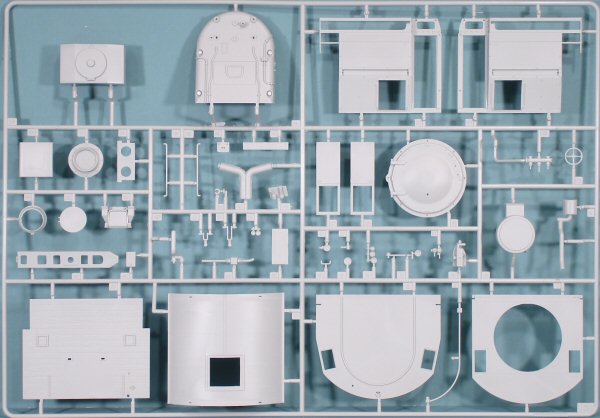
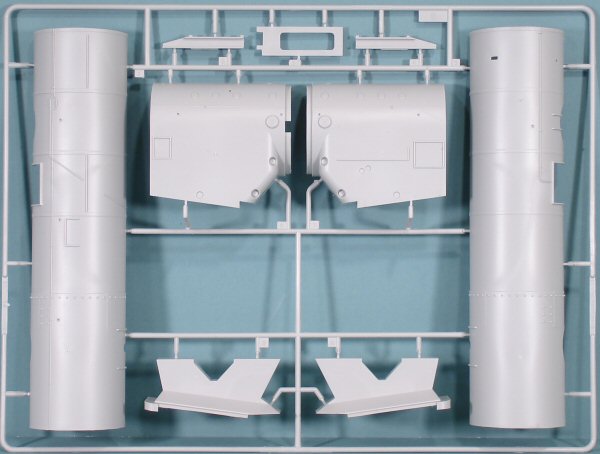
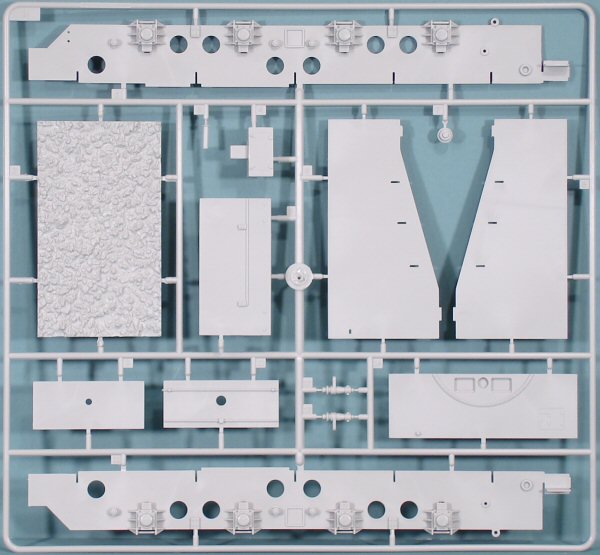
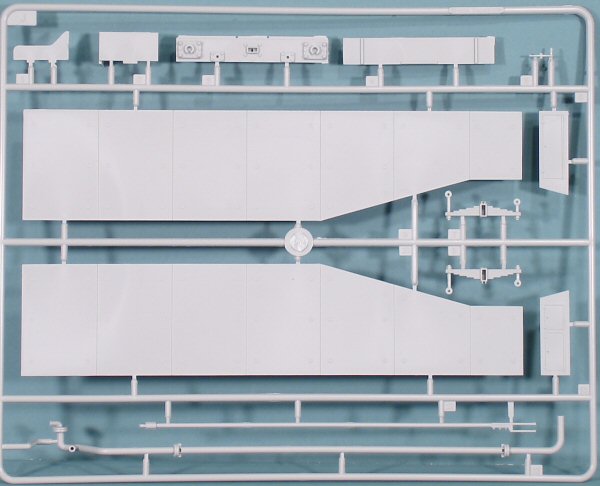
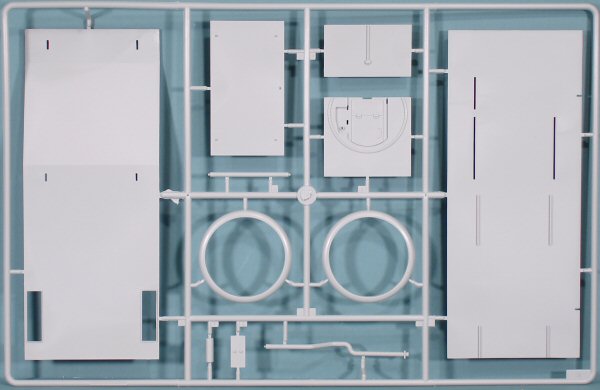
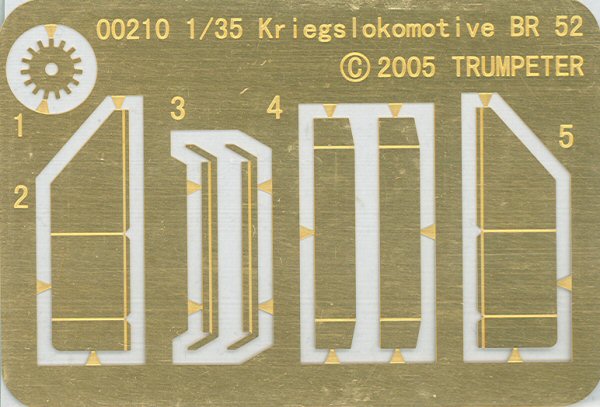
The kit is presented on 18 parts trees molded in light gray styrene, one tree of styrene clear parts, eight sections of roadbed also molded in light gray styrene, an interesting vinyl molding of the external plumbing for the sand pipes, and a single fret of photo-etched parts.
Construction begins with the road bed and railroad ties. These serve as the foundation for the engine. If you're going to link up another model such as the Leopold, leave off one end cap and connect it to the road bed from that kit. Next comes the rails, and these are critical as they will set the gauge (width) of your engine, tender, and any subsequent rail car wheels and axles. The gauge is maintained to strict tolerance in real life, so there are few things more detracting from a good railroad model than wheels/axles not set to gauge.
The next series of steps build up the main chassis frame of the engine including the leaf spring suspension, ash box, and riser frames to support the cylindrical boiler. Assembly of this portion is completed with the various compressed air storage tanks, couplers, and drive piston/cylinder units.
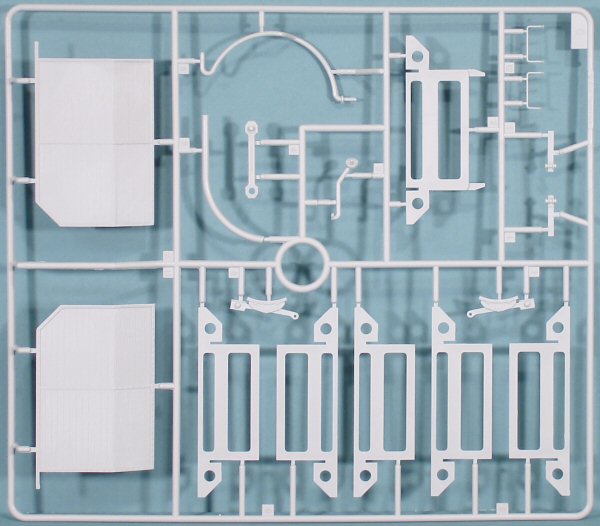
The cab is equally detailed, but suffers the same problem as the CMK kits. Once you assemble and enclose the cab, you can't see any of the detail as the rear of the cab is closed off except for the access portal for the coal from the tender. This helped the crews stay warm in the winter, but I imagine there was no good way to stay cool in the summer!
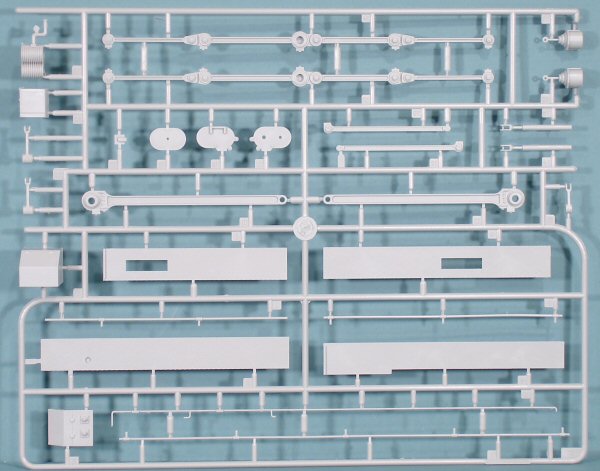
The boiler is next and it too is nicely done. Some of the plumbing is molded into the sides of the boiler and some modeler may want to carefully remove the molded-on plumbing in favor of brass rod.
With the boiler complete, the cab and boiler are mounted to the chassis and the final work begins.
Once of the more intriguing design features of this model are the vinyl sand pipes. There is a box atop the boiler that contains plain old sand. If the drive wheels loose traction on the rails due to ice (or oil or whatever), the engineer releases sand out of that box and the sand pipes would place that sand with precision immediately in front and behind each drive wheel. Molding these pipes in vinyl will ensure that they are more tolerant to being handled (and not broken) than if they'd been molded from styrene.
With the sand pipes installed, now come the ten drive wheels, the connecting rods and the pilot wheels. Just when you think you've got all of the details in place, the instructions walk you through more plumbing, walkways, and support equipment that round out the BR 52.
When you install the Witte smoke deflectors on either side of the boiler front, only then are you about finished with the engine. The instructions do not depict the engine without the smoke deflectors, but many BR 52s were operated without smoke deflectors. The two versions of the CMK BR 52 are both depicted without the deflectors. Personally, I think the engine looks nicer with the deflectors installed. For the record, there are 26 steps to assemble the engine.
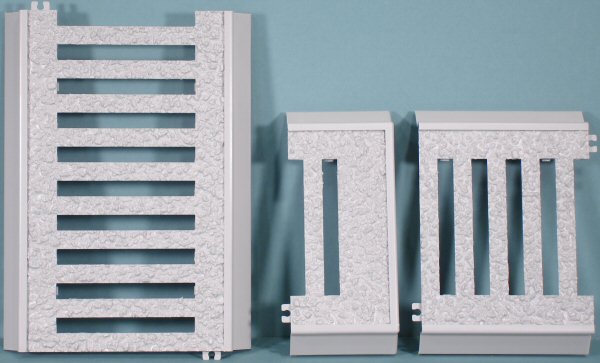
Another five steps will get you through the coal tender. This is the box-style tender with the water tank taking up the lower portion of the tender, and the open-top box mounted atop the water tank contains the coal (or wood or whatever they could burn).
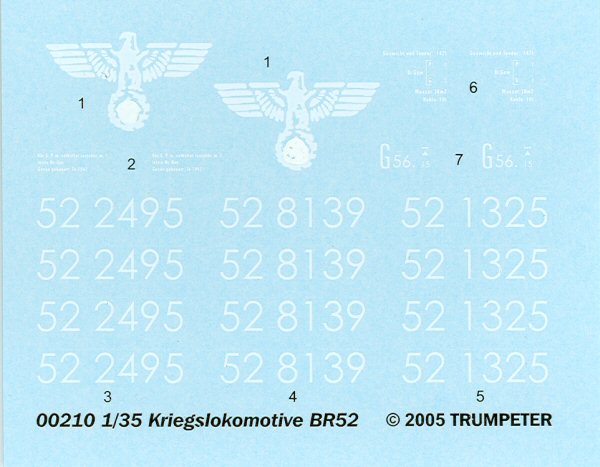
Markings are provided for three examples. Two are engines painted in the standard Deutche Reichsbahn black engine on red chassis, numbers 2495 and 1325, while engine 8139 is depicted with a splinter camouflage of what appears to be Desert Yellow and Panzer Gray.
My only disappointment with this kit are the decals. The Deutche Reichsbahn engines had the standard eagle crest over the wreath and swastika. These were faithfully printed on the decals, but someone has taken white paint or white-out and destroyed the swastikas. Political correctness strikes again. CMK didn't even put the eagles in their releases to avoid the problem altogether. Hopefully someone will release 'unedited' DR markings soon.
This is a breath-taking model that railroad fans and armor builders alike will love. In 1/35 scale, this model will be around 35 inches long for just the engine and tender. With the variety of camouflage schemes purposely (or sometimes hastily) applied to these engines in all of the theaters that they served, you could easily be tempted to build more than one!
This kit is definitely recommended and I suspect there will be two on my shelf as soon as they are released (my armor editor has already claimed this one).
My sincere thanks to Stevens International for this review sample!