


Decal or Detail? Getting Started With 3D-Printed Products
By Michael Benolkin
Believe it or not, 3D-printed products have been with us for some time, starting with companies like Archer Fine Transfers who started printing rows and patterns of rivets, as well as raised panel lines, for model railroading and scale modeling applications. These 3D rivets were printed on clear decal sheets that you'd cut into the shapes you needed and applied them like decals. While I have never tried these rivets, they behave more or less like normal decals and respond well to decal setting solutions.
Before we move on, let's look at the evolution of scale instrument panels: first there were the decals (which are still used in many kits to detail up the panel); then there were the photo-etched panels that had printed instruments on clear acetate sheets that would laminate behind the photo-etch and require the back be painted white so that the instruments would clearly show through the holes. To achieve a better 3D effect, companies like Eduard moved from PE and acetate panels and eventually developed multi-layer color-printed photo-etched parts that are laminated together to replicate that 3D look. Then there is Yahu that provides a panel that is also color-printed, but pre-assembled, and fitted to specific kits. While this progression is still moving forward, another technique has surpassed them all - color 3D printing.
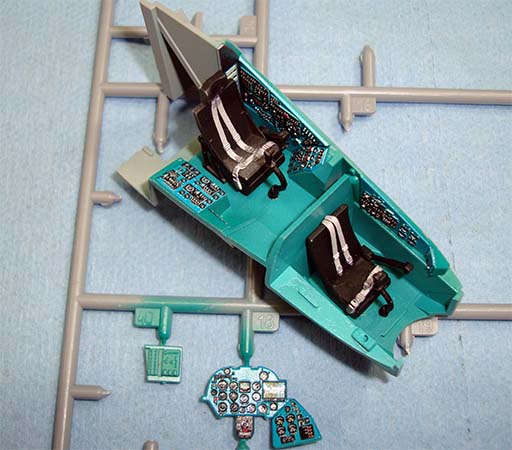
Color 3D-printed instrument panels uses a newer technology that uses decal film as the printing surface but can achieve far greater relief detailing than the current competition. In addition to instrument panels, now were seeing seatbelts/shoulder harnesses, switch panels, ribbed ejection seat cushions and more that create stunning detail with little effort. Take for example the color-printed detail set from Quinta Studio for the Zvezda 1/48 Mi-24 Hind kit. Look at that instrument panel, but also note the panels around the restof the cockpit.


When I applied the Mi-24 cockpit panel details, I was under the impression that you apply these like decals (but don't use a decal softening or setting solution as those will destroy the 3D-printed parts), and they did go down fine with that technique. When one part didn't want to conform to a surface, I saw where you could use Future or Tamiya clear as an adhesive, that that worked better still. But I wasn't convinced with the seatbelts and shoulder harnesses.
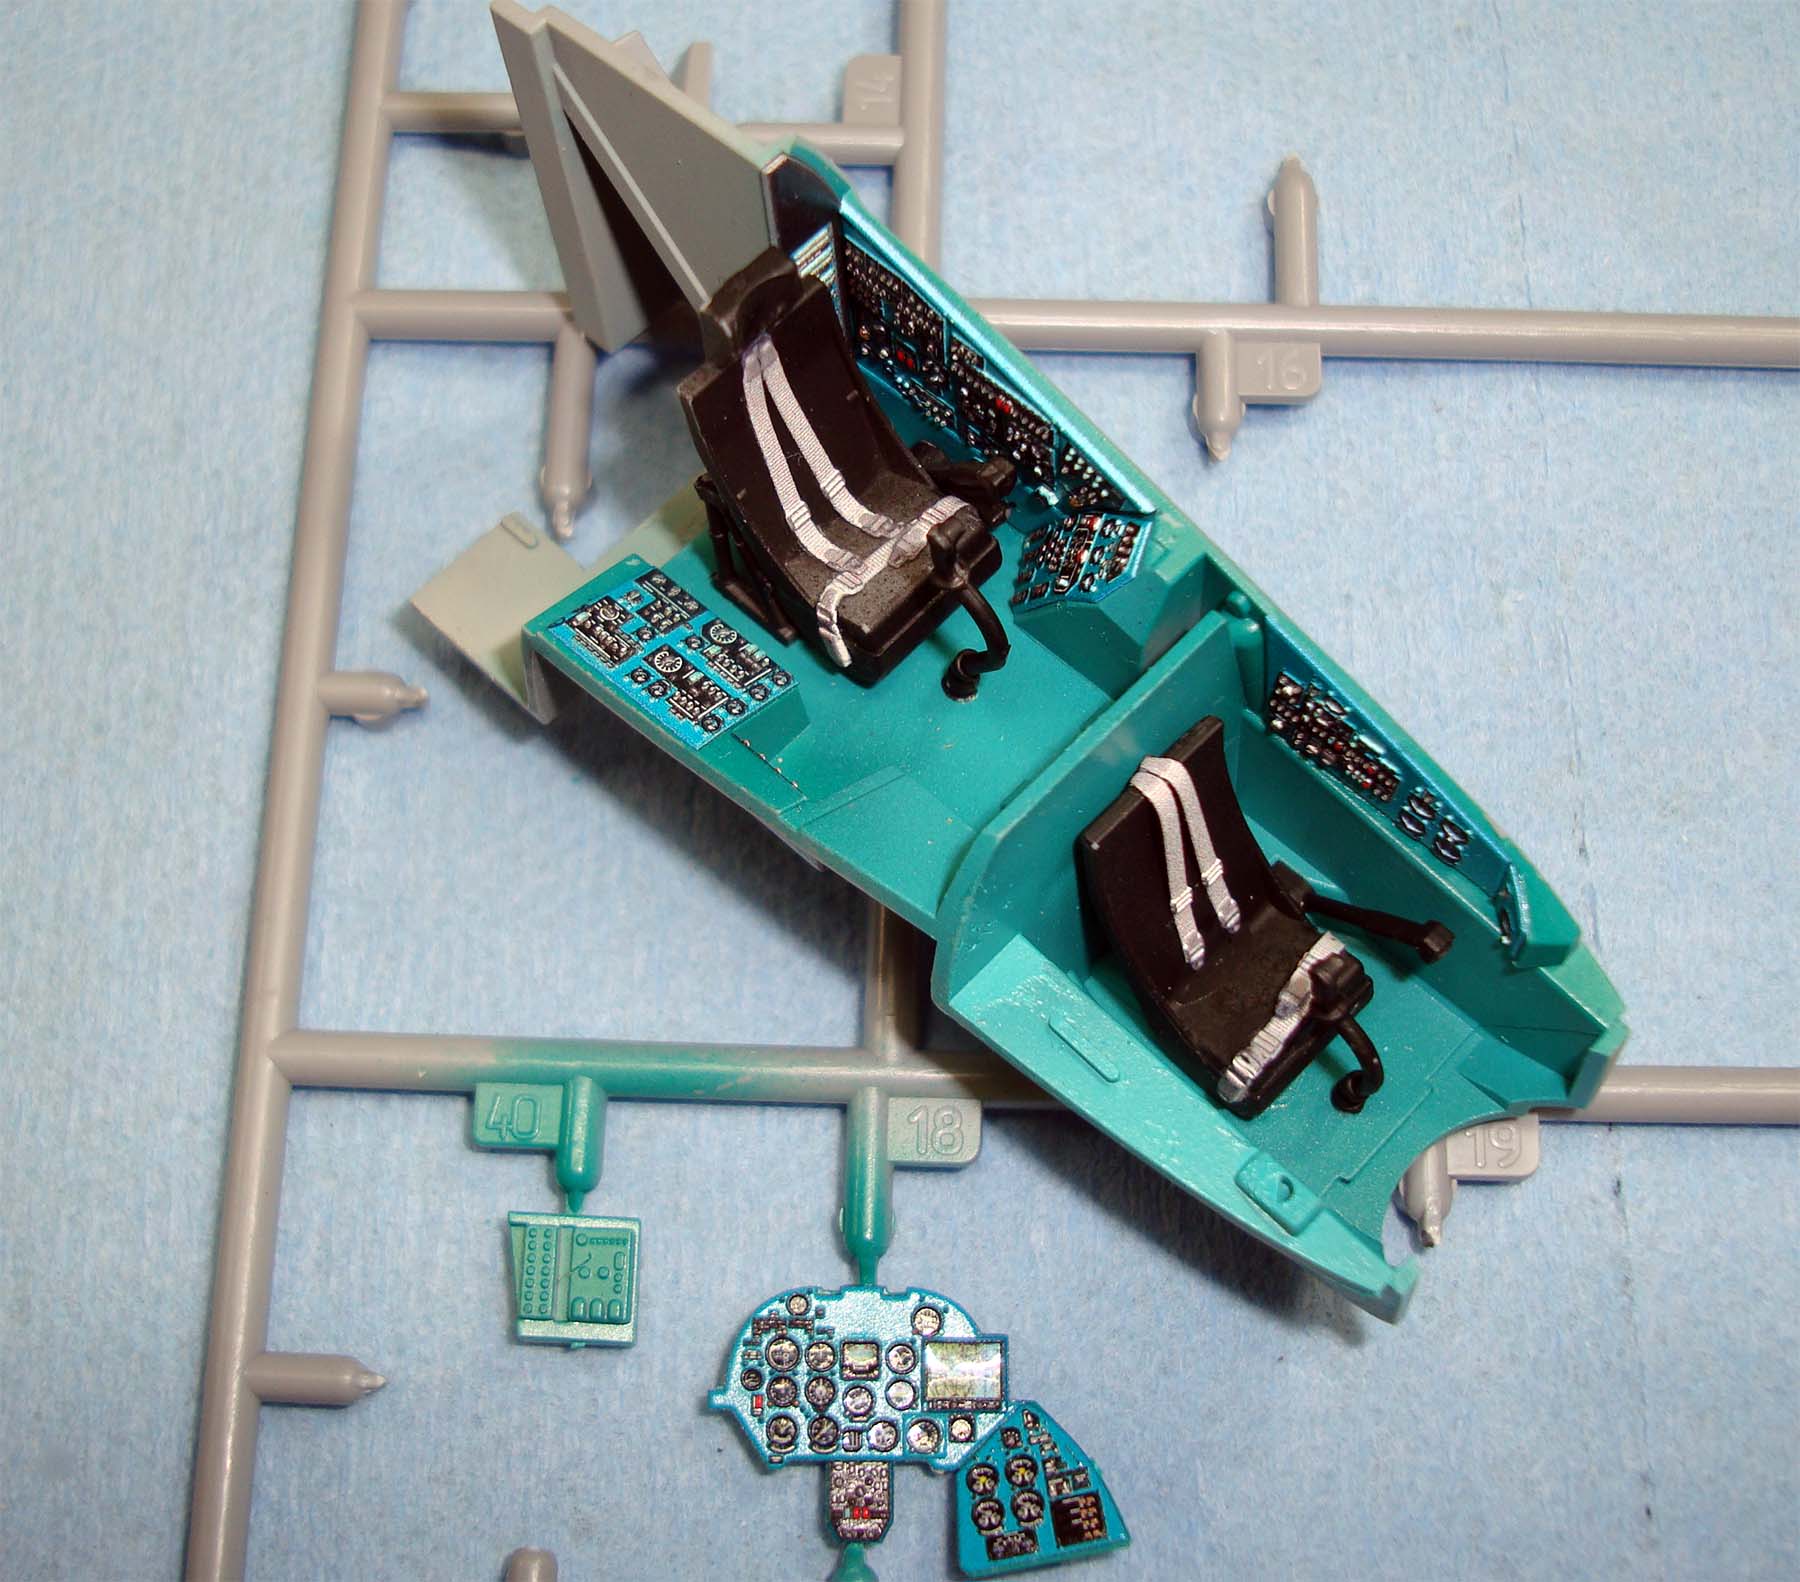
In talking with one of the owners of Quinta Studios, he said that the best way to use their products was to put the decal sheet in water, then remove each part from the sheet and lay them on a paper towel to dry. When ready, apply each part using cyano, which results in a much stronger/durable installation. I pulled out the seatbelts and shoulder harnesses and put them into water, then laid the parts out onto a towel. Using extra-thin cyano, I applied each belt/harness by tacking down one end where I wanted it, then positioning the other end and tacking that into place as well. The process is quick and painless, and the 3D material is flexible enough to conform to the surfaces. I accidentally bent one belt in a sharp 90 degree bend which broke the part. The bends must be rounded. The break was easily repaired and as you can see above, the belts and harnesses are in place with a natural-looking droop. When applying these parts, be sure that the 3D surface is facing up as the color details are also visible from behind.
I was also sent some 3D-printed seat belts by Kitsworld to review and I was curious how they differed from Quinta Studios. While I didn't have the correct seat to install them on, this one would still suit the experiment. I dipped the harness into water, then slid them into position on the seat. The raised details and even the pin and buckle parts look nice. While there was a hint of decal film around some of the edges, it isn't visible any longer. These belts are slightly thinner than the Quinta Studios belts, and they do go down like decals. Just to be certain, I still tacked the ends with cyano. Look at that detail...
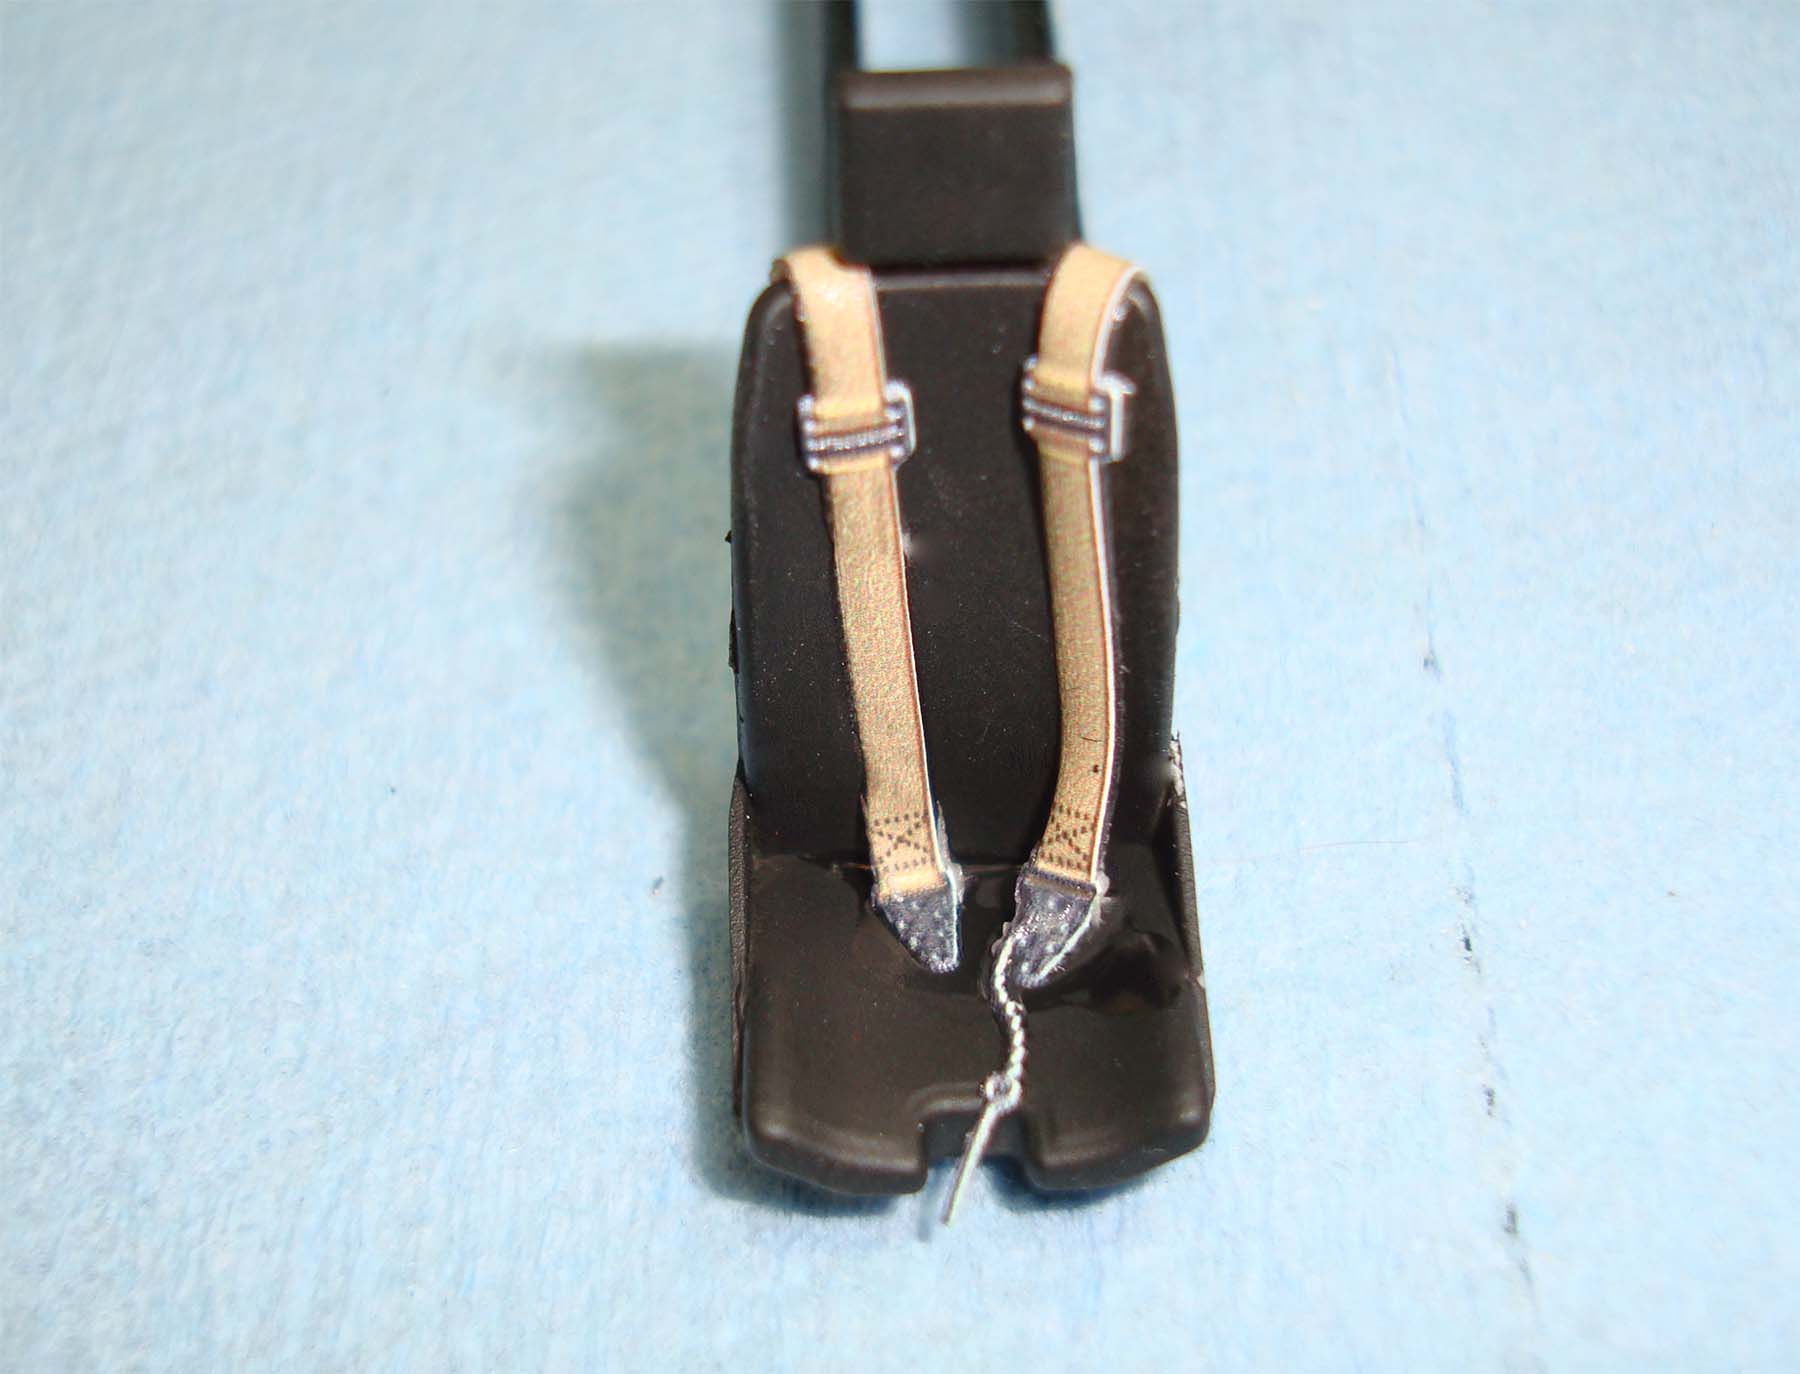
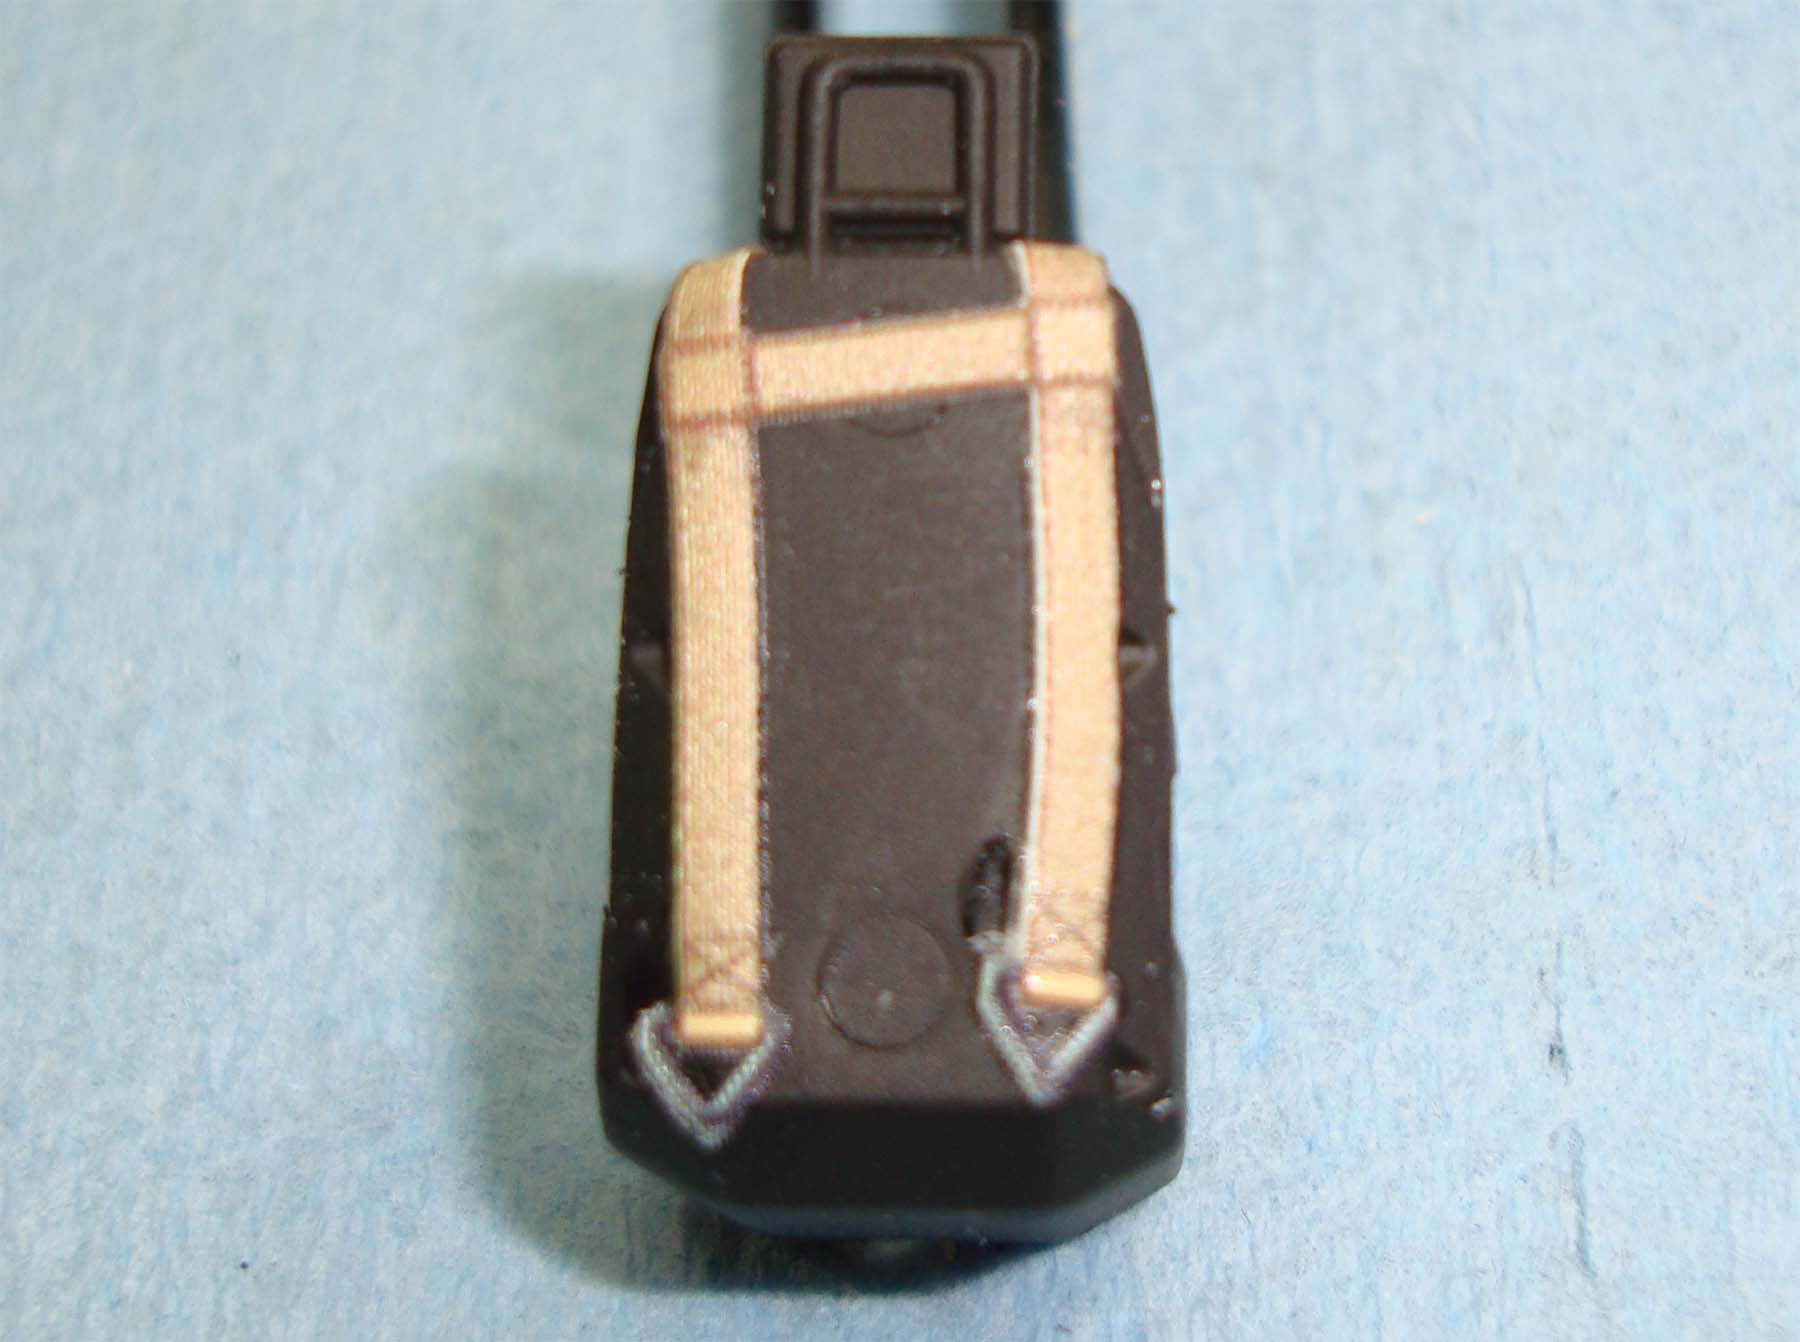
So are these decals or detail parts? For me, they're detail parts that are printed on decal film due to the technologies involved, but regardless, the results are terrific. What is interesting is that we now have a more viable solution for seatbelts and shoulder harnesses. The color-printed photo-etch from companies like Eduard are nice, but when I try to turn some of the corners as I did with this evaluation, I found that the painted details on the photo-etched parts would delaminate and fall away. Eduard briefly experimented with other materials includling actual cloth, but I guess they ran into complications and didn't continue.
To summarize, you can apply 3D printed parts a variety of ways from treating them like decals (without using any setting/softening solutions), apply the wet decals onto wet Future or Tamiya gloss clear, or use water to remove the parts from the decal sheet, let them dry on a paper towel, then install them onto your model using cyano. I've now used all three techniques and all work just as well.
When you see these 3D-printed products available for one of your upcoming projects, give them a try. I think you'll be impressed with the results!