


Academy 1/35 AH-1Z Viper Quick Build Review
By Michael Benolkin
| Date of Review | September 2019 | Manufacturer | Academy |
|---|---|---|---|
| Subject | AH-1Z Viper | Scale | 1/35 |
| Kit Number | 12127 | Primary Media | Styrene, Photo-Etch |
| Pros | First kit of this version in this scale | Cons | Nothing noted |
| Skill Level | Intermediate | MSRP (USD) | $69.00 |
Quick Build Review
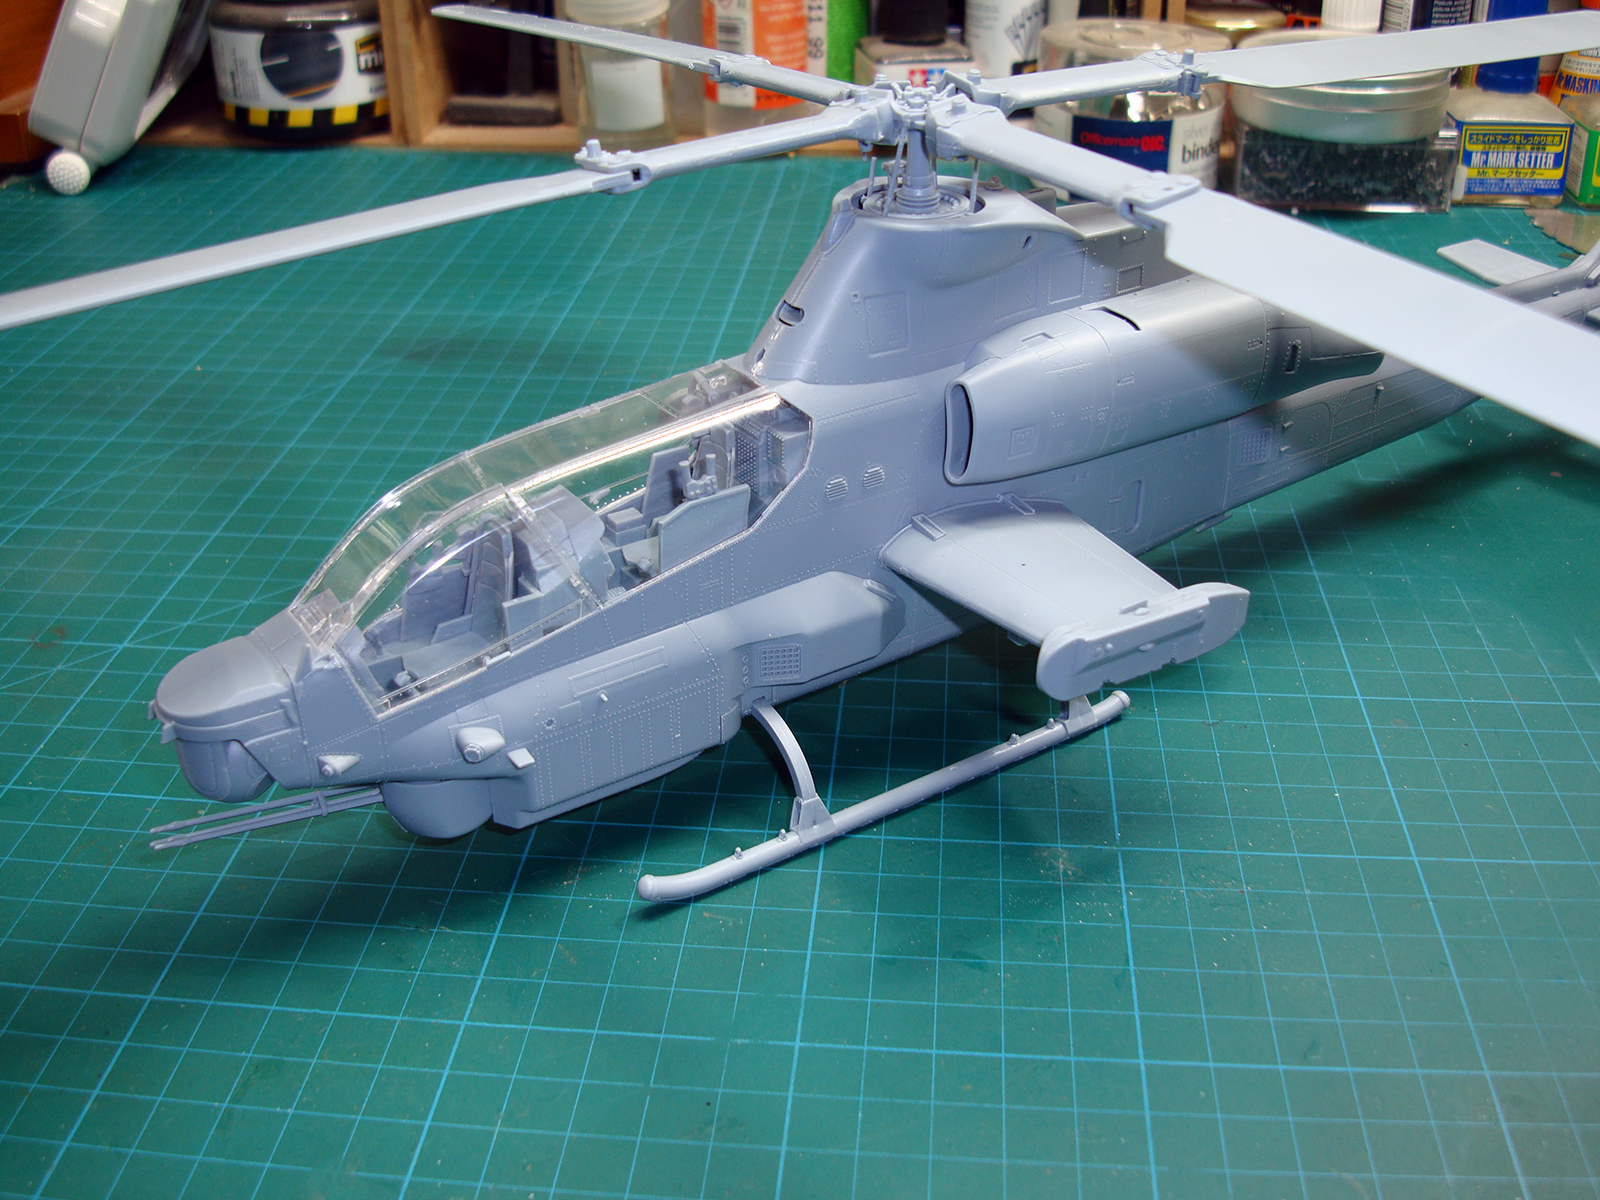
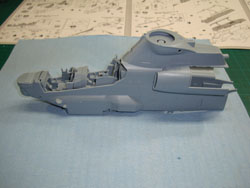
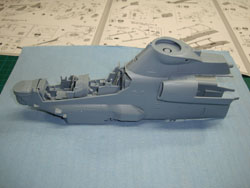
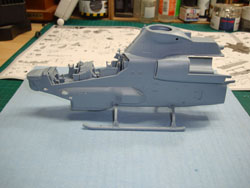
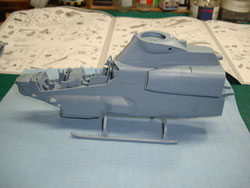
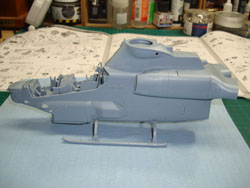
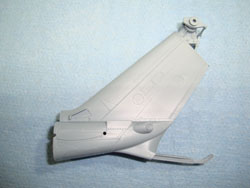
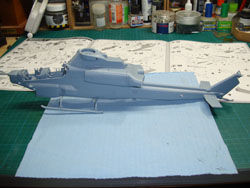
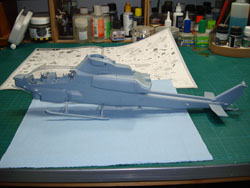
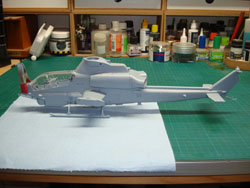
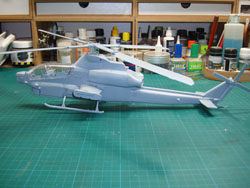
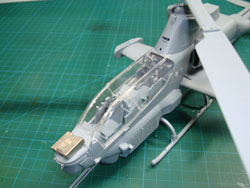
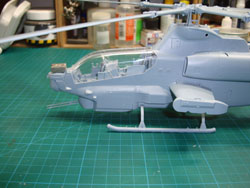
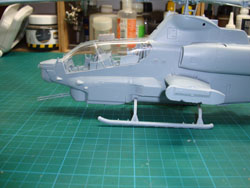
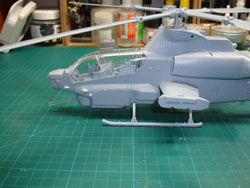
If you'd like to take a look at the kit as it comes out of the box, check out the in-box review previously published here on Cybermodeler Online. Academy continues to engineer new-tool kits and it is impressive to see how each new kit advances the state of the art for the model kit industry. With this release, Academy has really improved their slide-mold technology where now all surfaces receive sharp detailing and one-piece structures are now possible eliminating many of the extra gluing of parts halves together to render different parts of the aircraft. Of course, advanced mold technology doesn't always translate into an easy build, so I decided to put this kit through a quick build. Our quick builds are accomplished with only liquid cement, no fillers and no painting to cover any potential flaws. I followed the instructions, and below is a gallery of photos taken at the end of each step until near the end of the project.
If you've read my previous quick builds, I tend to narrate what I had to do to accomplish each step, but in this case, the model goes together with little effort. That said, the ease of this build is directly proportional to the amount of effort and care you use to prepare each part before assembly. The fit is so precise, that one bit of left-over sprue stub or flash will cause problems. The only minor things I found in this build were:
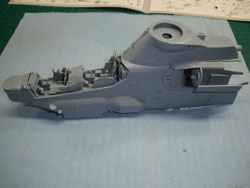
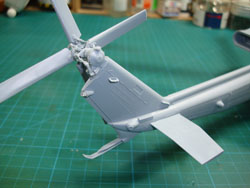
- Building the FLIR turret in Step 2, the holes molded into either half of the FLIR ball were not the same and needed to be filed open/uniform to fit the gimbal mounts.
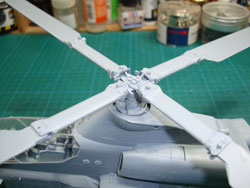
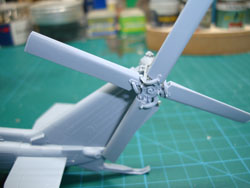
- In Step 3, the rotor mast (part C5) needs to be perfectly centered in the opening of the doghouse top plate (part C11) or you will not be able to mount the rotor head assembly onto the mast later on. If there's any doubt on the alignment of the rotor mast as it is drying, grab the rotor head hub (part C12) and set it onto the mast until the latter is dry.
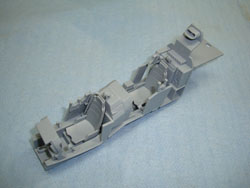
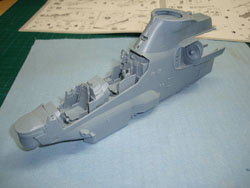
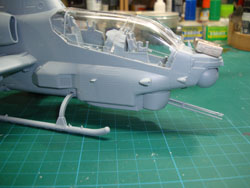
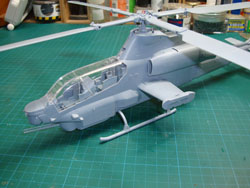
- In Step 10, the clear panels that enclose the sides of the cockpits fit beautifully and if you're posing the entry panels open, no problems. I opted to glue these closed and there is just a bit of overlap on the edges of the front and rear panels on both sides of the cockpits. Glue one into place, and when you dry-fit the other, you'll see the slight overlap. Carefully file the overlapped edge as it is less than a millimeter too wide, file a little, then test often. I had mine fitting snugly in a few minutes.
- Finally, in Step 15, the instructions have you mount the inboard rotor blade holders (parts D5 and D6) with D5 on one side of the main rotor frame (part C6) and D6 on the other. That is an error in the illustration as Academy wisely keyed the parts to only fit one way - D5 mount opposite one another and D6 likewise. Dry fit these parts together and you'll see what I mean.
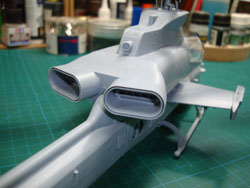
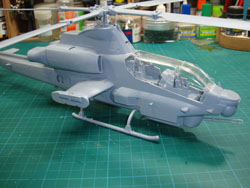
You can see in these photos how nicely the kit goes together and just how much detail Academy provides without making the build complicated.
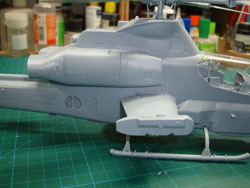
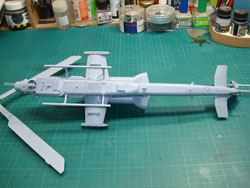
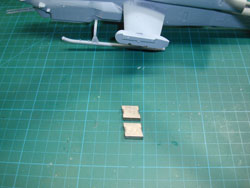
One final note: the instructions have you put 4 grams of ballast under the cockpit floor inside the ammo bay. I opted to leave the ballast out of this build to see how bad the balance of the model was and you can see that this model is a dedicated tail-sitter without ballast. I happen to have a set of 4 gram weights to use with this experiment and when I put 4 grams out over the FLIR turret, the model sits firmly on its skids (you can put four grams inside that FLIR ball). Moving the 4 grams back over the ammo bay does keep the model on its skids, but it is still too tail heavy to stay put. Since the weight is almost half-way between the FLIR ball and the center of gravity (rotor mast), it will take almost twice the weight in the ammo bay to get the model to sit firmly on the skids as 4 grams does over the FLIR ball. When I put 8 grams over the ammo bay, it indeed sits properly.
So there you have it, this kit is one the best Academy kits I've built and now that I know what to expect, I will be doing a full-build of this kit in the near future. The nice thing about doing quick builds of a potential project is to see where any potential snags might be and how to get through them before putting lots of paint and detailing into the project. I actually have two of these kits waiting, one to full-build and the other for a conversion to be revealed at a future date.
Thanks to MRC for this review sample.