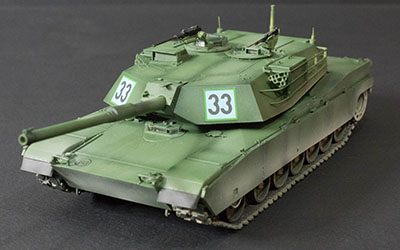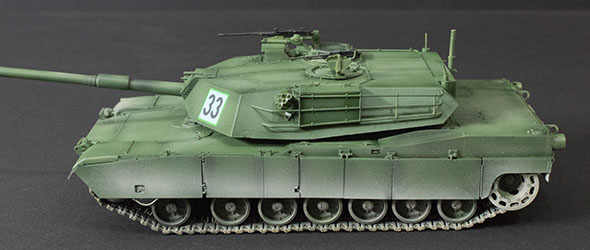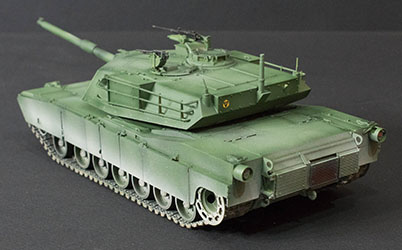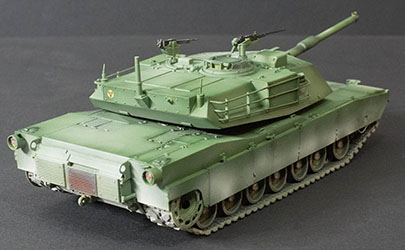
Panda-Hobby 1/35 M1 Abrams Kit Build Review
By Michael Benolkin
| Date of Review | February 2018 Updated May 2019 |
Manufacturer | Panda-Hobby |
|---|---|---|---|
| Subject | M1 Abrams | Scale | 1/35 |
| Kit Number | 35030 | Primary Media | Styrene and Photo-etch |
| Pros | 100% new tooling, nice details | Cons | See text |
| Skill Level | Experienced | MSRP (USD) | $49.95 |
Build Review
For a look at this kit straight out of the box, look here.
As with any armor build, construction of this kit starts with the underside of the hull. In Step 1, I assembled the two drive sprockets. The distinctive shield ring that mounts to the outside of the sprocket has thick bumps that mount to recessed bumps on the sprocket. The mechanical join of these two parts make no sense, but you don't want to file off the bumps on the insides of the shields as they provide needed stand-off distance from the sprocket to clear the edges of the track. I simply applied liquid cement on the bumps and aligned them manually.
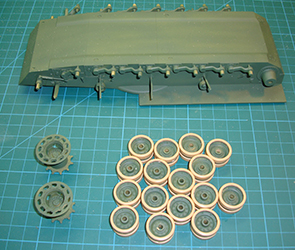
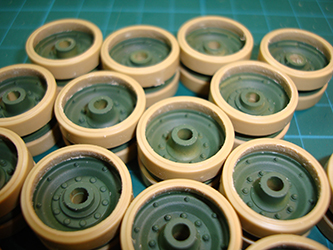
The road wheels are next in Step 2, but I initially thought the rubber tires had been molded separately. Not true. The outer rims of the wheels themselves are molded separately (with the tires) from the wheel disks. The good news is that allowed Panda to provide sharper bolt detail on the wheels than Academy did with their wheels. The bad news is that the inside of every rim has a nasty mold line that needs to be cleaned as it will be visible after assembly. I carefully cleaned up each rim before mounting them to the wheel disks.
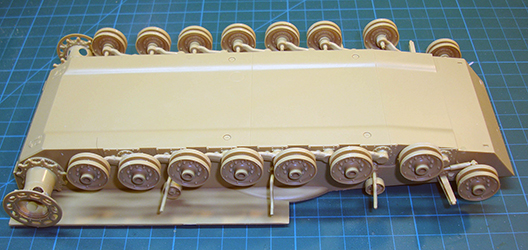
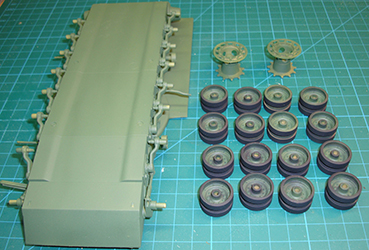
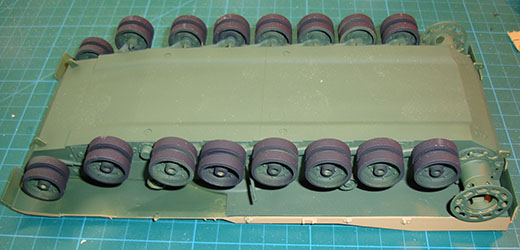
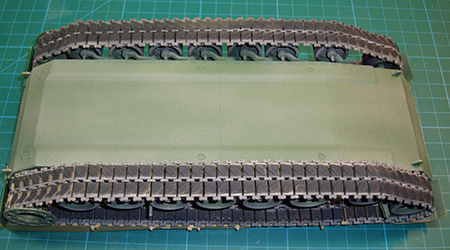
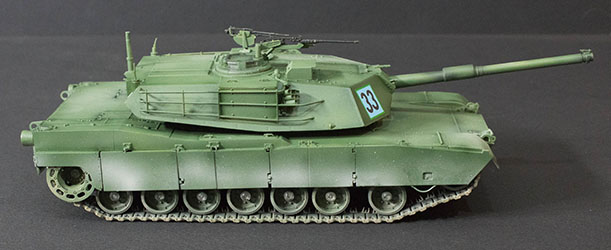
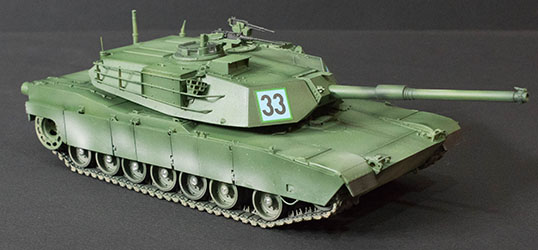
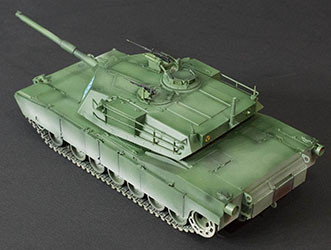
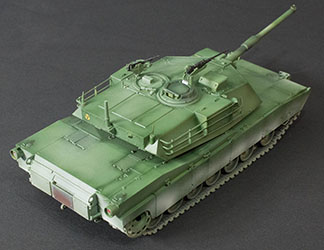
Steps 3-4 cover the installation of the suspension arms, return rollers, and side skirt stand-off brackets. These steps had no problems. As you can see in the images, I primed and painted the lower hull, wheels and drive sprockets NATO Green and applied Black Rubber to the tires.
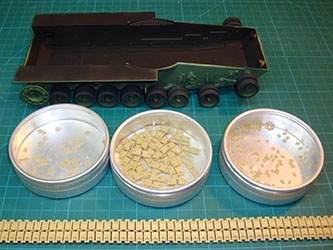
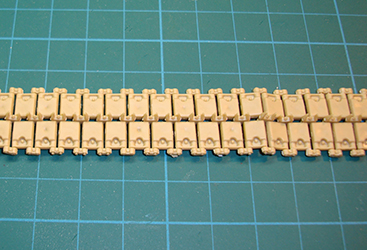
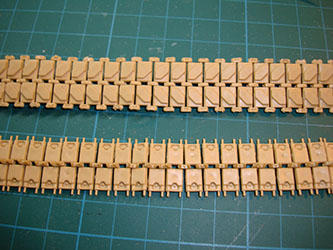
Step 5 is a bit misleading - it shows the assembly of the tracks in a smaller diagram as a subset of mounting the upper hull. Track assembly takes a bit longer than cleaning out the mold lines on the inside of 32 wheel rims. The track links are four pieces: the link, the guide tooth, and the two link connectors. The track parts come on four parts trees and I used covered containers to collect the small parts - links in one, guide teeth in another, and connectors in a third. I spent some time cleaning the sprue stubs off of each link, then discovered that the guide teeth snap onto each link and hold two links together. I snapped together a length of track to see how this was going to work and it was not at all bad once I figured out how to manipulate the tiny parts without feeding the carpet monster. With the links snapped together, I added the connectors to each side of the track links using a small dab of liquid cement on only one pin in each connector to hold the parts together. The images below show the assembly of the parts from one of the four parts trees of track.
Assembly of the track really doesn't take that long - it is cleaning up the sprue stubs and a little flash off of each ot the parts that takes time. The big question that I had was how many track links are needed for each run? There are 40 links on each of the four associated parts trees, plus more than 40 guide teeth, and even more than 80 connectors per tree. After breaking one link while trying to snap on a slightly warped guide tooth, I was worried that I wouldn't have enough parts.
The correct answer is 77. There are 77 links and 77 guide teeth required for each run. After assembling both runs, there were still enough parts left over to feed the carpet monster. While I didn't run into mold issues with the track links, a small percentage of the guide teeth looked a little melted which made the snap-on connections unusable. Simply set these aside and keep snapping the track together. In the unlikely event that you run short of the guide teeth, you can scan through the rejects to find the least distorted ones to try again. When I say distorted, melted, or whatever, they are only slightly distorted, but enough that they could break the center pin on the track when trying to snap the teeth into place.
As for the end connectors, they are molded on the parts trees in such a way that you can slide the end pins of the track into the connectors before removing them from the parts trees. I didn't do this, instead i wanted to sort out the connectors with flash or other anomolies and use the easiest ones. I applied them with tweezers and (as mentioned above) a drop of liquid cement on the outside of one connector/pin hole. This allowed me to articulate the track and not lose connectors in the process.
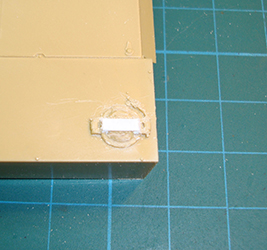
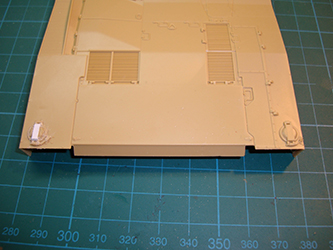
When I published the first-look of this kit, I received some heated feedback because the kit (in their view) had issues. Among them was the left-side fuel filler cap which was oriented wrong. Using the right side cap, I removed the portions of the cap that were wrong, used Evergreen strips to add the correct shape, and now it awaits its primer coat. This was a five-minute fix.
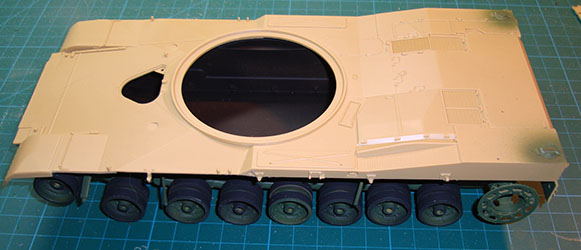
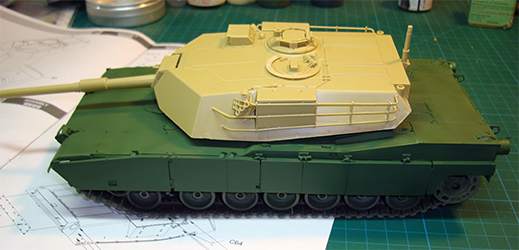
For the record, the upper hull and lower hull fit quite snugly. As I've mentioned in other builds, the time you take preparing the parts before assembly will pay dividends later. In the case of the upper and lower hull halves, I used my Sujiborido file to clean the mold stubs from the edges without altering the surrounding mating surfaces. Those areas on the hull halves that had mold flash were also cleared using the file, but there are a number of edges that have bracket mounts for the side skirts. In these areas, the Alec F-V6 cleared away the flash nicely. The turret ring had a bit of flash that would have hindered later steps, but this too was scrapped clean using my Alec Lagia. You can see above and below the hull halves dry-fit together and with that preparation, the fit is excellent.
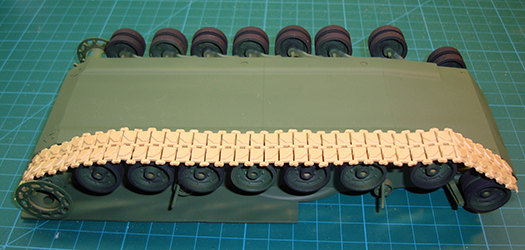
I am building this kit in parallel with the new Academy M1A2 SEP v2 TUSK II kit, both of which offer individual track links. While I came close to losing my will to live doing not two runs, but four runs of tracks, I can honestly say that Panda did a better job on these T156 tracks. Not only did they go together with minimal fuss, they fit on the Academy kit as nicely as they do here. While some of the snap-on guide teeth connectors were warped, Panda provides more than enough parts to get the job done without resorting to the distored parts. Once these two runs were completed and test-fitted, I provided the base colors for the metal links and the rubber track pads before installing the tracks for the last time.
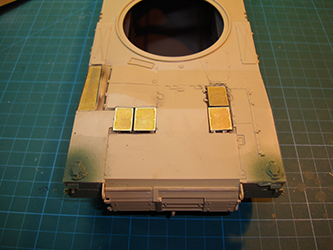
Turning to the upper hull, the multi-part radiator vents and jet exhaust vent are assembled and fit perfectly into the rear of the hull. I scuffed the photo-etched screens before applying them to the hull surfaces. A few more details remain before I extend the base coat to the upper hull.
I assembled the upper and lower turret halves after the main gun mantlet was assembled. Here was the first area of the tank that had minor overlap between the upper and lower turret halves. I used my Sujiborido file to plane the edges level around the base of the turret.
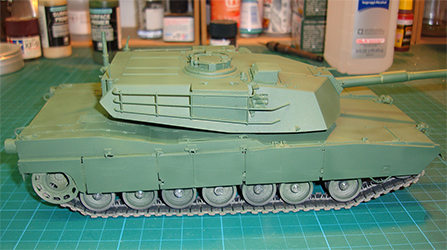
Before applying the primer base coat to the upper surfaces of the hull, I primed the photo-etched parts with Tamiya lacquer primer since I've had poor results using acrylic primers with photo-etch. With the Tamiya primer cured, the side skirts were added and the sides and upper surfaces were primed with NATO Green.
The turret assembly continued adding smaller and finer parts, but here is where I took some extra time. Removing sprue stubs from small parts like the grab handles and finer parts like the turret basket rails is quite a task - one wrong move and the parts disintegrate.
One note here, I've left the hatches on the hull and turret unglued and without their periscopes so I can install these after painting and weathering is completed. Ditto on the headlight and tail light lenses.
The turret is primed and now the final details like the commander and gunner gun mounts need to be completed and installed before the final painting and weathering commence.
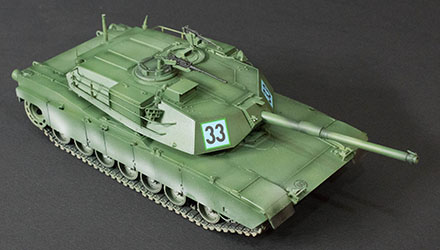
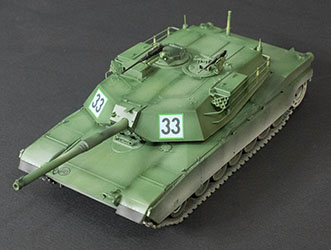
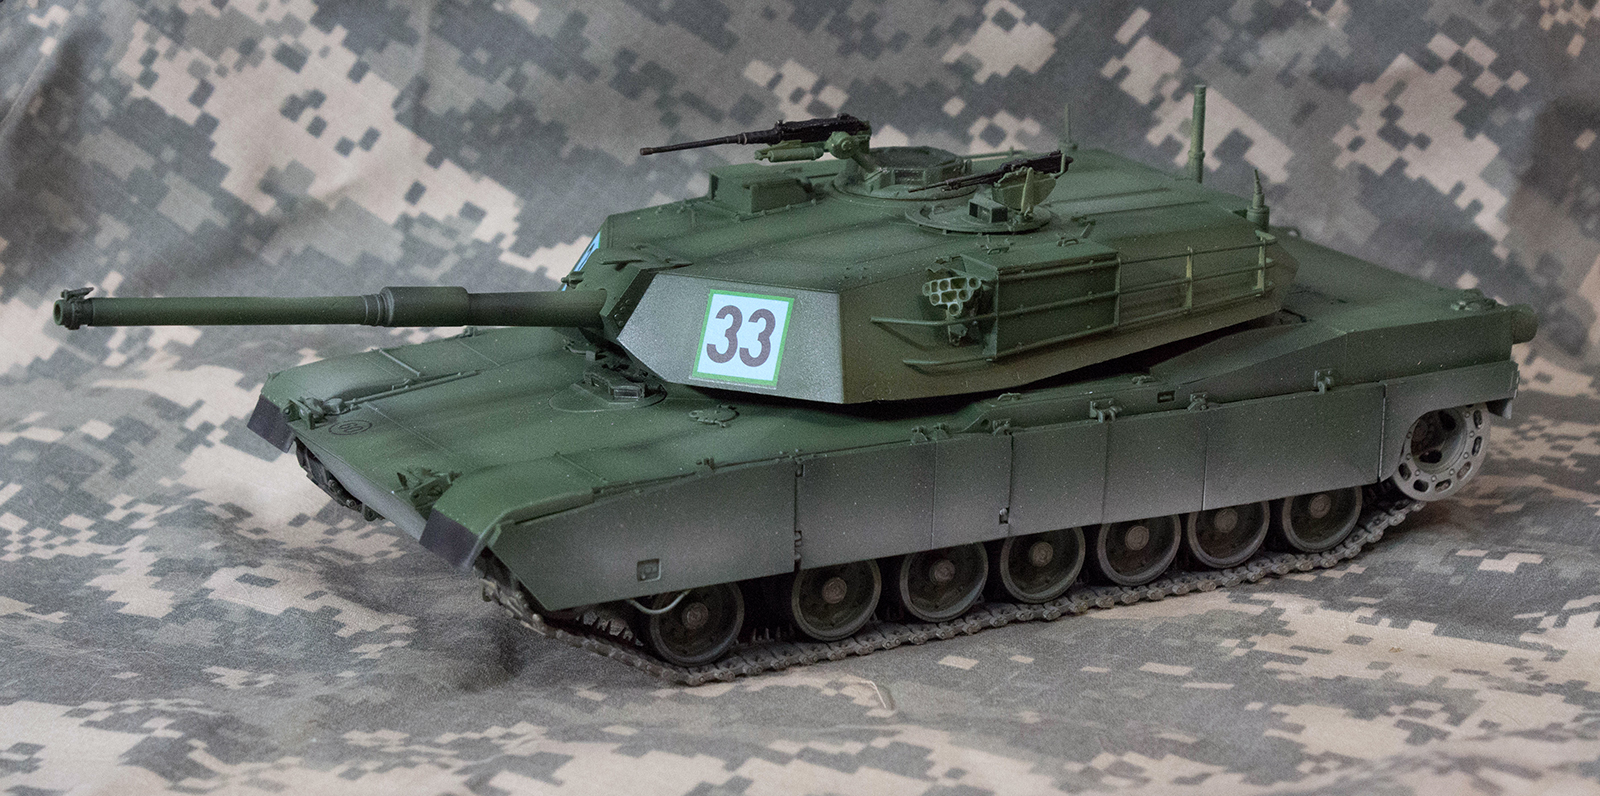
The kit's decals went on with no problems though there were a number of markings provided that the decal placement instructions didn't cover. Two of the four subjects in the color profiles had decal placement information though only one of these had more extensive coverage, the rest were left to your references or imagination.
This kit one of Panda's better building kits. The fit of the hull is superb and the track link assembly is better than others I've used in the past. The seven-piece side-skirts, for example, could have been simplified significantly to two pieces for each side. The rear-most panel does have two options which make sense for that to be separate.
The slide-molded .50 caliber gun is slide-molded so it has a hollow barrel tip, though it appears a bit jinked on the sprue tree. Once removed from the tree, it is easy enough to straighten the gun before adding the remaining parts.
Overall, this was an enjoyable build and I built this model straight out of the box. Now that the Tamiya M1 is now in the collector's world, this is currently the only option for the first production version of the M1 Abrams.
My sincere thanks to Panda-Hobby for the review sample.


