


Trumpeter 1/35 WR 360 C12 Locomotive Kit First Look
By Michael Benolkin
| Date of Review | February 2008 | Manufacturer | Trumpeter |
|---|---|---|---|
| Subject | WR 360 C12 Locomotive | Scale | 1/35 |
| Kit Number | 0216 | Primary Media | Styrene, Photo-Etch |
| Pros | Excellent detailing | Cons | |
| Skill Level | Intermediate | MSRP (USD) | $84.95 |
First Look
 |
 |
 |
 |
 |
 |
 |
 |
 |
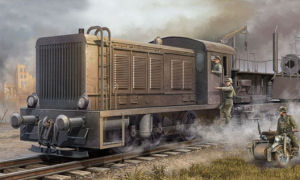
The WR 360 class of diesel engine was developed for the German military as a replacement for the 'tanklok' steam-powered switching engines used in rail yards to build-up outgoing trains and to shunt incoming traffic to their required destinations. Powered by a 360 horsepower engine, the WR 360 used hydraulics to transfer power from the engine to the drive wheels. Like many German wartime locomotives, the WR 360 continued its life in postwar Germany as the BR 236 in West Germany and as the BR 103 in East Germany.
During the war, the WR 360 was put to work in additional high-risk duties. When the Germans used different steam-powered road and switching engines to move or position the large rail guns, they engines would telegraph their presence and movements with the tell-tail steam plume that was virtually impossible to hide and drew the attention of allied fighters and attack aircraft roaming the continent for targets. The WR 360 was put to work in these high-risk areas as they could do the job with a far-less visible diesel smoke signature.
If you're into model railroading to any degree, it was a great day when CMK released their BR 52 series of wartime locomotives in 1/35 scale ( check out our review here). While that kit was a magnificent combination of resin and photo-etched details, Trumpeter stepped in with their own rendition of the BR 52 in 1/35 scale ( check out our review here). Even prior to the CMK kits, DML had produced several German rail cars that were in use during the war. Since that time, a number of companies have paid more attention to 1/35 wartime railroad subjects. Trumpeter has also announced additional subjects such as armored trains that will be coming in the future. In the meantime, their latest installment in 1/35 German railways has arrived at the railhead!
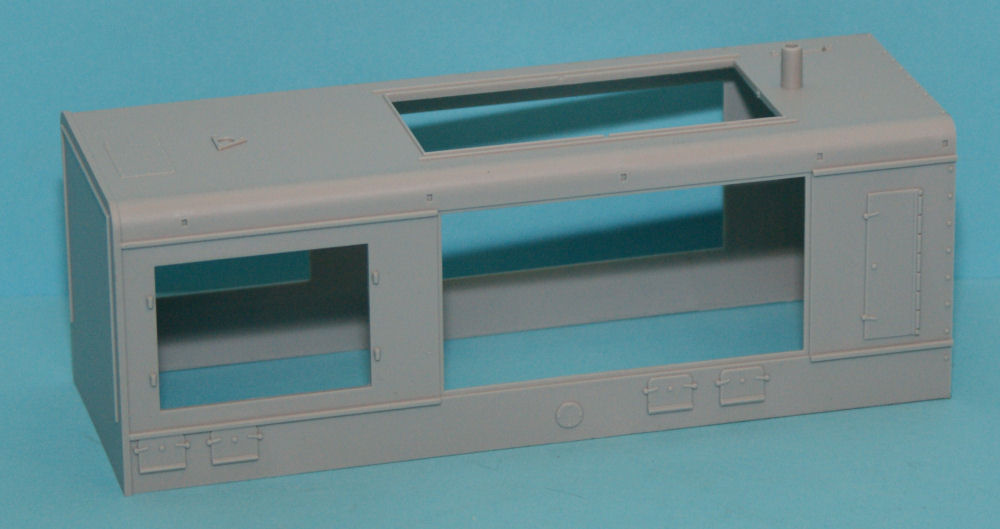
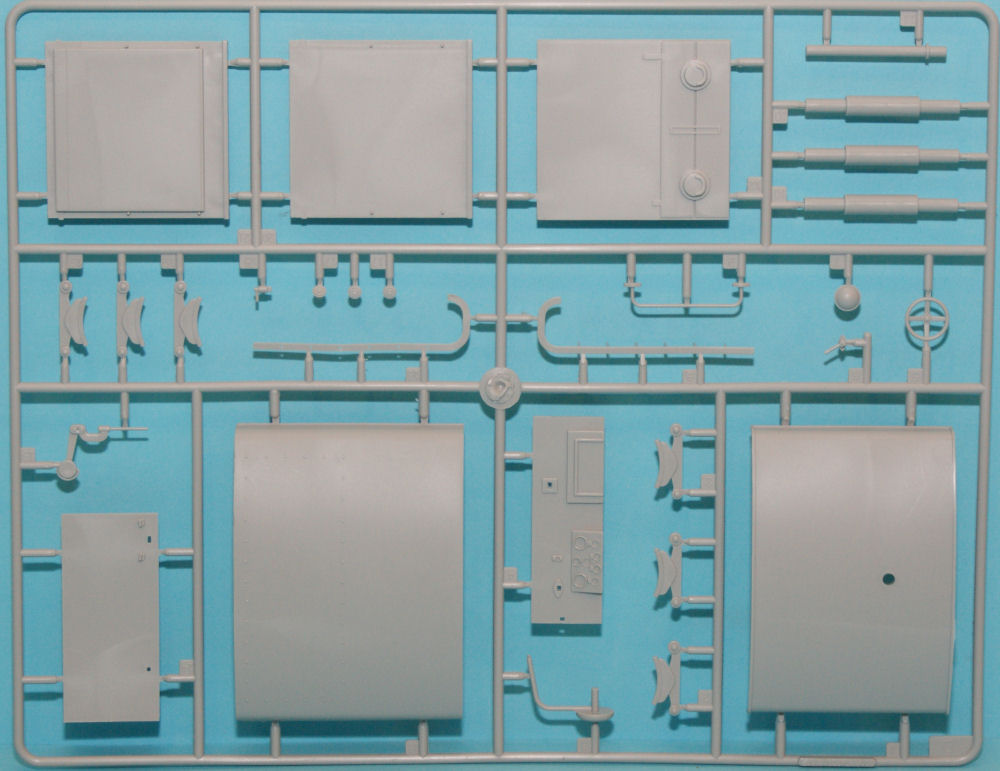
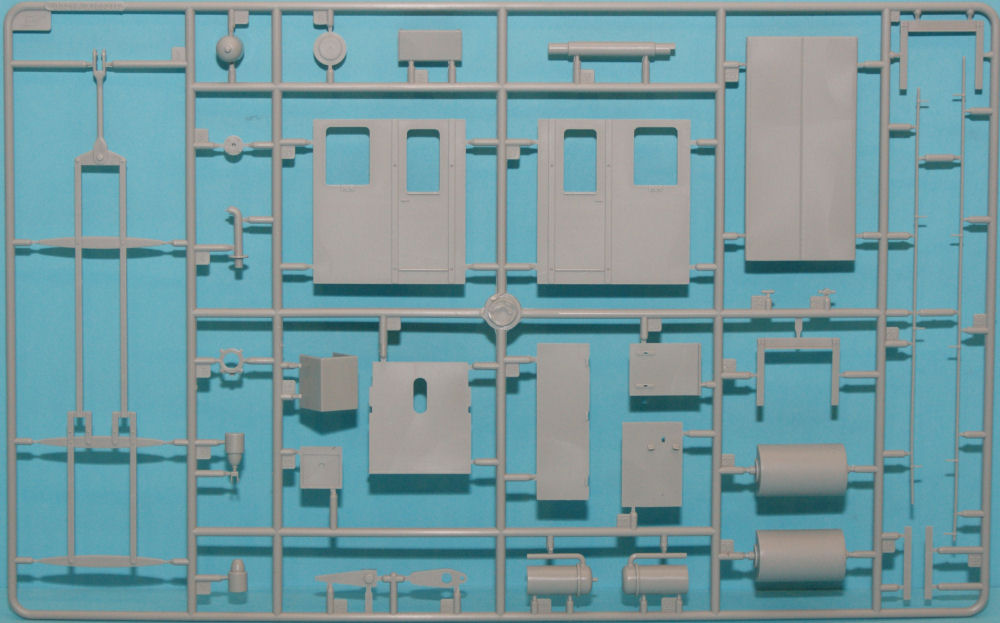
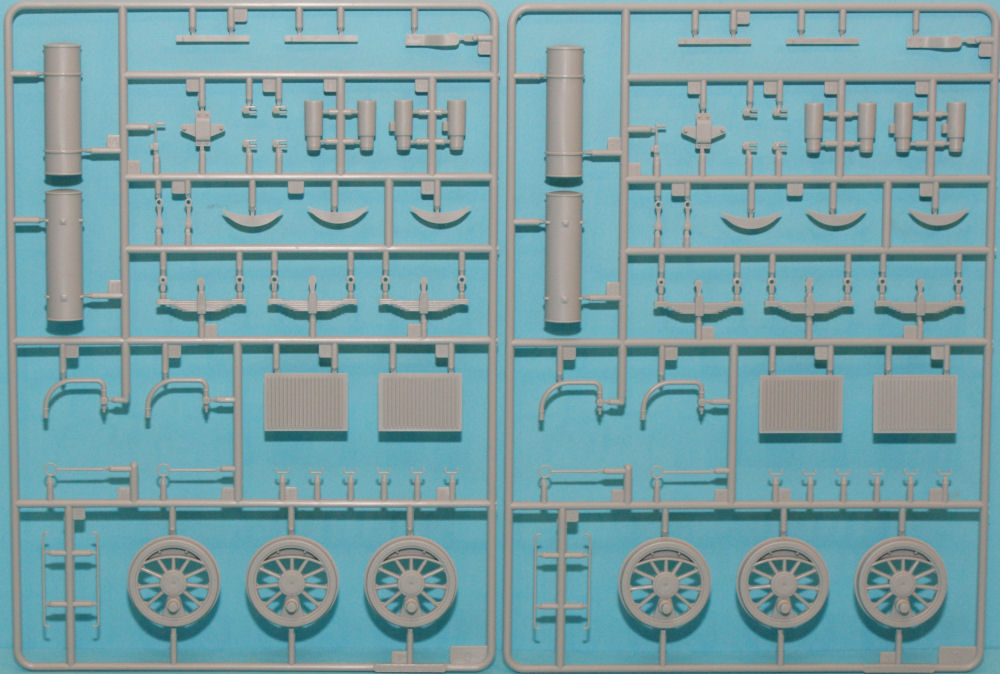
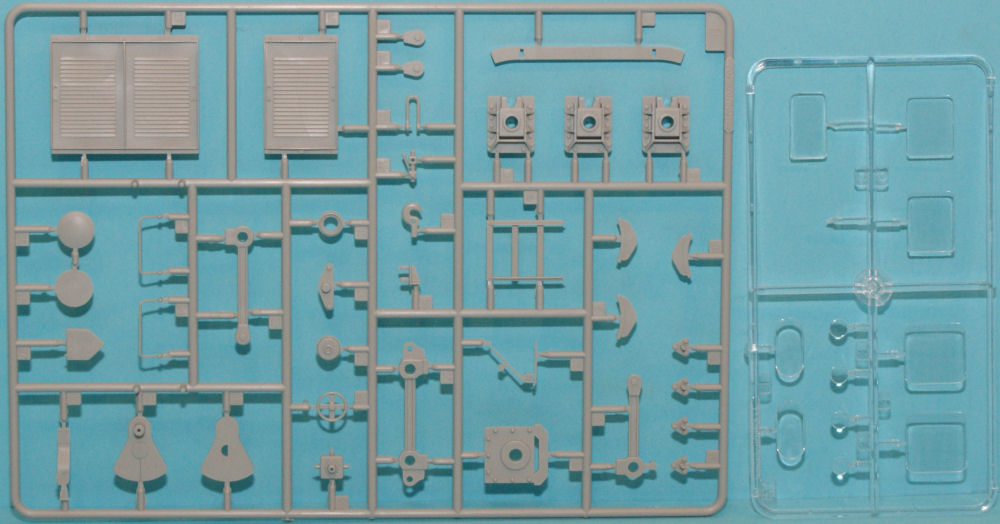
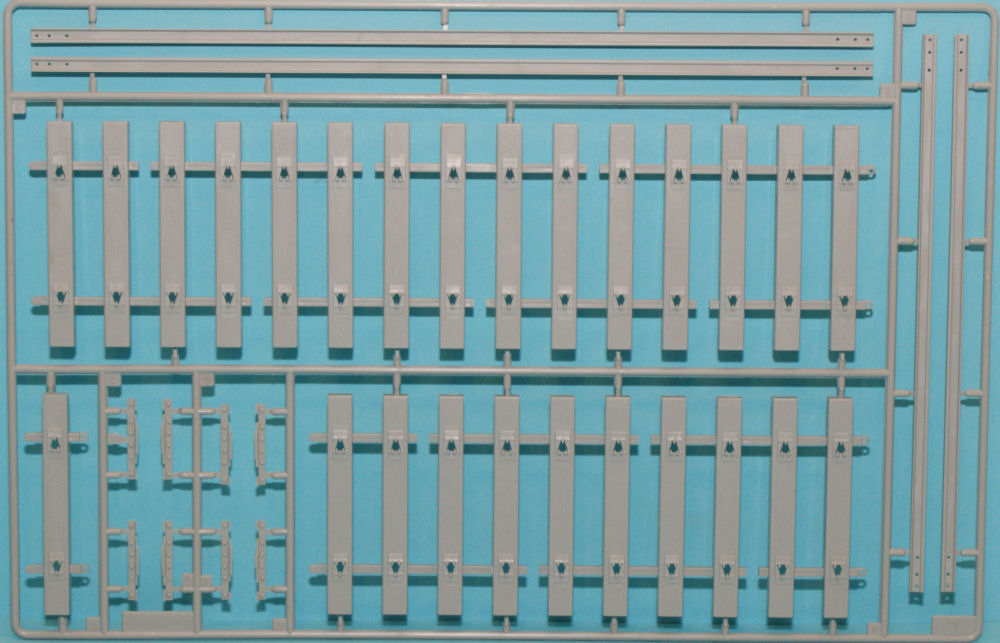
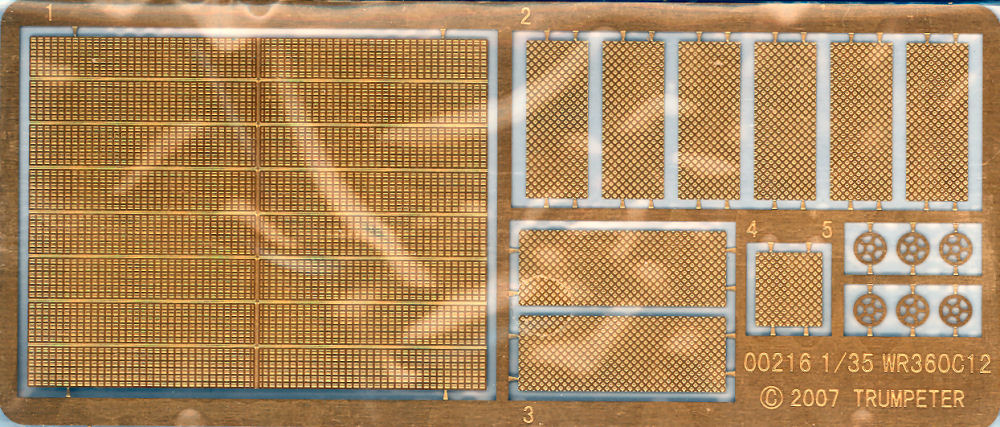
Here is the WR 360 C12 in 1/35 scale! The WR 360 is the class of utility engines procured by the German military based upon the Orenstein & Koppel V36. The kit is molded in light gray styrene and presented on eight parts trees plus a single tree of clear parts. The box body engine housing is provided as a separate part as are the sections of roadbed that make up the display base. A fret of photo-etched parts round out this kit to replicate the radiators and ventilation grilles.
Construction of this kit is very straightforward and literally from the ground-up. Construction starts with the roadbed sections and installation of the rail ties. Once these are in place, the rails themselves are slid into place through the molded-on rail clips on the ties. Before you go any further, this is one part of the project that can make or break the rest of the model. The stone bed is molded onto the base, which is framed as if it were enclosed by a wood or metal display frame.
Painting and weathering the stones and the frame should be done before installing the ties, and these should also be painted separately. With a good use of color and weathering, a very nice looking base can be rendered with little trouble. The rails themselves should not be painted overall metal as you would never see a clean, bare metal rail more than an hour after installation. The rails quickly oxidize and should be overall dark rust in color, with only the top and inboard sides of the rail in bare metal where the wheels come in contact with the rail surfaces and clean off the oxidation with every passage.
Next come the engine side frames and suspension. When you assemble the lower frames and install the axles, it would be best not to glue the axles in place at that time. Likewise the six drive wheels-these will need to be aligned with the drive flywheel and driver arm. Before gluing the wheels and axles into their final position, place the frame onto the completed rail base to ensure that the wheels are in gauge - they all properly align with and settle down onto the rails. With the frame on the rails and any adjustments made, carefully glue the wheels to the axles and the axles to the frame. Do not glue the wheels to the base at this time! Now the engine will sit snugly on its base at the end of this build. Once the glue is dry, remove the frame from the base and set the base aside for safe keeping.
The rest of the engine frame is detailed up with fuel tanks, hydraulics, bumpers, couplers and lots of other detail. Once the frame is completed, you'll want to paint this subassembly. You'll find conflicting information on colors here as standard peacetime practice is to paint the frame, wheels, and many of the other parts red for safety. Some of the wartime engines may have had their wheels still red as depicted in some of the Trumpeter diagrams, but chances are that the frames were given the compulsory Panzer Gray military colors. Here is where a little personal preference will come in handy, but even if the wheels are painted red, they will have weathered with oil, soot and dirt so they won't be blaring red at best, but provide an eye-catching detail.
Next comes the box body engine housing and its grillework, followed by the cab. I've got to do some looking around online to see if the cab interiors of these engines were anything but the standard black/dark gray found in their earlier steam-powered counterparts. While there is some nice detailing inside the cab, the cab is designed with its doors and windows closed. The AMS modeler will want to open some of these areas up to reveal the interior and to find some gauge details for the operator's console.
No decals are included (nor needed) for this project. The standard engines were gray on the outside, but if you look around online, it appears that many of the switchers that were deployed into the various combat theaters were given local camouflage colors to help them blend in. This opens up lots of interesting possibilities, especially if you're planning on hitching this beauty up to one of the Trumpeter or DML 1/35 scale rail guns. I already have plans for mine!
Here is another interesting installment in the 1/35 scale railroading portfolio that continues to grow. While I wouldn't mind seeing a 1/35 Berkshire, Big Boy, SD90MAC/H or other non-German subject in the future, this growing series provides the modeler with lots of possibilities from a simple model project to a full-blown diorama. Keep them coming Trumpeter!