


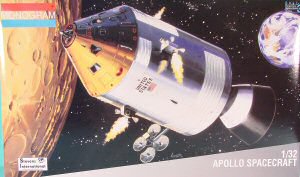
Monogram 1/32 Apollo Spacecraft Kit First Look
By Michael Benolkin
| Date of Review | April 2007 | Manufacturer | Monogram |
|---|---|---|---|
| Subject | Apollo Spacecraft | Scale | 1/32 |
| Kit Number | 6061 | Primary Media | Styrene |
| Pros | Nice details and great possibilities | Cons | Command module interior rendered with oddly colored decals |
| Skill Level | Basic | MSRP (USD) | $39.95 |
First Look
 |
 |
 |
 |
 |
 |
 |
 |
 |
 |
The Mercury was a one-man vehicle to open the flight envelope from suborbital flight to short-duration orbital flight with controlled re-entry. Gemini was the second vehicle with a two-man crew and the introduction of a service module that contained storage for in-flight experiments, extended life support, and thrusters for limited maneuvering on-orbit. Gemini spacecraft rendezvoused with one another and with Athena docking simulators to verify the physics/orbital mechanics of maneuvering in close proximity to other spacecraft and the process of docking and undocking spacecraft. These tiny steps would lead the way for generation three.
The Apollo spacecraft represented the third generation of US manned spaceflight which took the lessons learned from Gemini and provided even greater in-flight endurance, improved maneuverability, improved communications, and its own main engine. This was the vehicle to take man to the moon's orbit. Another innovative craft, the Lunar Excursion Module, would carry man to the surface of the moon and back to rendezvous with Apollo.
The final flight of Apollo was not to the moon, in fact it never left orbit. Instead, it carried its American astronauts several hundred miles up into space to rendezvous with a Soviet Soyuz spacecraft and its cosmonauts. This historic flight would mark the first step of many in the US and Russian cooperation toward a permanent international presence in space and the ultimate exploration of our solar system. One detail of this exploit that isn't discussed too much is the completely different approaches to spaceflight that made this sort of flight a safety and technology challenge.
In order to get man into space, engineering compromises needed to be made. In the case of the US, a light-weight capsule was needed to get the complete payload into orbit with the boosters we had available. This required keeping cabin pressure much lower than normal which would reduce the thickness of the pressure vessel and thereby save weight. Life support compensated for this less-than-normal air pressure by providing the astronauts pure oxygen, something pilots have been working with for years in high-altitude flight.
On the other hand, Soviet (and subsequently Russian) spacecraft maintain a normal air mixture and therefore requires greater air pressure (probably equivalent to 8,000 feet, just like the inside of an airliner at altitude). This greater pressure requires stronger (and heavier) pressure vessels which is why Russian spacecraft are designed similarly to a deep-sea diving bell. The Russians had (and still have) the advantage of greater lifting power in their launch vehicles, their motors are so good that many of the most modern US launch vehicles now fly with license-built Russian-designed engines!
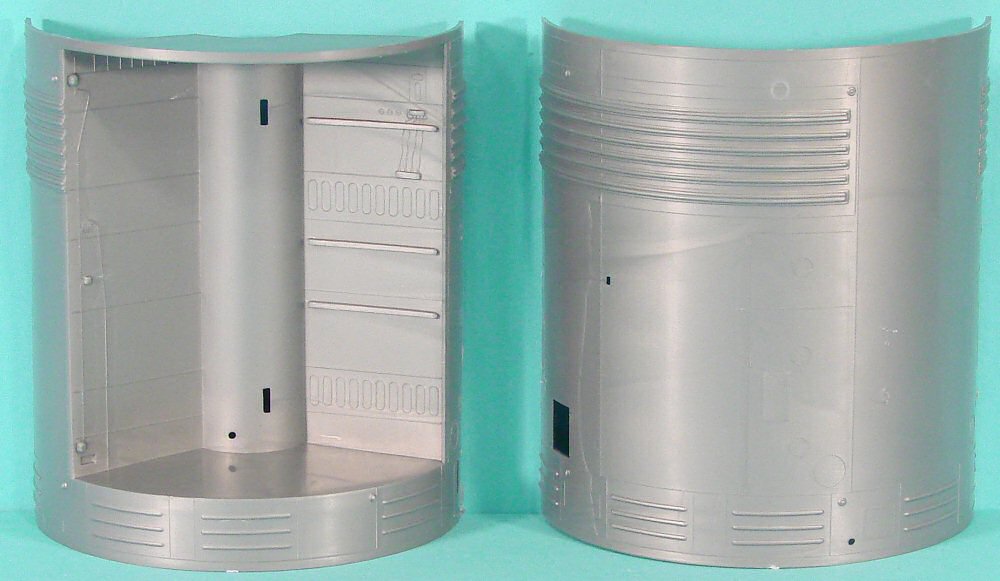
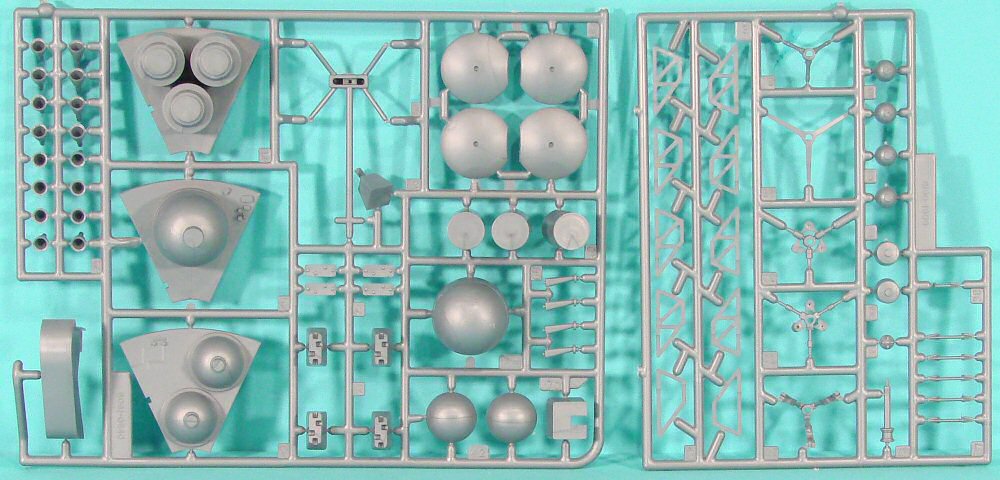
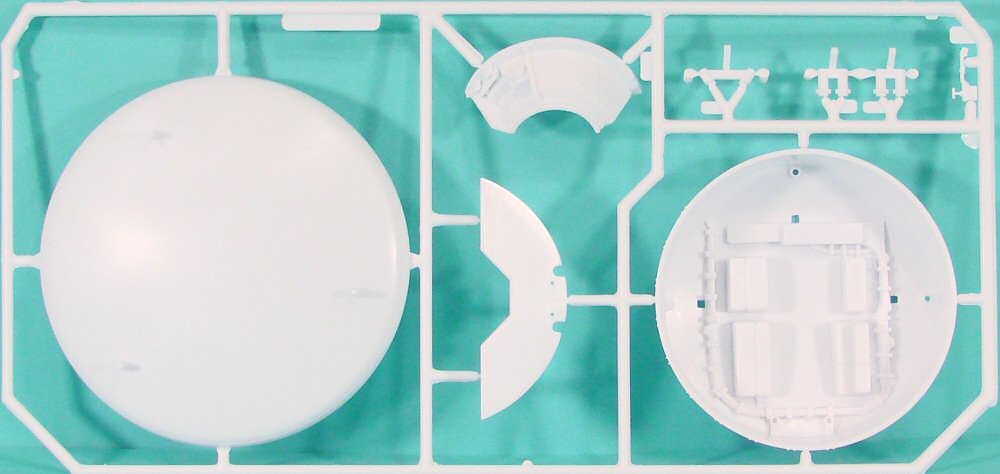
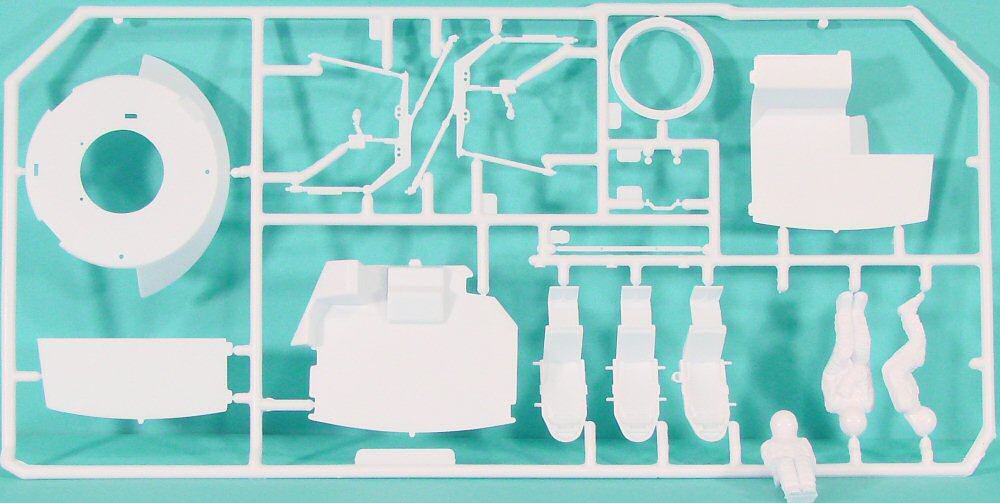
I was pleasantly surprised to see an announcement last year that Stevens International was commissioning a special release of Monogram's 1/32 Apollo spacecraft. Well the kit is now on store shelves and looks as nice as ever. As with its earlier editions, this kit is molded on nine parts trees, three in silver styrene, four in white styrene, one in gold plate, and one in clear. In addition, the service module halves are provided separately molded in silver styrene.
First of all, when you get this kit, drop the gold-plated part into your favorite plating remover (brake fluid works) as the capsule exterior was actually silver, but even that was due to protective foil applied to the exterior surface. Monogram could save some money by not plating this part.
Construction starts with the cabin floor, the avionics boxes mounted on the floor, and the reaction control thrusters (maneuvering thrusters) mounted around the exterior of the base of the cabin pressure wall.
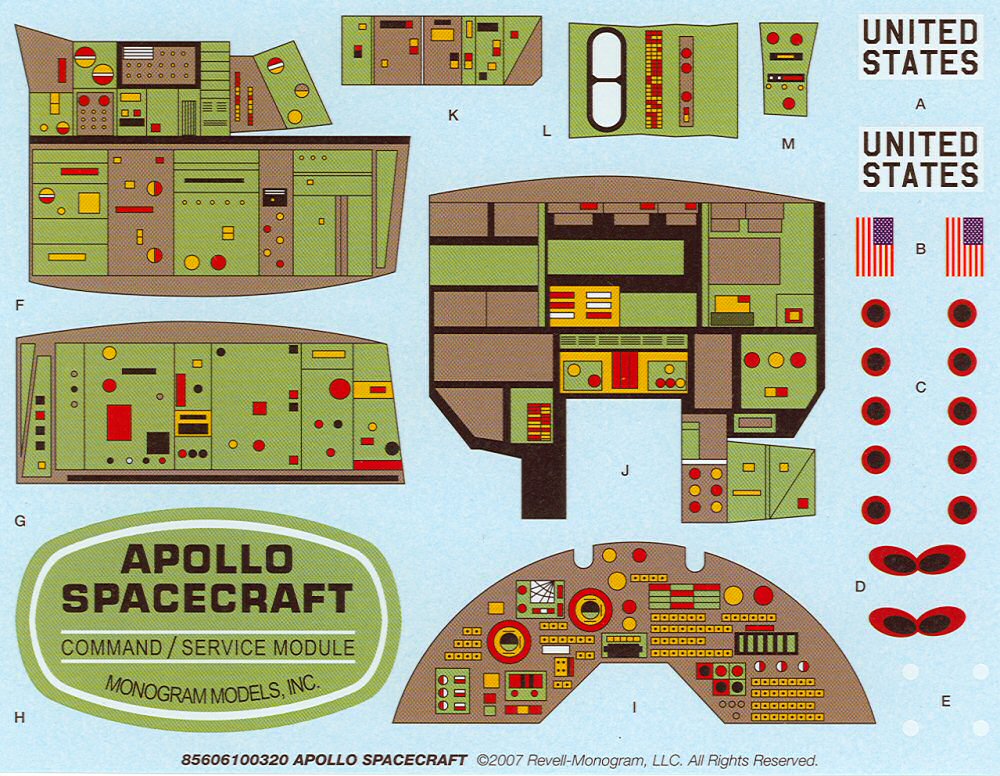
Next comes the three cabin walls with all of the support instruments and switches. While the walls are styrene, the details are all provided as decals. While many folks will be pleased at how this will look after the model is assembled, the AMS modeler will want to consider replacing the decals with resin laminate parts that mount to the styrene walls from RealSpace Models (reviewed here). For whatever reason, the colors used on the interior decals are unrealistic, but will do the job of providing visual detail.
The next step is the main instrument panel and the access way to the nose airlock. As with the side walls, the main instrument panel is rendered as a decal, and as mentioned above, the RealSpace detail set also provides a resin instrument panel that provides nice detailing of the flight instruments. To this assembly the crew couches are mounted and you can opt to install the three provided astronauts at this time.
The docking probe system that mounts to the end of the capsule is a detailed model of its own right.
Whether you elect to strip off the gold or not, you may have a bit of a challenge getting the capsule clear exterior to mate up with the plated exterior. This may not be common, but on some models, the styrene appears to shrink a little differently between the clear and opaque parts.
If you'd like to model your Apollo with the main crew entry hatch posed open, RealSpace models has a resin part for this complete with hinges (reviewed here). This will require cutting out the cabin door which should be too hard since it is partially on the clear and partially on the opaque parts. This should be a quick mod with a razor saw.
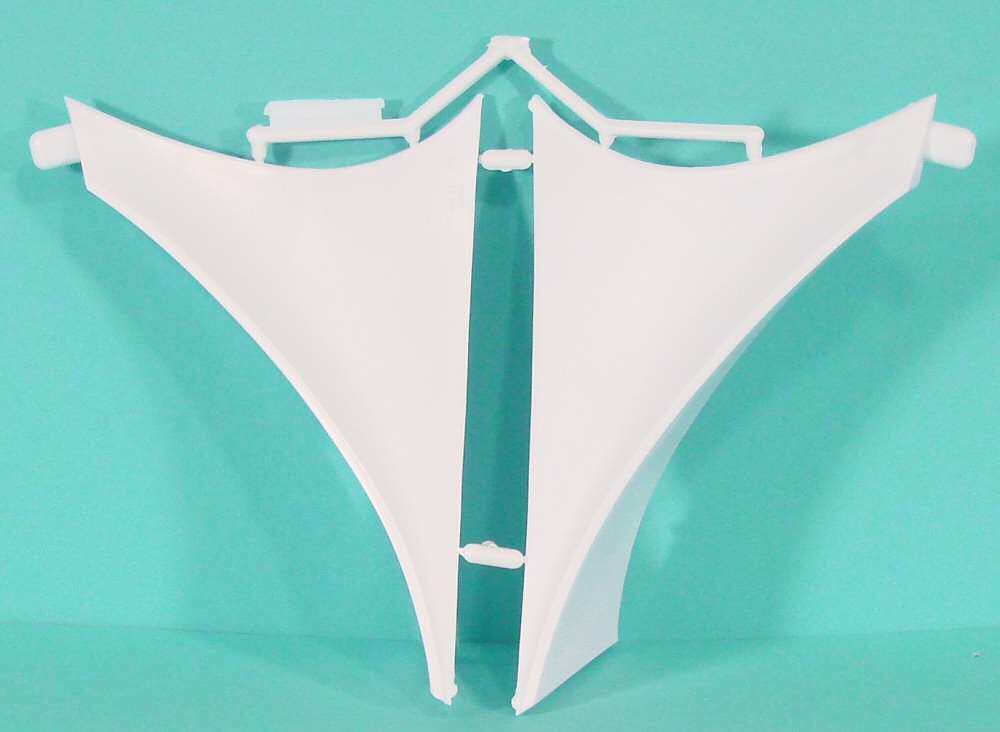
The service module doesn't lack for detail either. It features two bays that are revealed through a clear section to show various fuel and oxygen tanks. If you're choosing to replicate the Apollo 15 mission, another section of the service module wall was jettisoned to expose the Scientific Instrument Module (SIM) bay. This SIM bay is produced in resin and metal rods (for the extended antenna masts) by RealSpace Models (reviewed here).
At the base of the service module, the main engine bell is mounted through the base and while the story might end there, you'll be happy to note that Monogram also replicated the gimbal mounting so your main engine will gimbal just like the real engine. The quad high-gain antenna array mast is retractable and mounted alongside the main engine bell.
The four reaction control arrays mounted externally on the service module complete this phase of the project.
The kit includes a display stand, and I'd seriously consider mounting that stand to a solid base to provide ballast to an otherwise top-heavy model.
The main features of the completed model include:
- See-through capsule wall to reveal cabin interior
- See-through service module wall to reveal storage tanks
- Removable capsule from service module
- Movable high-gain antenna array
- Gimbaling main engine
- Lots of nice detail straight from the box
This is one of those fun models that is not difficult to build and provide some great detailing opportunities for the AMS modeler. The transparent panels make it even easier for others to see your work. Now if we can convince someone to reissue the 1/24 Monogram Gemini capsule, we'll have four detailed spacecraft to reflect our spaceflight history:
- Atomic City 1/12 Mercury
- Revell 1/24 Gemini
- Monogram 1/32 Apollo
- Monogram 1/72 Space Shuttle